Make photos look dated with this easy color effect. In this tutorial, you will learn how to use the Match Color tool to alter the color of a photo.
Preview of Final Results
Retro Colors Photoshop Tutorial
Step 1: Open an image into Photoshop
Open the File menu and select Open. Browse for the photo you would like to add a retro color effect to then click OK.

Step 2: Create a new layer
In the Layers pallet, click on the New Layer icon. This will create a new layer named Layer 1. Ensure that Layer 1 is highlighted before continuing.
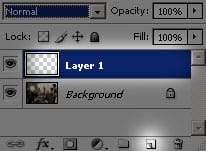
Step 3: Create a selection
First, activate the Rectangular Marquee tool. Then, drag a rectangle from the top left of the canvas to the bottom middle. This should create a rectangular marquee of half the canvas.

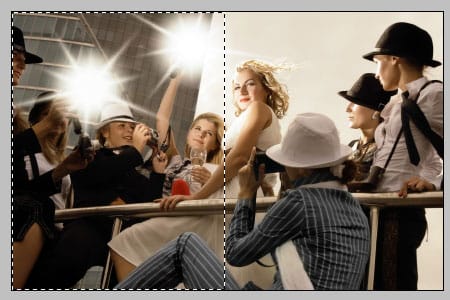
Step 4: Fill the selection
In the Swatches pallet, select the color red. Then, press Alt+Backspace and it should fill the selection with a solid red color.


Step 5: Inverse and fill the selection
Open the Select menu and select Inverse. This will inverse the selection so that the other half of the canvas is selected. Select the color green from the Swatches pallet and press Alt+Backspace to fill the other half with green.


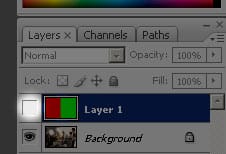
Step 6: Hide the Layer
In the Layers pallet, click on the eye icon for Layer 1 to hide the layer. Click on the Background layer to activate it.
Step 7: Use the Match Color tool
Open the Image> Adjustments menu and select Match Color. This will bring up the Match Color tool which will alter the color of the image based on the layer with the red and green color we created.

First, select the document name of your photo in the source and then select Layer 1 as the layer.
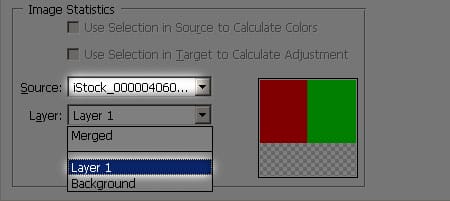
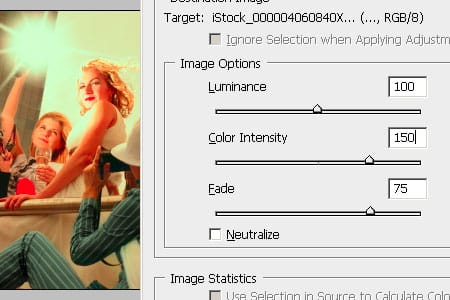
A live preview of the effect should be shown. Adjust the Image Options to alter the effect.
- Start off with the Fade option. Increase this amount until the posterized effect disappears.
- Adjust the Color Intensity to get the results desired. To get a neutral, washed-out effect, drag the input slider towards the left. To increase the vibrancy, drag the input slider towards the right.
- The Luminance doesn’t need to be adjusted. It will only darken or lighten your photo.
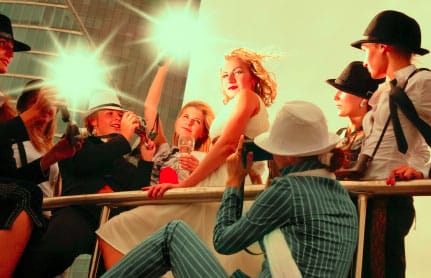
Final Results
Retro Colors Photoshop Tutorial
Alternative Effect
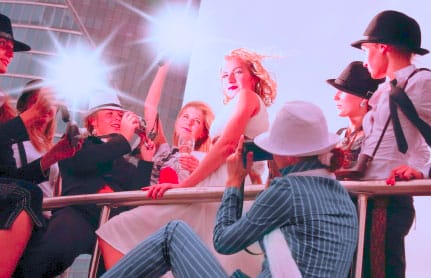
To create this effect, simply invert Layer 1 before using the Match Color tool.
7 responses to “Retro Colors”
-
after step 6 you need to SELECT ALL otherwise it doesn’t give the right result
-
IT DID SUCK
-
BRUH THIS TUTORIAL SUCKS
-
agreed
-
-
Nice bruh!
-
ey
-
Great tutorial! It worked very well and I learned a lot. Thank you!


Leave a Reply to chrisCancel reply