Luminar AI lets you turn your ideas into reality with powerful, intelligent AI. Download the photo editor and see how you can completely transform your photos in a few clicks.
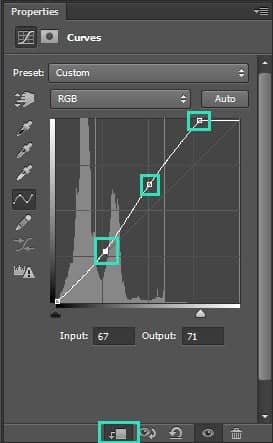
You want to adjust only one layer below (=STAIRS) and not the rest of the image. To achieve that create clipping mask from it by clicking the button in the bottom part (it´s also highlighted with cyan color on the image below).
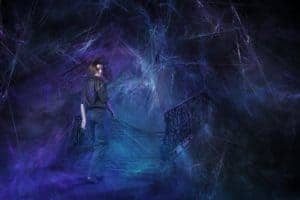
Lets take a look how your photo manipulation looks like so far.
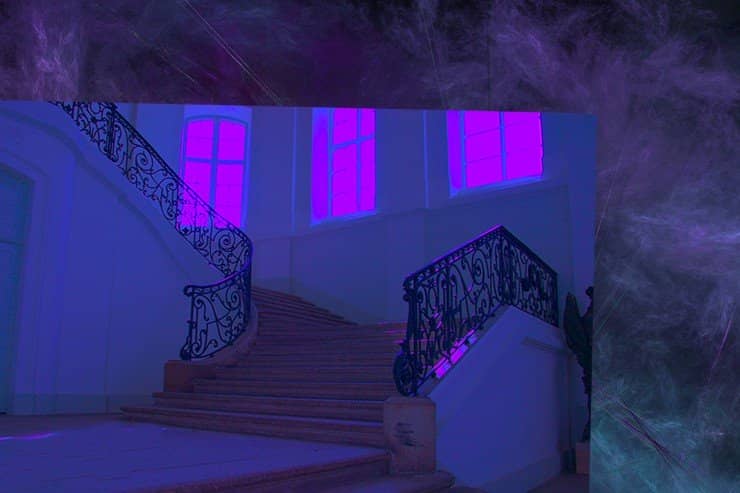
Step 5 - More Blending
In this step you´ll hide some parts of STAIRS to make fractal below more visible. Add layer mask to the layer STAIRS. You can find the button Add layer mask on the bottom part of your palette Layers.

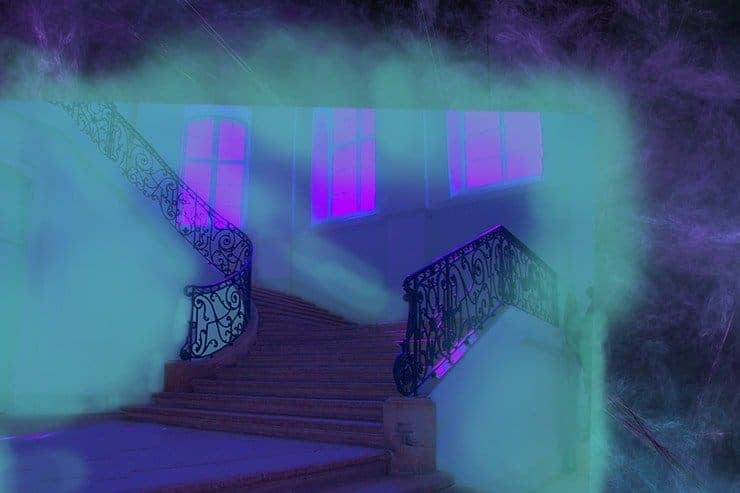
Grab the Brush Tool (B), select some soft round brush and set its Opacity on 80%. Pick black color. Make sure the layer mask is active by clicking on it and start painting over the areas of stairs you want to hide.

On the following image you can see where you should paint with the Brush Tool (B). That areas are highlighted with blue color.
Step 6 - Adding Second Fractal
Download image named fractal2.png listed in the beginning of the tutorial and drag it into your photo manipulation. Place this new layer on the top of all layers and name it FRACTAL 2.
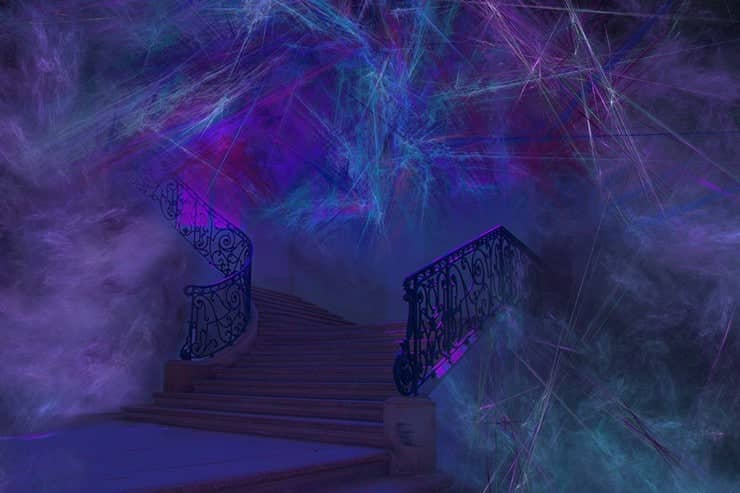
Add layer mask to FRACTAL 2. Grab the Brush Tool (B). Use the same settings as in the previous step and blend the fractal with the rest of the image. Focus on creating smooth transition between bottom part of FRACTAL 2 and the rest of the image.
Let´s take a look at how your photo manipulation should look like so far.
Step 7 - Color Adjustment
In this step you´ll make your photo manipulation less saturated and more contrasted to create stronger atmosphere.
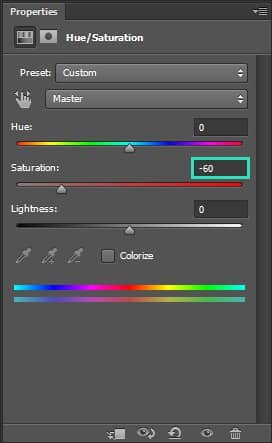
Let´s start with saturation. Add new adjustment layer Hue/Saturation on the top of all layers and set the value Saturation on -60.
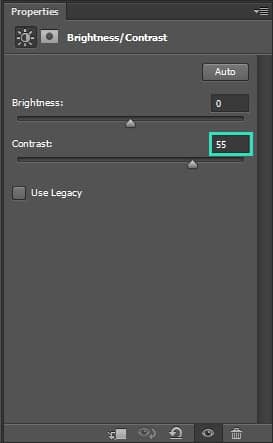
To increase contrast add new adjustment layer Brightness/Contrast on the top of all layers and set the value Contrast on 55.
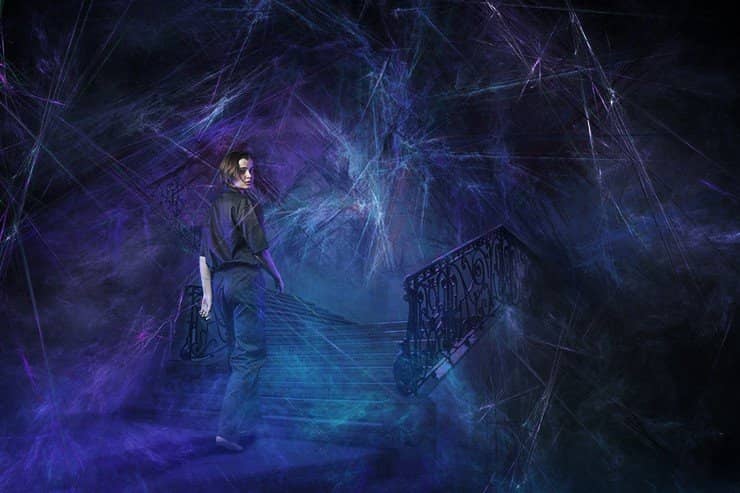
On the image below you can compare how each adjustment affects the photo manipulation.

Step 8 - Creating Vignette
In this step you´ll add vignette to create more depth.
Grab the Eliptical Marquee Tool (M) and select the whole picture.
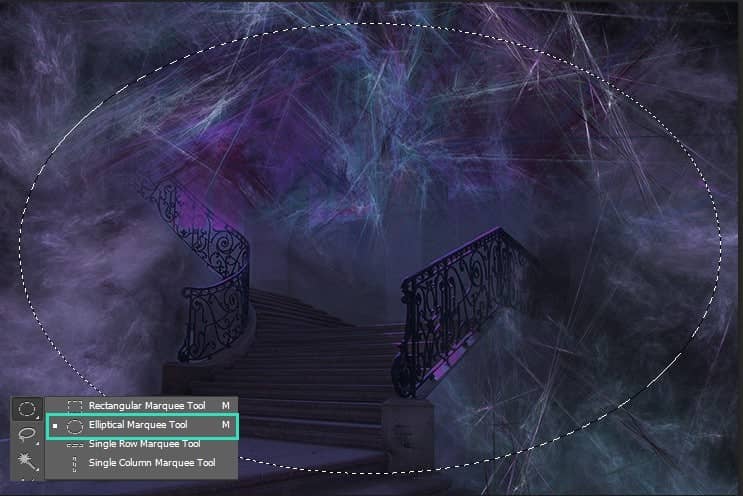
To make the selection smoother go to Select > Modify > Feather... and set the value Feather Radius on 300px. Press OK.

9 comments on “Add Fractals to Create Dreamy Photo Manipulations”
Turned out beautifully!! Thank you I enjoyed doing this one
Thanks!
супер!
Happy you're back again, for I learned a lot from your tutorials.
Great work
Superbly done, Jarka.
Great Tutorial,Dear Jarka.
like it.
very inspiring and easy to follow ,lovely pictures - thank you
Thank you very much!
Simply cute and sweet ?