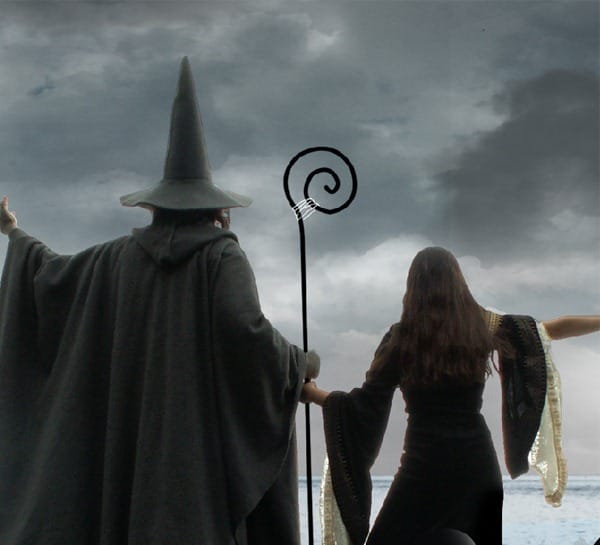
Now put your creative juices to test in coloring the hamlet.

Step 19
In this step we will create a whirlpool in the water. First create a basic shape of the whirlpool with respect to the prospective of the scene we are creating.
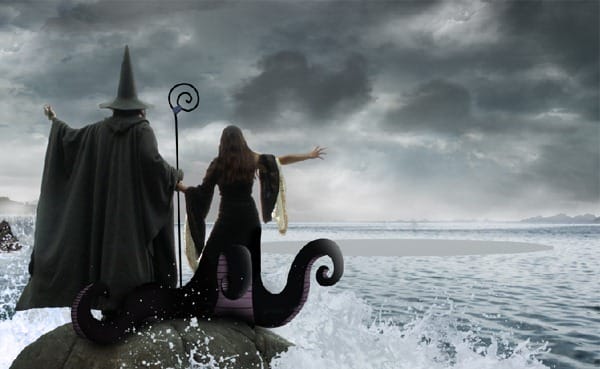
Import the image of the Niagara falls and cut it into the basic shape of the whirlpool.

Now we need to add water flowing into the whirlpool from all the directions. Hence again import the image of the Niagara fall (another image shot from side angle, and place it on the right side of the whirlpool as shown.

Step 20
When a whirlpool is created in water the surrounding waves will also get rough, hence in this step we will create some rough waves around the whirlpool. Import the image of the rough waves onto the canvas and place it near the whirlpool as shown.
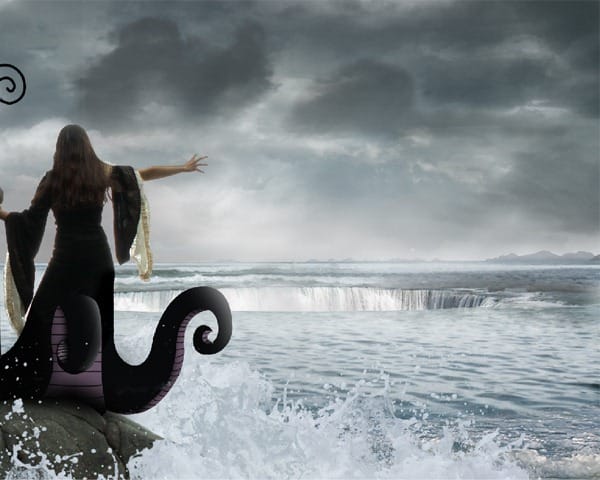
Since the front side of the whirlpool appears a bit closer to the characters the waves should appear slightly bigger than the previous waves. Import the image of the waves and place them around whirlpool as shown.

Since the right end of the whirlpool is curved transform the wave layer along the curve using Move Tool(V).

Step 21
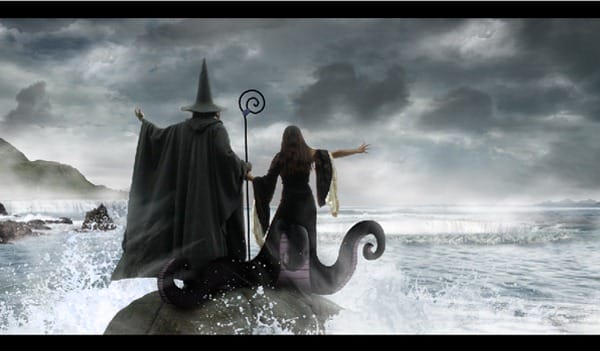
Now our scene contains heavy rainy clouds and raging water waves. Usually when the weather is in such conditions we will find huge amount of fog in the surrounding areas. Hence using the fog brushes paint some fog around the characters and the whirlpool as shown.
Step 22
Now by using the Tornado brushes paint the tornados with black color as per the concept we outlined earlier in the beginning.
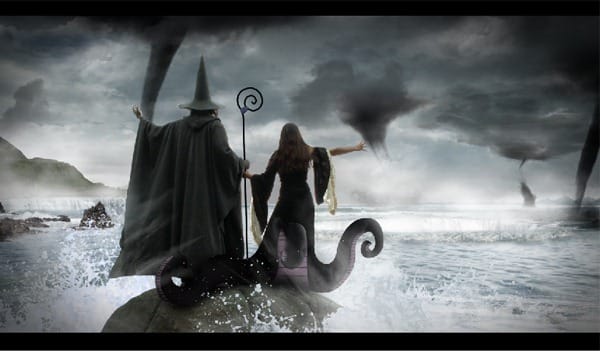
Step 23
In this step we will be creating the Dark Energy Balls surrounding the area. Using the Elliptical Marquee Tool(M) make a sphere on the left corner of the scene and fill it with black color.
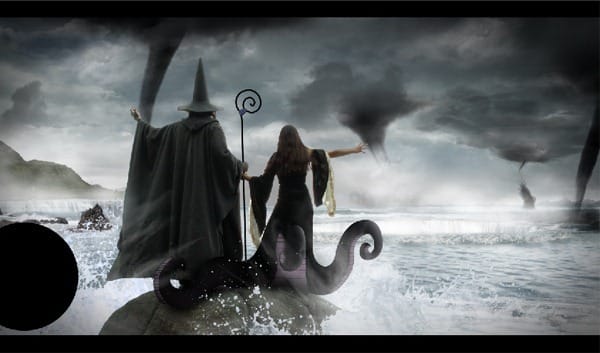
Now by using the smoke brushes paint black smoke on the sphere as shown to represent the energy from the sphere.

In order to maintain the Depth Of Field of the scene we need to blur the energy ball since it is much closer to the lens. With the energy ball layer selected add a Gaussian blur of radius 4.3px.

Similarly create few more energy balls around the characters as shown. Since these energy balls are closer to the characters, they don’t appear blurred much. But since they are slowly moving energy balls add a Gaussian blur of radius 0.3px.


Leave a Reply