Step 41
Add a new curves adjustment layer and place it above our layers. Use the settings shown below. Change the layer blending mode to Luminosity and lower opacity to 50%. This will add some contrast to our image.

Step 42
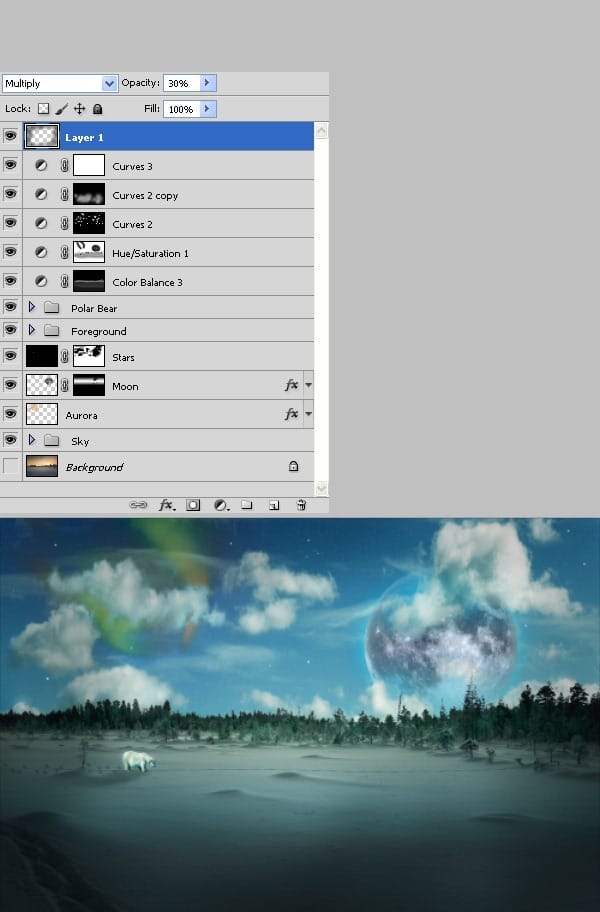
Now we will use an old composition trick to direct viewer’s eye toward the center of our image: a vignette. Make a new layer and place it above our layers. Change it’s blending mode to multiply and set the opacity to 30%. Choose a large soft round brush and set it’s opacity to 50%. Brush gently the sides and the top of the image a couple of times. Brush less on the bottom of the image as it is already dark.

Step 43
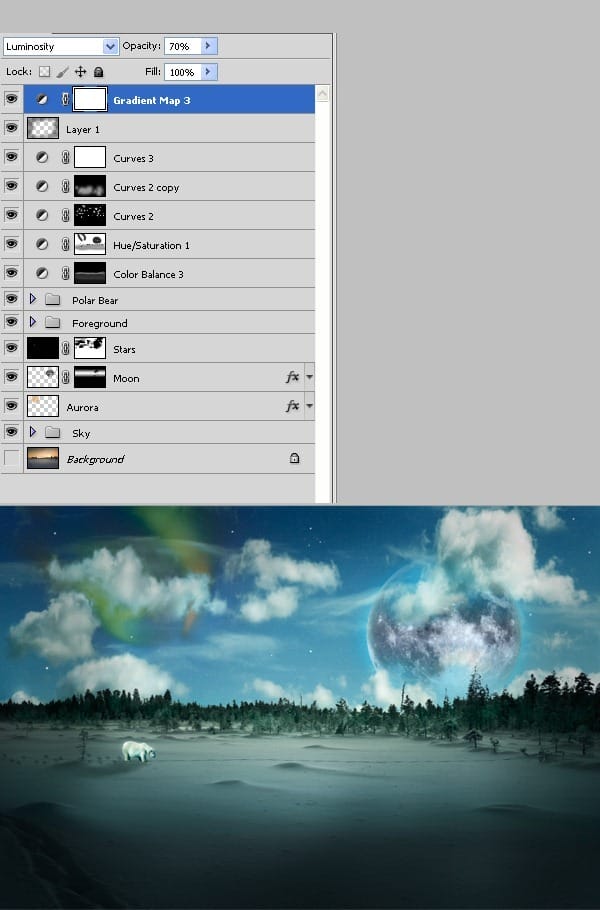
Add a gradient map adjustment layer. Change the blend mode to luminosity and decrease opacity to 70%.

Step 44
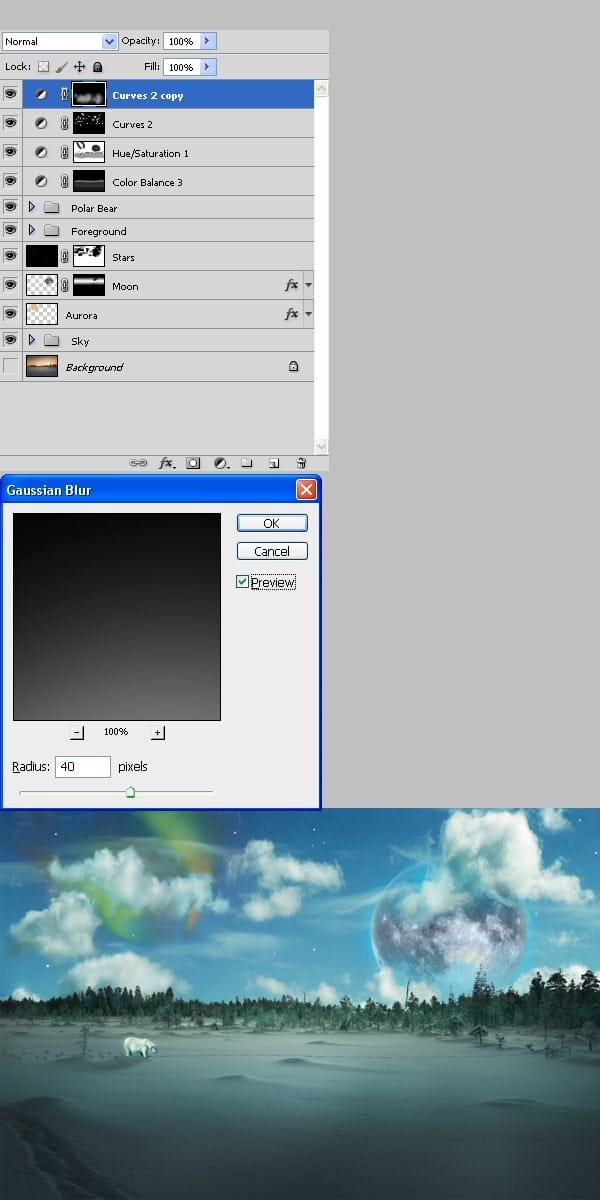
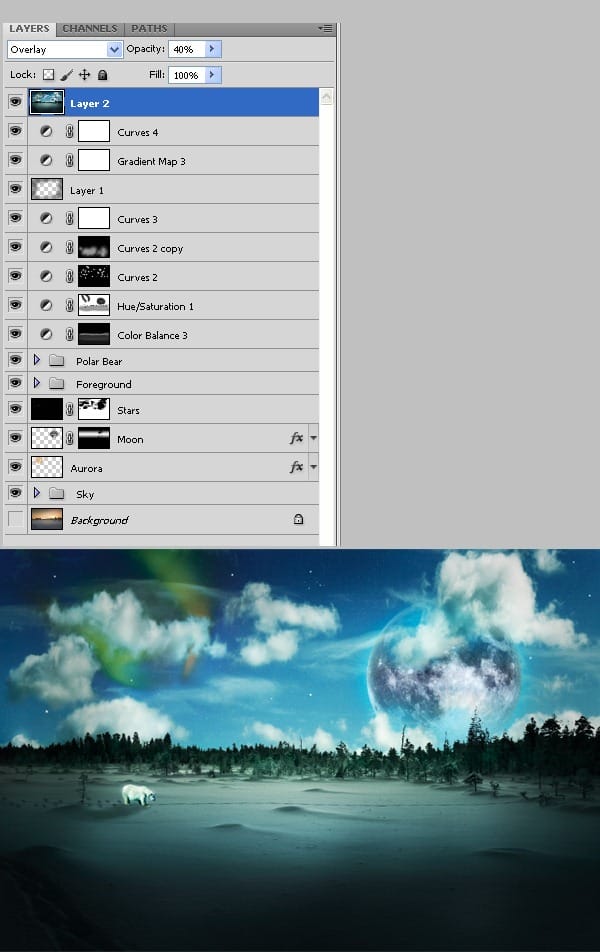
Let’s give our image a dreamy, mysterious look. Make sure the topmost of your layer is selected and pres ctrl+alt+shift+E. This will combine all our visible layer into a new layer while leaving the rest of the layers unchanged. Apply Filter > Blur > Gaussian Blur then change the layers blending mode to overlay and lower it’s opacity to 40%.

Final Results
![image047[1] image047[1]](https://cdn.photoshoptutorials.ws/images/stories/4e87332e2856_11009/image0471.jpg?strip=all&lossy=1&webp=82&avif=82&w=1920&ssl=1)
Authors Comment
-Adrian Scheff
2 responses to “Create a Surreal Arctic Scene in Photoshop”
-
Ahlie
-
Great tutorial, best regards from Czech Rep.


![image048[1] image048[1]](https://cdn.photoshoptutorials.ws/images/stories/4e87332e2856_11009/image0481.jpg?strip=all&lossy=1&webp=82&avif=82&resize=125%2C125&ssl=1) I hoped you liked it and learned something useful. As you see most of the steps are fairly simple, it is the order we apply them that makes all the difference. You can see some of my other art deviations
I hoped you liked it and learned something useful. As you see most of the steps are fairly simple, it is the order we apply them that makes all the difference. You can see some of my other art deviations
Leave a Reply