Learn how to make this action movie poster with Photoshop. In this tutorial, you’ll learn how to make your own poster in 20 simple steps! Throughout the tutorial, you’ll learn techniques that will help you create better image adjustments that will surely help you enhance your skills.
What you’ll be creating
To create this poster, we’ll start by doing the background. Next, we’ll add the combat soldier and modify it to suit the poster more. After that, we’ll add some coloring adjustments and we’ll finish it up with the title. You’ll need Photoshop CS3 or newer to follow this tutorial.

Tutorial Resources
- Boston City Stock – Random-Acts-Stock
- Combat Soldier – phelandavion
- Spy Agency Font – Iconian Fonts
- Movie Credits – hagenau
Step 1
Go to File > New (or press Ctrl+N) and Create a New File at 650×900 pixels at 200 resolution. Name it ‘Movie Poster’

Step 2
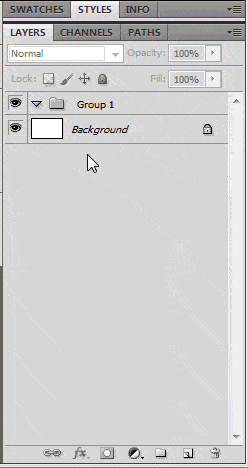
We’ll start with the background. To make things more organized and neater, we will be dividing the layers in Groups. Create a new one by clicking on the Group Icon located at the bottom of the Layers Panel between the Adjustments Layers Icon and the New Layer Icon.
Rename the newly created group to ‘Background’.
Step 3
Open the Boston City Stock Photo and place it on the canvas. Try to place the center of the image on the canvas with half of the lampost showing on the left side of the photo and bits of the skyline on the top. You can also re-size it if you prefer to show all of the image. If you are doing that, be sure to convert your image to a Smart Object first as doing so would let you retain the original quality of the image even if you resize it lots of times.

Step 4
Now that we’re done with the Background, we’ll move on to the Model. Create A New Group and this time name it as ‘Model’

Step 5
Open the Combat Soldier Photo and remove the background, you don’t need to worry about removing the background of the bottom part(specifically from the knees onwards) of the image as we will be covering it up later. You can use various Tools to remove the background: combination of Lasso Tool + Layer Mask; Pen Tool; Quick Selection; Magic Wand; combination of Brush + Layer Mask; Eraser to name a few. Feel free to use whatever Tool you’re most comfortable with. I used the Lasso Tool + Layer Mask.
6 responses to “Create an Action Movie Poster in Photoshop”
-

why i cant download psd file? :(
-
This action hero isn’t messing around! I’ve often looked at film posters and wondered what kind of work goes into them. I grew up with some classic film posters such as the original Star Wars that were painted. However, modern ones can be captivating when they use the right blend of color, positioning, and shapes. On a more technical note, can I make posters using Photoshop elements or do I need Photoshop to make one as described here? Thanks!
-
Great! Thank You.
-
http://i.imgur.com/HSBosmx.png I had fun with this tutorial .. Thank you ! But one thing was i couldn’t find the Gradient fill in the adjusment icons so i skiped the darkening .
-
Nice design
-
-
Nice tutorial
Leave a Reply