
In this tutorial, we will create an awesome underwater photo manipulation. I’ll explain some of the more complex techniques I use in the first steps to make it easy for beginners but intermediate and advanced users can also learn a thing or two. I like doing underwater scenes because there is something mysterious about the depths of the oceans where all kinds of strange creatures live but also because I like putting menacing creatures and curious humans together in a scene.
Final Results

Tutorial Resources
- Underwater – WingsOfAhero
Cathedral – Kippa2001(Alternatives)- Dragon – Elevit-Stock
- Diver – ZedsStock
- Fish – DarkAdathea
- Aquatic Plants – DarkAdathea
- Coffer – 1989Juni
Coins – DarkAdathea(Alternative)- Cup – DarkAdathea
- Skulls – kungfufrogmma
Seahorse – Wolverine041269(Alternative)- Bubbles Brush – millertimemsu
- Light Brush – redheadstock
- Snow Texture – EmilyEmilybeth
Step 1
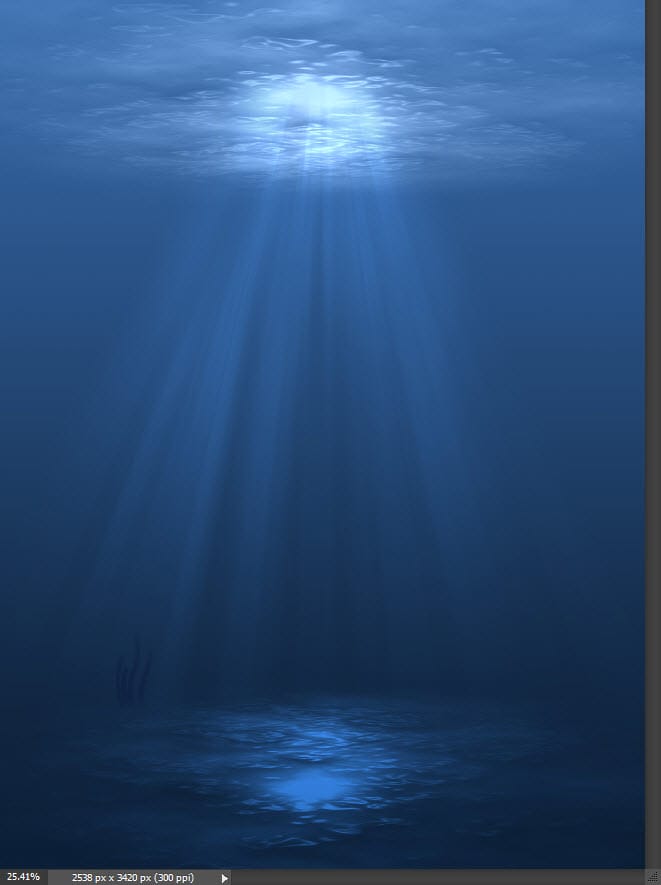
Open the file “Underwater”. This will be the base of our scene.
Step 2
Open the file “Cathedral”. Copy all by pressing Ctrl + A and Ctrl + C. Go back to our scene and paste with Ctrl + V. Transform this layer into a Smart Object by right-clicking on it in the Layer Palette and choosing Convert To Smart Object from the drop-down menu. Press Ctrl+T to enter Free Transform and position the cathedral as shown below. Hold the Shift key while dragging the corners when in Free Transform to resize proportionally.
By converting a layer into Smart Object we can resize the layer without actual loss of pixel information. We can also apply various filters that we can edit at a later time.

Step 3
Don’t forget to properly name your layers – organization is key when working with lots of layers.
Change the blending mode of the Cathedral layer to Soft Light and lower the opacity to 43%. As you can see this makes the cathedral blend nicely with the scene.

Step 4
We will use layers masks a lot in this tutorial so a short explanation is in order.
First, you can create layer masks by going to Layer > New Layer Mask > Reveal All.
Second – layer masks allow us to partially or completely hide a section of the layer without deleting the actual pixels of that layer – we are merely “masking” the layer. By painting with a black brush in a layer mask we will hide the painted area. If the brush is at various opacities (smaller than 100%) than we will partially hide that section and achieve a transparency effect that is very good for blending various objects in a scene. White color reveals a section of the layer – so for example, if we fill the layer mask with black (Shift + F5) we will completely hide the layer. Painting with a white brush at various opacities will partially or completely reveal the painted section.
10 responses to “Create an Awesome Underwater Scene Depicting a Dragon and a Treasure Hunter”
-

The Cathedral image is broken. Pls fix otherwise great tutorial!
-
This is awesome !!This is SUPER helpful.I’ve been curious about this. Lovely tutorial too.
-
I love that end results. I am going to check those links now since some are saying they do not work.
-
Сегодня взялся за урок и дошёл до 15 шага. Спасибо большое:) Я человек простой из бедной семьи и потому скажу просто. Я балдею от урока!:)) Оставлю два варианта синий и зелёный, оба нравятся:)
-
Nice work.
-
That was awesome…I thought I knew most but I still picked up on a few things!
Simple things like Adding colour balance etc via the layers panel.
Thanks heaps!
Where can I post my version? Is it ok to put up on facebook? -
Love your result but how do I access the materials to try your tutorial?
Thank you, -
Интересно было бы поработать с этим уроком, результат красивый но исходники не работают.
-
Awesome article. Great content.
-
None of the image links are working..
Leave a Reply