Luminar AI lets you turn your ideas into reality with powerful, intelligent AI. Download the photo editor and see how you can completely transform your photos in a few clicks.
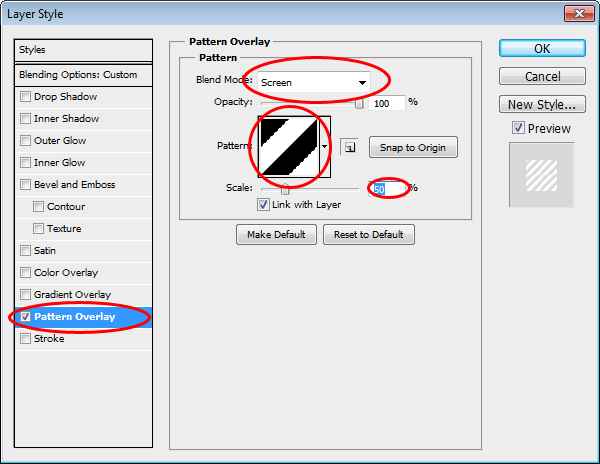
Here’s what my interlace looks like at 50%. This will vary depending on your documents image size.

Step 25
Rename this layer to Interlaced Circles. Make sure you have the vector mask selected. It should have a black and white outline around the thumbnail to indicate that it is selected.
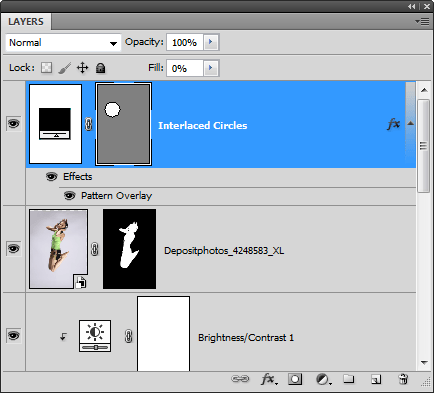
Select the Ellipse tool. In the Options bar, click on the “Add to Shape Area (+)” button. This will let you add more circles to the vector mask.

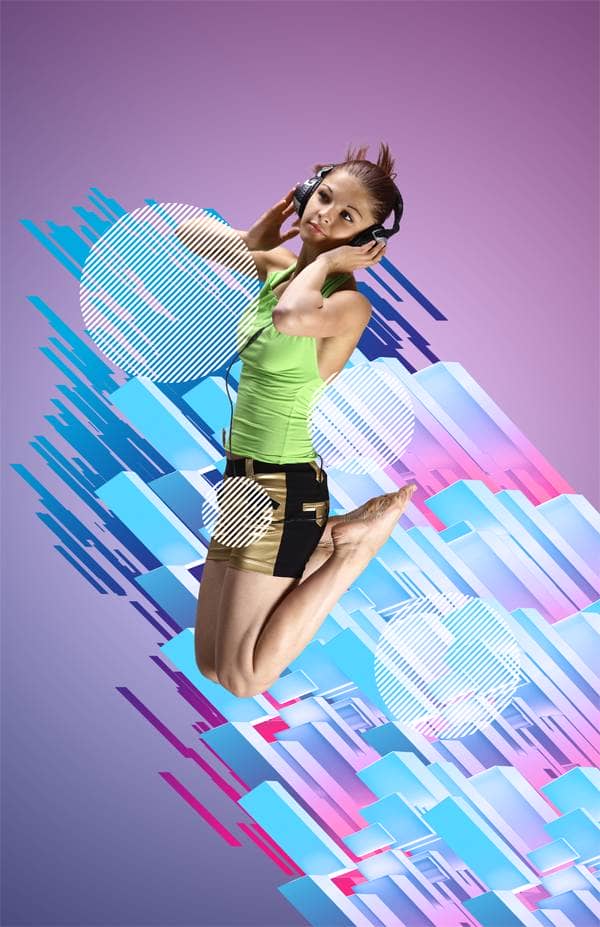
Draw a few more circles. If you make a mistake with a circle, just press Ctrl/Cmd+Z to undo then try again. Don’t create too many because we’ll be adding more later. The ones you’re drawing now will appear in front of the girl. The ones you’ll be drawing next will appear behind her. Here’s how I added the circles.
Step 26
Duplicate the “Interlaced Circles” layer by pressing Ctrl/Cmd+J or going to Layer > Duplicate Layer. Move this layer below the layer of the girl.
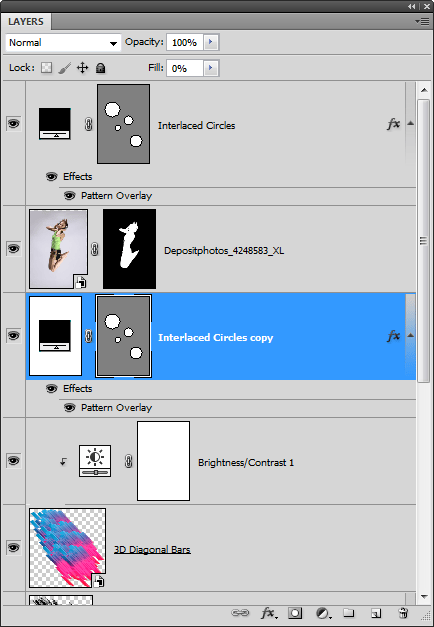
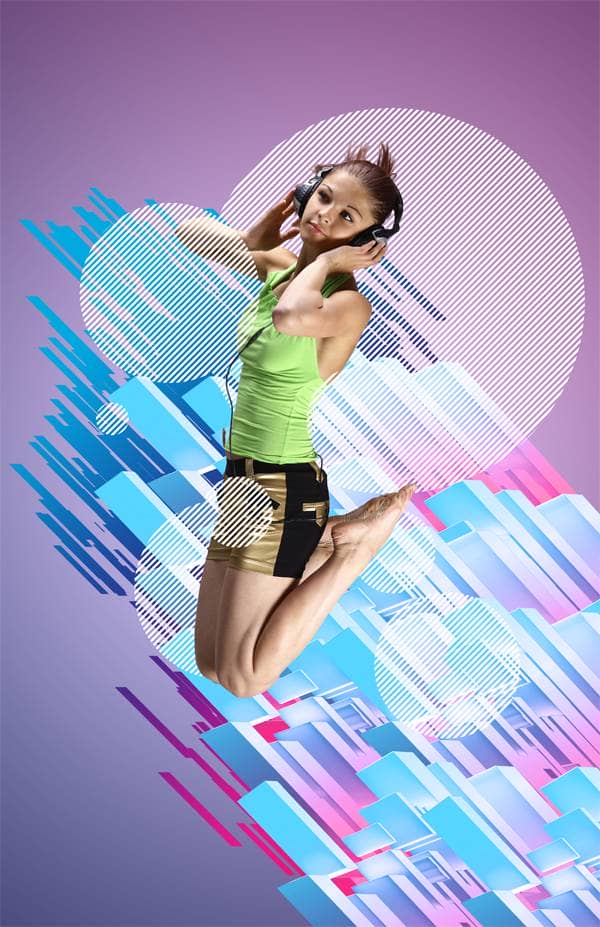
Add more circles just like what you did earlier. Make sure you have the vector mask of this layer selected then use the Ellipse tool to add more circles. Here’s what the image looks like so far.
Step 27
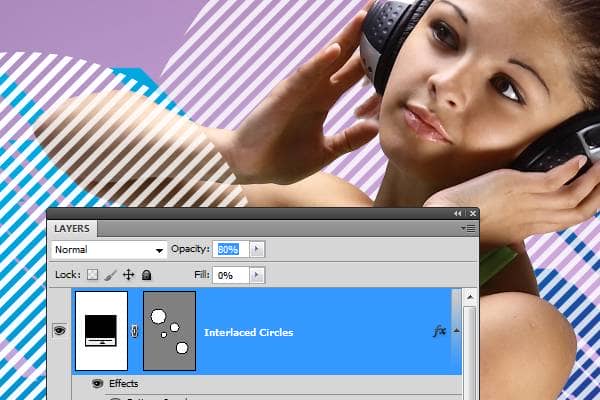
Reduce the opacity of the two “Interlaced Circles" layer slightly to give them some transparency. I reduced both layers to 80%.
Step 28
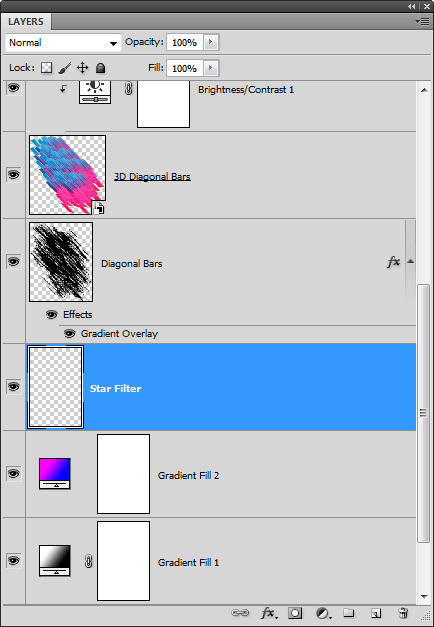
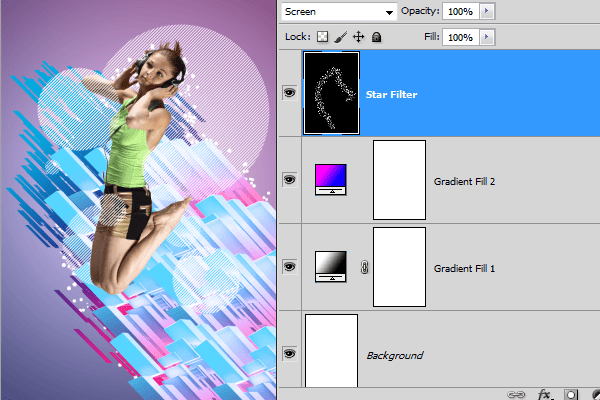
Now we’re going to add some star filters to enhance the background a little. Create a new layer (Layer > New > Layer or Ctrl/Cmd+Shift+N). Name this layer “Star Filter” and position it above the two Gradient Fill layers.
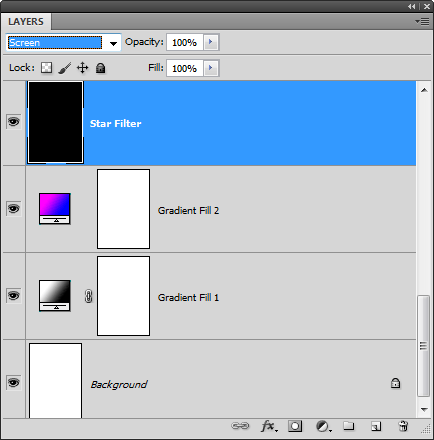
Change the blending mode to Screen then fill this layer with black by going to Edit > Fill. Set the contents to black then click OK.
Step 29
Select the Brush tool and change your brush to the Hard Round brush.
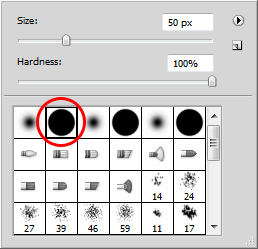
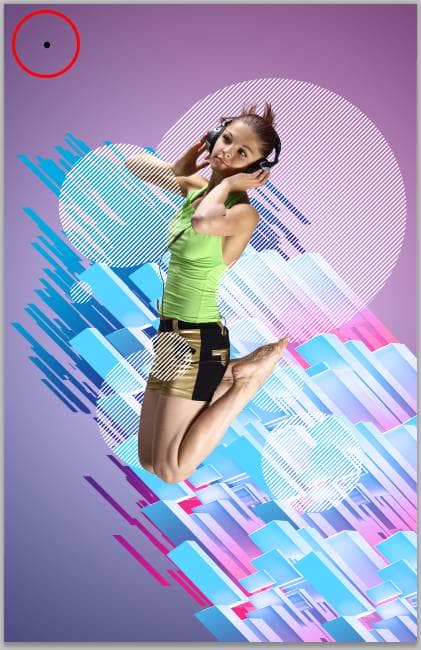
Adjust the brush size so that it is about this size:
Step 30
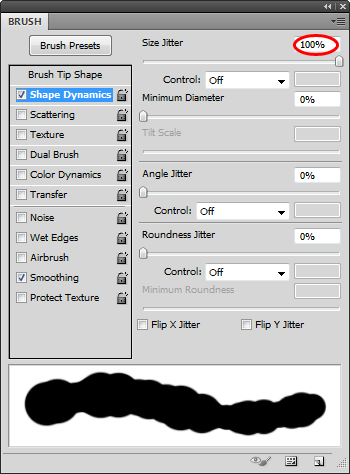
In the Brush palette (Window > Brush), enable the Shape Dynamics option and set the Size Jitter to 100%.
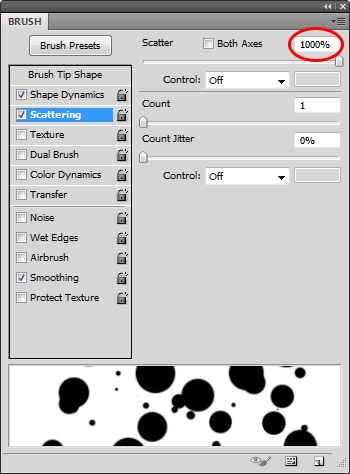
Enable the Scattering option then set the Scatter to 1000%.
Set your foreground color to white then paint in the areas where you want the star filter effect to appear. Here’s how I painted mine:
Step 31
Duplicate the layer by pressing Ctrl/Cmd+J or going to Layer > Duplicate Layer.

