Luminar AI lets you turn your ideas into reality with powerful, intelligent AI. Download the photo editor and see how you can completely transform your photos in a few clicks.

Step 39
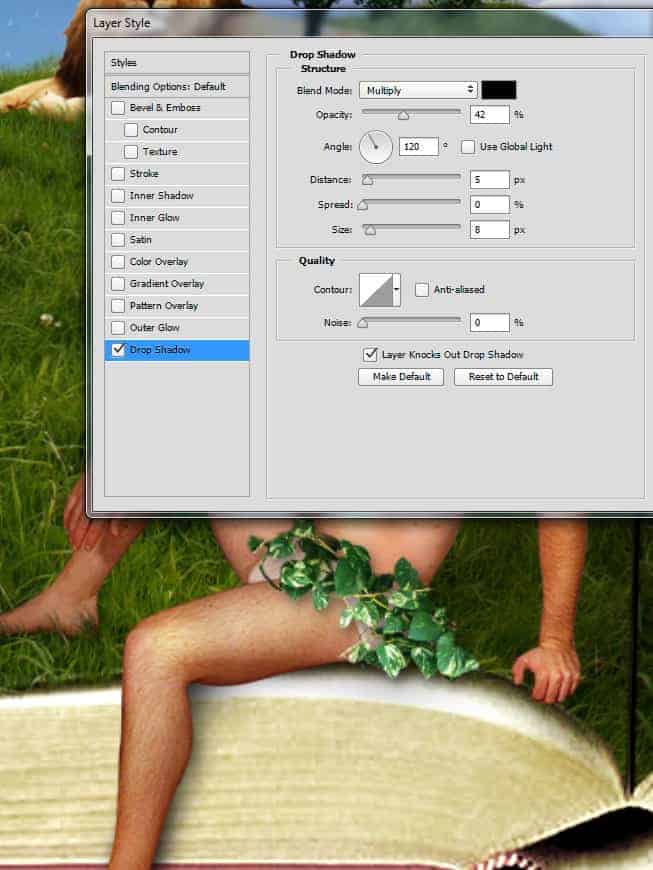
Add a drop shadow effect to the vines (right click the vines layer and choose Blending Options).
Step 40
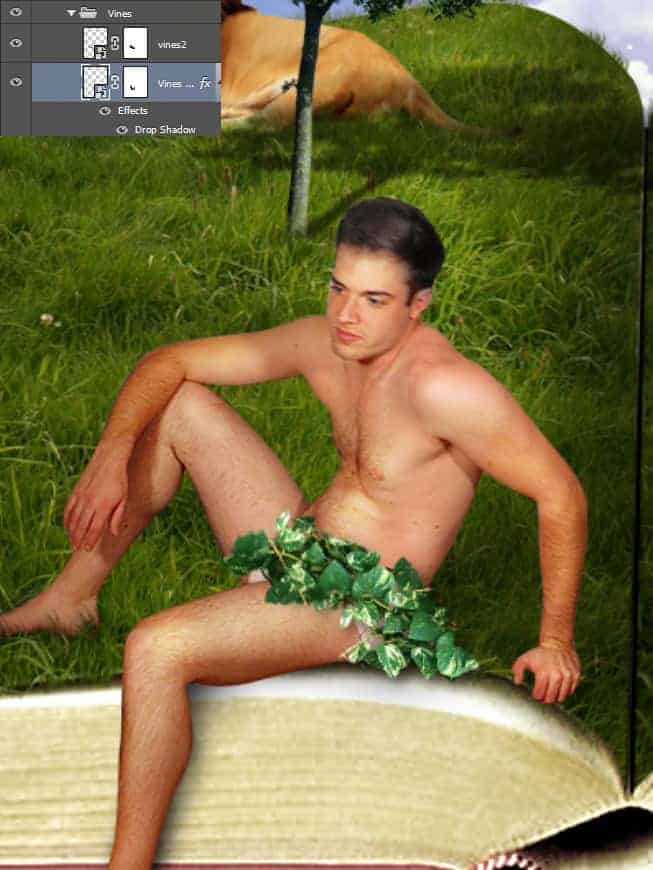
Duplicate the vines layer (Ctrl + J) and rotate it a little. Turn off the drop shadow effect (click on the eye next to “Effects”) and place this over the existing vine to create a bit more variety.
Step 41
Now that we are done placing our main elements let’s ad some nice FX and miscellaneous items.
Create a new layer and create a white cloud above the book using one of the cloud brushes.

Step 42
Open the file “Rainbow” and copy/paste the rainbow in our scene. Change the blending mode to Linear Dodge and use a layer mask to hide the hard edges. Lower the Opacity to 44%.

Step 43
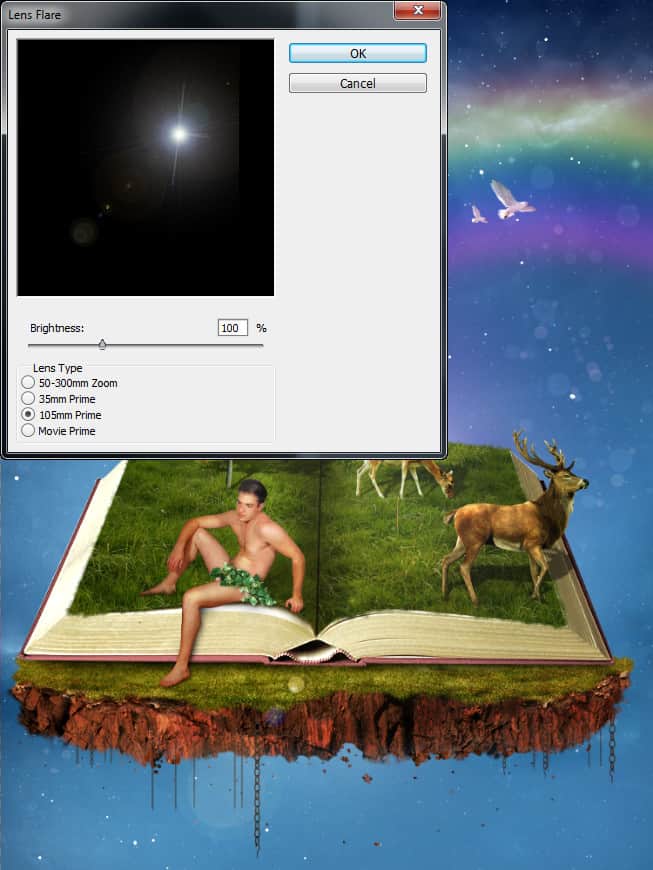
Create a new layer and fill it with black (Shift + F5). Go to Filter > Render > Lens Flare and choose 105 mm Prime. Chang the layer blending mode to screen and use a layer mask to hide the very bright effects.
Step 44
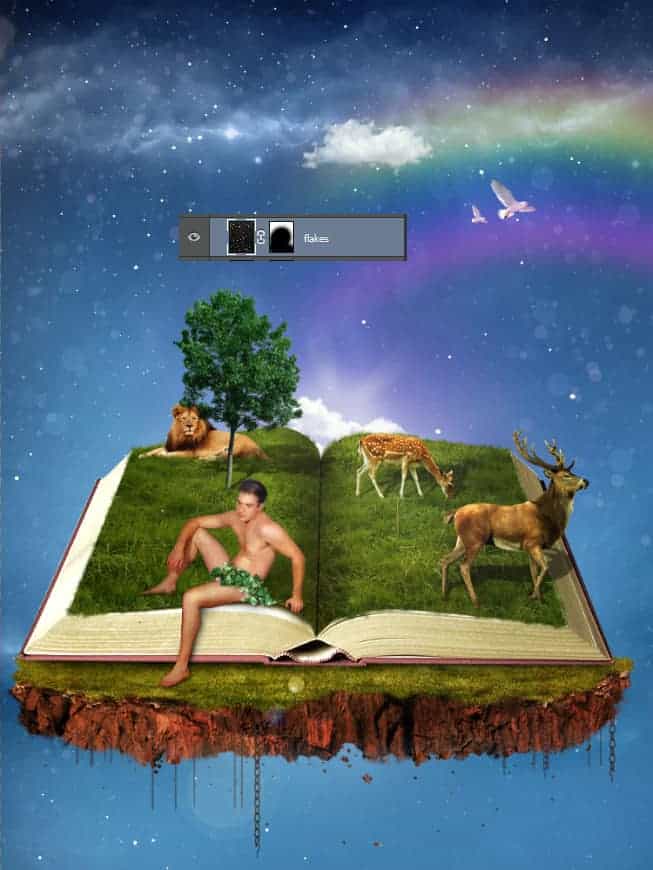
Open the file “Snow Texture” and copy all (Ctrl + A and Ctrl + C). Paste into our scene and change the blending mode to Screen. Lower the Opacity to 17% and use a layer mask to hide most of the middle snowflakes.
Step 45
Open the file “Glam”. Select all and copy paste in our scene. Change the blending mode to Soft Light and lower the opacity to 47%. Use a layer mask again to hide most of the middle layer.

Step 46
Use the Rectangular Marquee Tool to create a long and fairly thin rectangle. Fill the selection with white and rotate it as shown below. Deselect everything (Ctrl + D) and apply a 2px Gaussian Blur (Filter > Blur > Gaussian Blur).

Step 47
Change the blending mode of the white rectangle layer to Soft Light and lower the opacity to 11%. Duplicate this layer a couple of times (Ctrl + J) and move each duplicate in a slightly different position to the right or to the left.
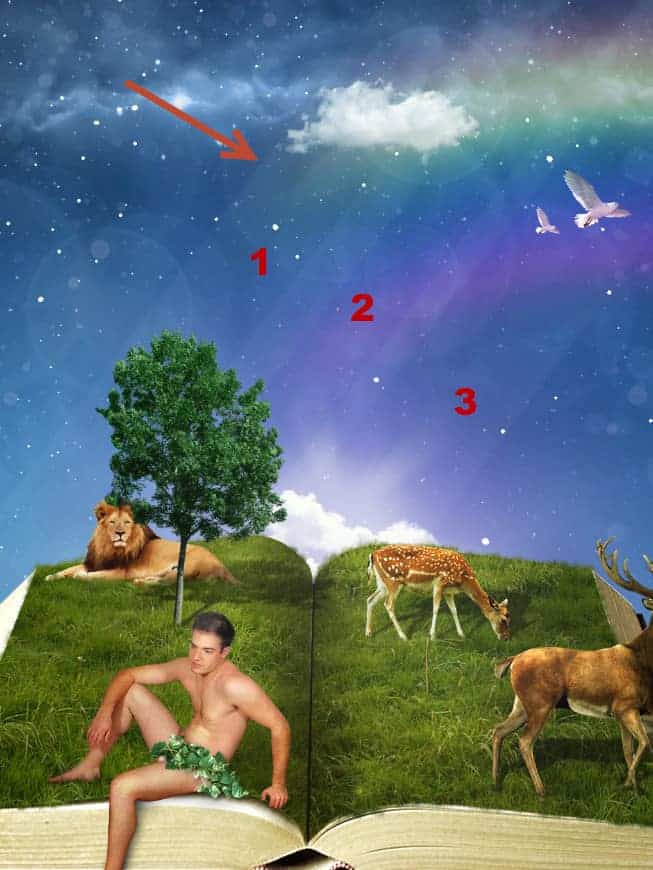
Step 48
Create a new layer and choose the standard round soft brush. Lower the size to 2px and opacity to 30%. Paint some white outlines in the places indicated below. Double click the layer and add an outer glow effect.
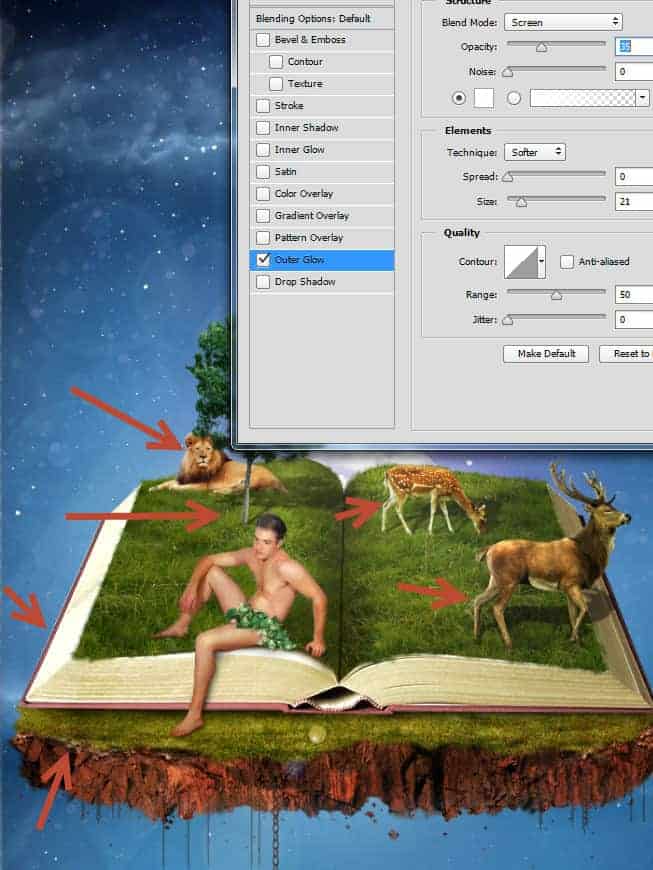
Step 49
Create a new layer and change the blending mode to Overlay. With the standard round soft brush at 30% opacity an 400px size click once or twice in the middle of the scene. By doing this we will put the focus on the middle of the scene.
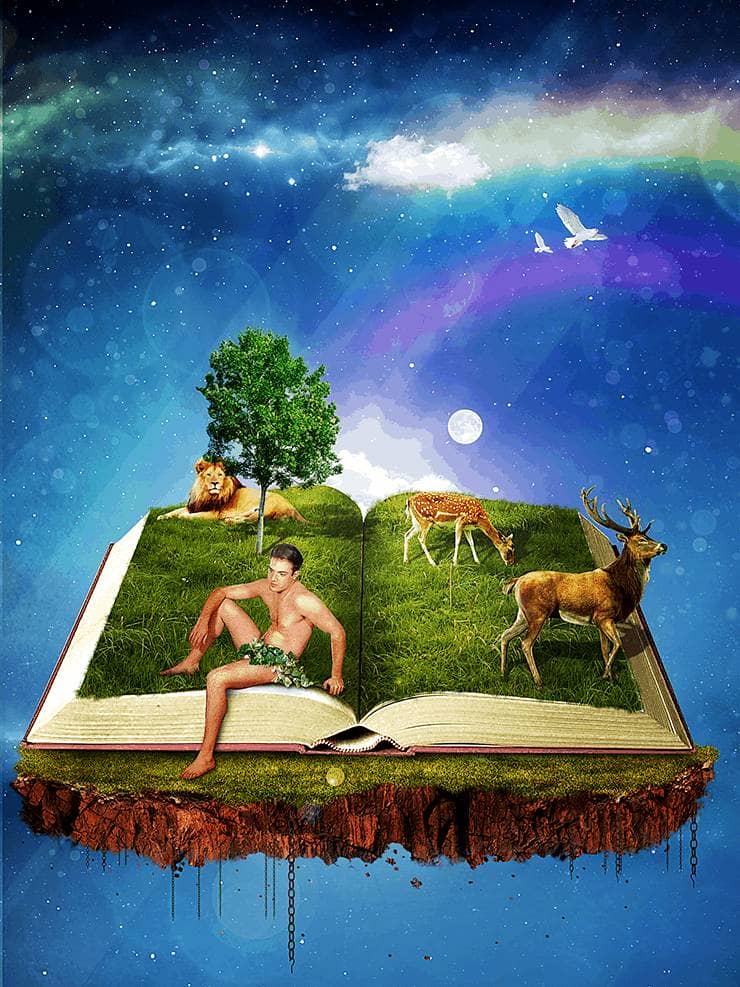


10 comments on “How to Create a Fantasy Book Scene in Photoshop”
stop
Beautiful
very nice excellent
excellent tutorial..very clear explanation...u r genius
That's Amazing Dude Very Very Nice !
Beautiful
Mr cordes U slayer :)!$
excelente tutorial. :)
Woooow...awesome work ???
Wow