Make skin look perfect in one-click with these AI-powered Photoshop actions.
Step 23
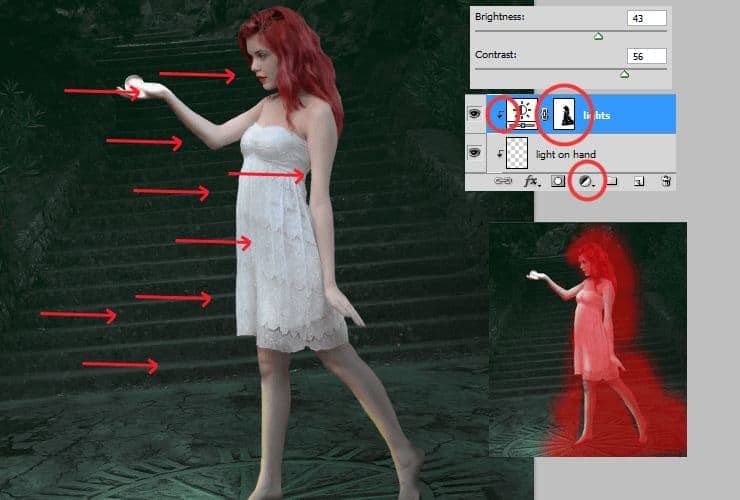
Repeat this step, but mask lighter parts. I recommend to use bigger brush with dynamic opacity.
Step 24
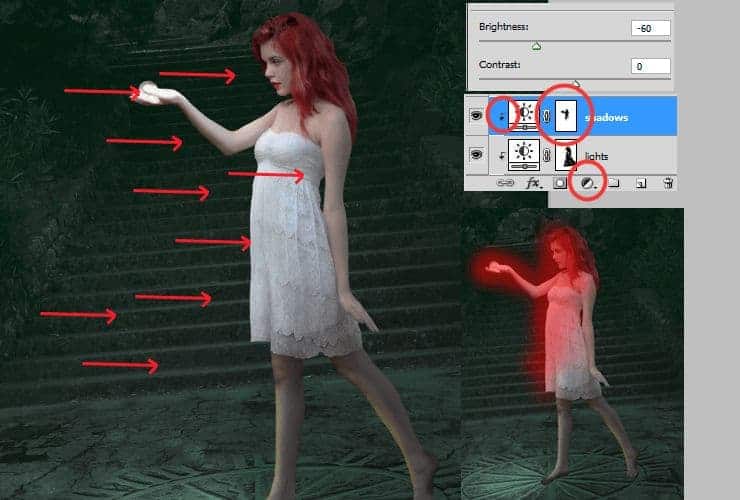
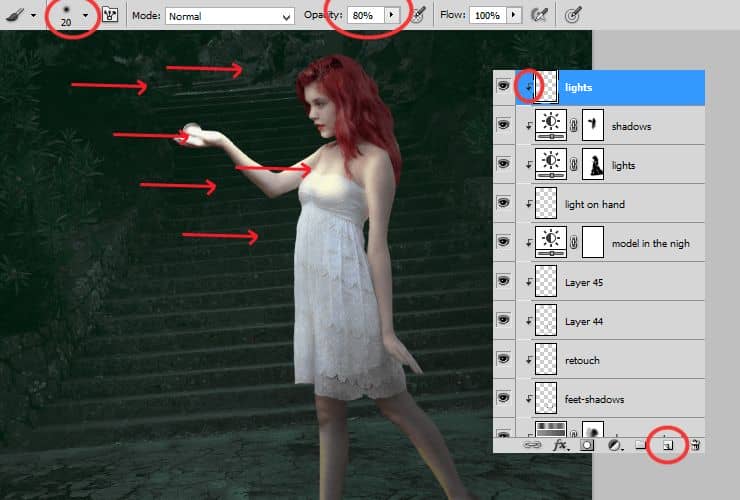
Add new layer (Layer > New > Layer or Shift + Ctrl + N), right-click on blank layer and choose "Create clipping mask" (Alt+Ctrl+G or Layer > Create Clipping Mask). Pick soft round brush and set white color. Draw some lights at arms, face, breast and hands. With this step, you can make lights more precisely than with adjustment layer.
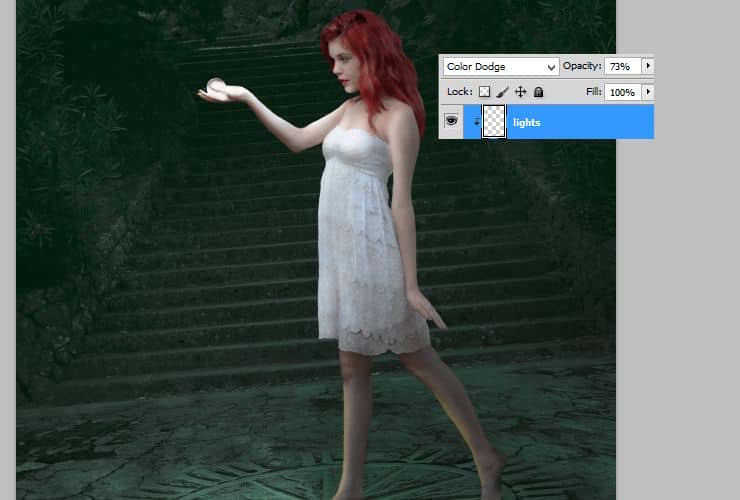
Change blending mode to Color dodge, decrease opacity to around 75% (here: 73%).
Step 25
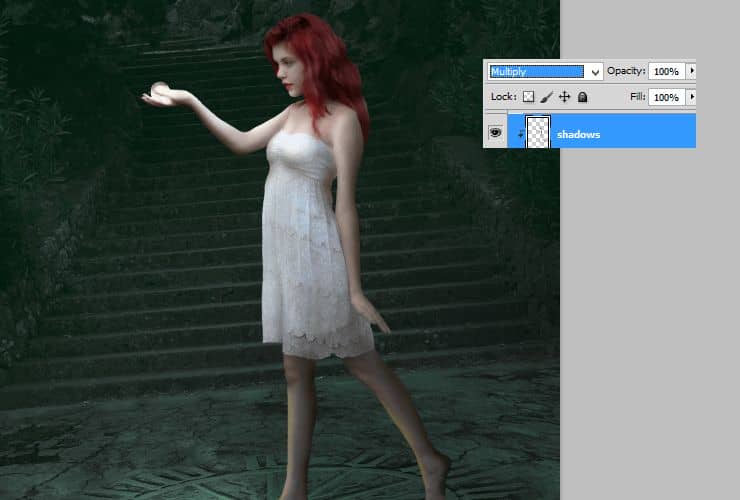
Do the same with shadows. Add new layer (Layer > New > Layer or Shift + Ctrl + N), right-click on it and choose "Create clipping mask" (Alt+Ctrl+G or Layer > Create Clipping Mask). Pick soft round brush and set smoked green (#5f5529) color. Draw shadows on her hair, hands, skirt and legs.
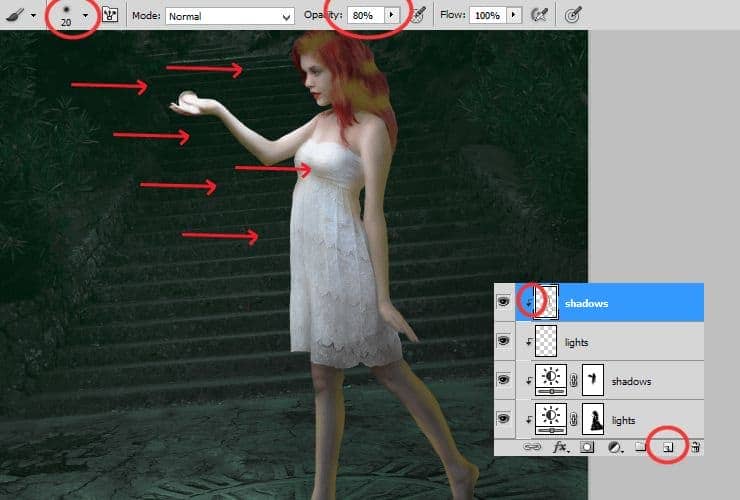
Change blending mode of this layer to Muliply.
Step 26
Heat up colors. Add new layer (Layer > New > Layer or Shift + Ctrl + N), right-click on it and choose "Create clipping mask" (Alt+Ctrl+G or Layer > Create Clipping Mask). Pick soft round big (really big) brush and set warm yellow (#e2c306) color. Draw big soft stain on hand and her face. For better effect, choose warm orange (#ff8706) color and draw some dots on the top of her hands and nose.
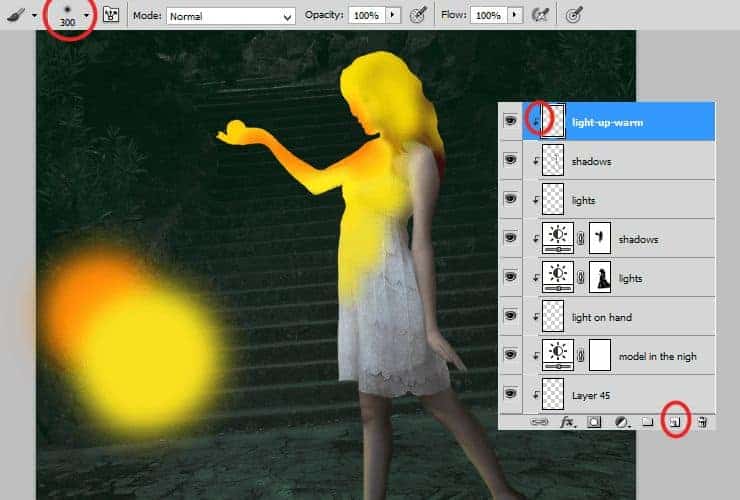
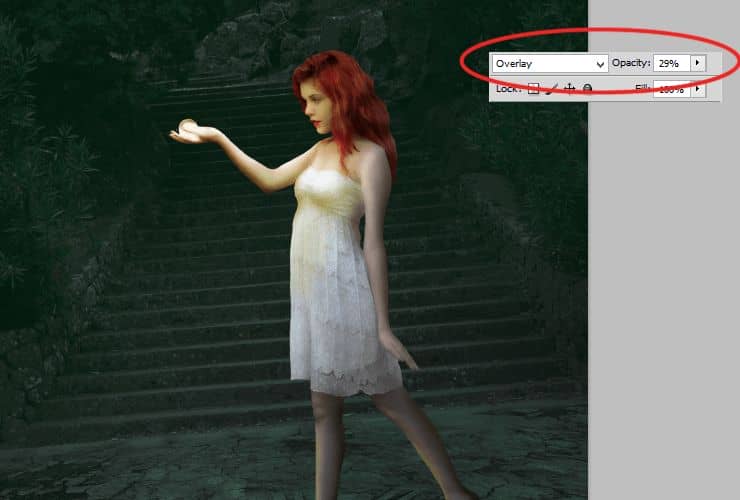
Change layer opacity and blending mode to Overlay 29%.
Step 27
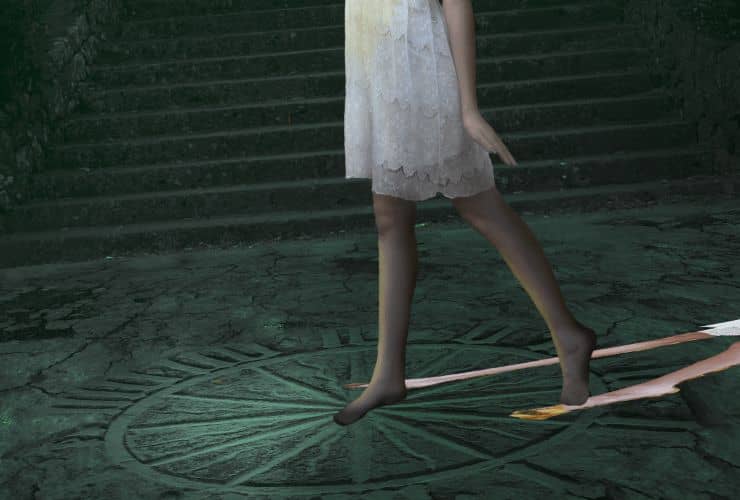
Go back below layer with stock model. Duplicate stock model (Drag and drop to new layer symbol or go to Layer > Duplicate Layer). Transform this layer (Ctrl + T). Change point of transformation by holding ctrl, so you can change perspective of layer.
Step 28
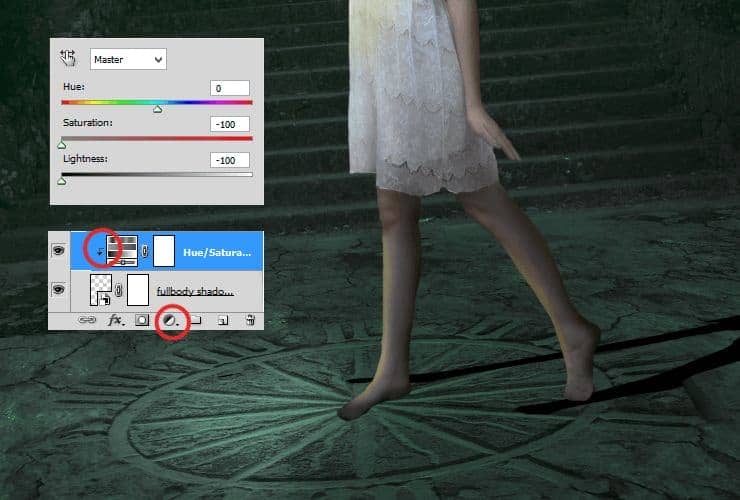
Add new adjustment layer with Hue/Saturation (Layer > New adjustment layer...). Right-click on it and choose "Create clipping mask" (Alt+Ctrl+G or Layer > Create Clipping Mask). Set it as is shown.
Step 29
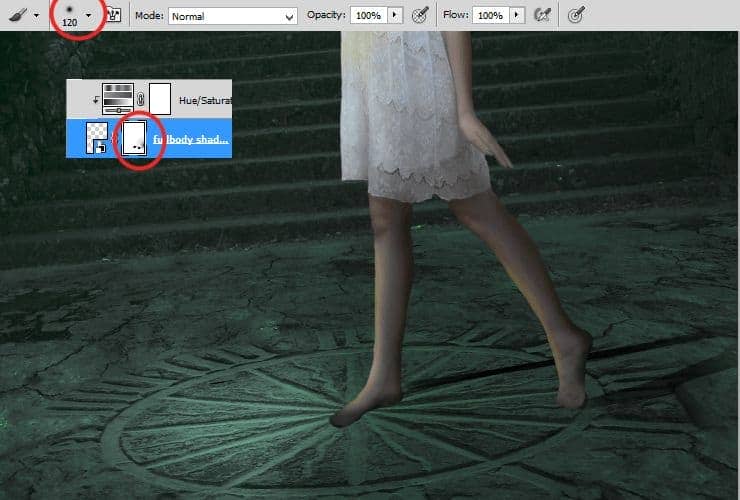
Click on blank canvas next to layer thumbnail. Set big soft brush and erase feets and knees from this layer.
Step 30
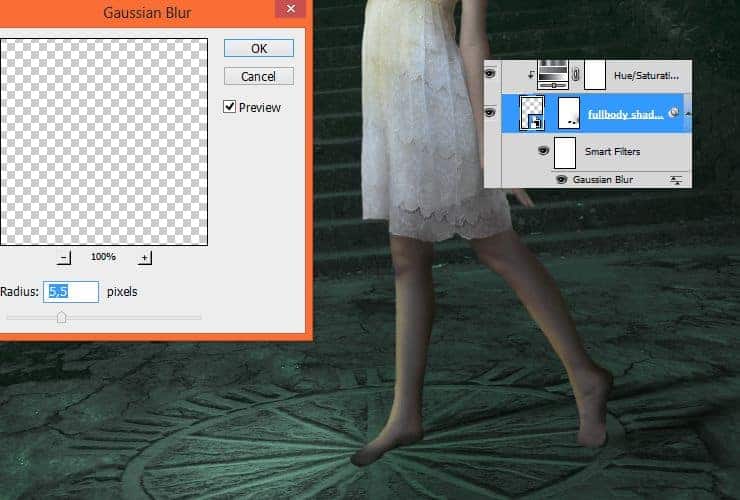
Then, go to Filter > Blur > Gaussian blur. Set it as is shown.
Step 31
Add new layer (Layer > New > Layer or Shift + Ctrl + N). Choose soft round brush, around 30px size. Draw something like rectangle with dots on corners.

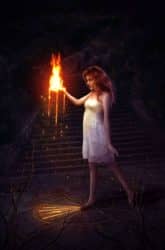

8 comments on “How to Create a Fantasy Photo Manipulation with Fire”
thanks for an awesome tutorial. wish i could post what i made of it on here :(
The end result is nice, but waaaay too many layers!
So sick of making layers... Need to find better methods.
Thanks.
why u dont use Photoshop cs6 for this tutorial? It's hardly to understand while Im using CS6
Link of ''Grunge map'' had died. I dont understand step 4, how to do it ??
Diego Armando
link to Grunge maps Weird 0001 2 (L) cgitextures is broken. Tree sidebar PNG is a pay file. Love your tutorial. Thank you
amazing
Nice