Turn any photo into a dot grid artwork with these Photoshop actions. You'll get great results with dots that change size. They get larger in brighter areas and smaller in darker areas. Free download available.
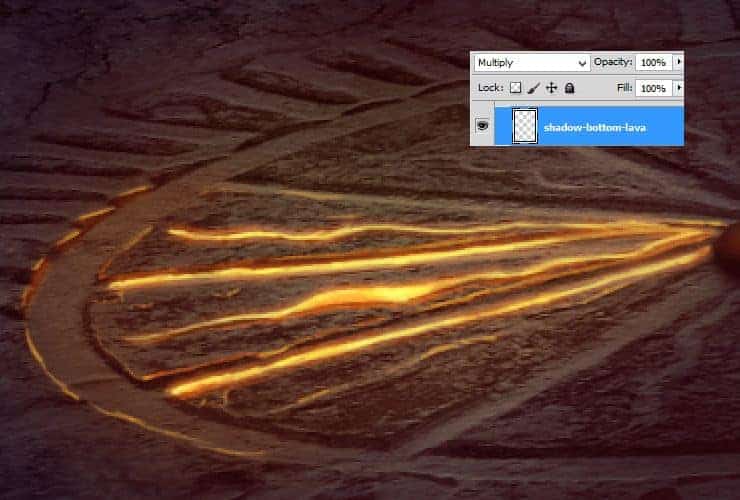
Step 57
Back to layer with particles. Duplicate it (drag and drop on "New layer" symbol or go to Layer > Duplicate layer...) and drag above all layers. Set its fill to 0%, change opacity to 61%.
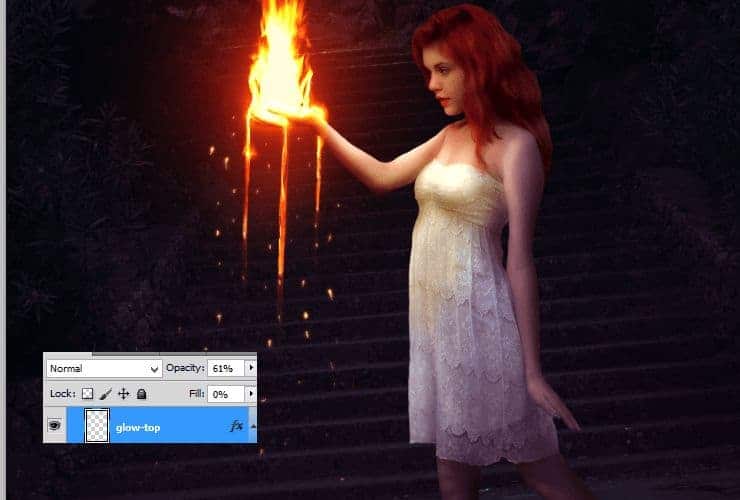
Right-click on it and choose "Blending options". Check Outer glow and uncheck Inner Glow.
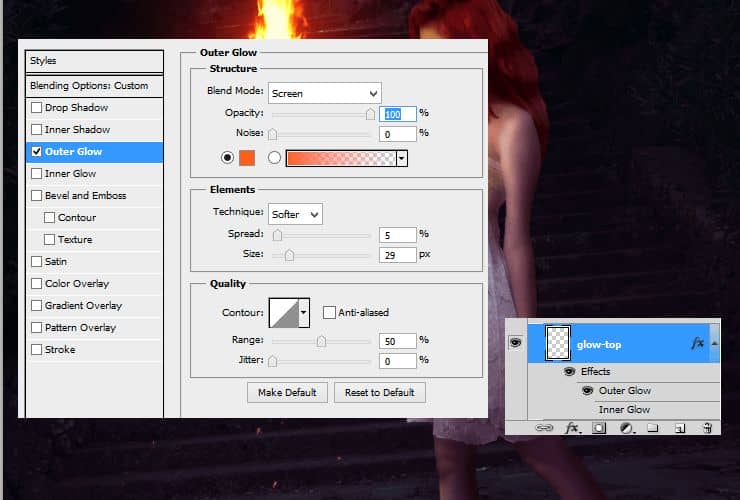
Step 58
Do the same with lava on bottom. Duplicate layer with base of lava (drag and drop on "New layer" symbol or go to Layer > Duplicate layer...). Then, just go to glow-top layer (step 57) and right-click on it. Choose "Copy layer style". Then, just click on your duplicated lava layer with right-click and choose "Paste layer style".
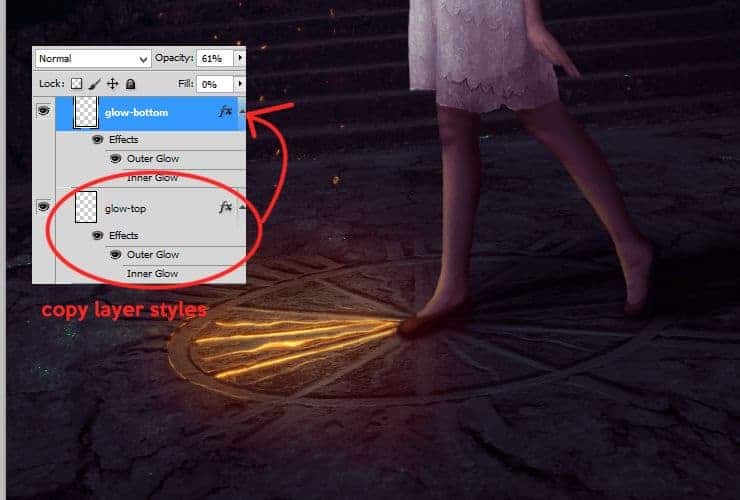
Step 59
Let's back between fire and shoes base layers. Add new layer (Shift+Ctrl+N or shortcut). You'll make highlight on eyes. Use 2px soft round brush and draw as is shown. I used white color for eye, light-orange and yellow for iris and white for iris highlight.
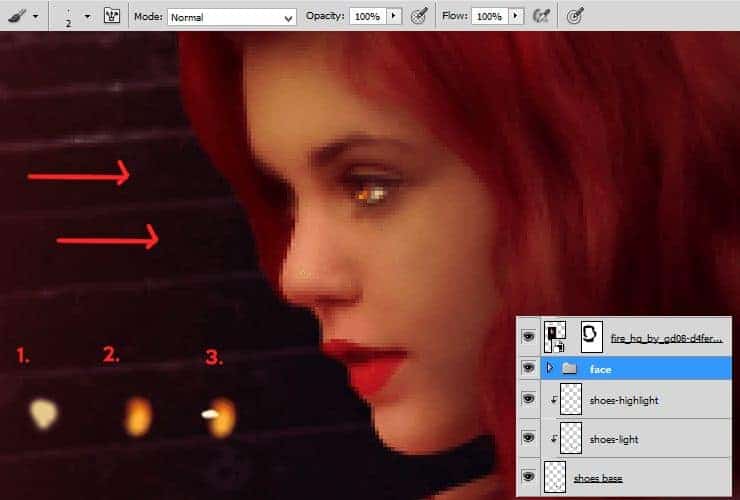
Step 60
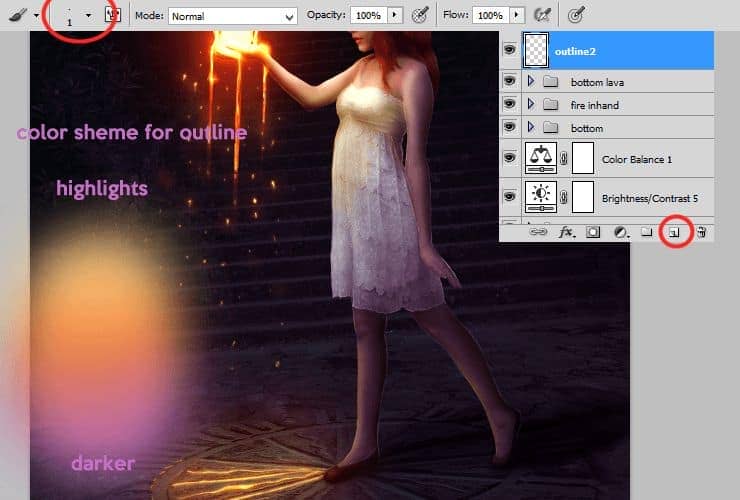
Make contour on face and her lips. Add new layer (Shift+Ctrl+N or shortcut). Just use 1px soft round brush and change color dynamicly from white - for highlight parts, by orange - for lighter parts, and end with blue/violet to make darker parts outlines.
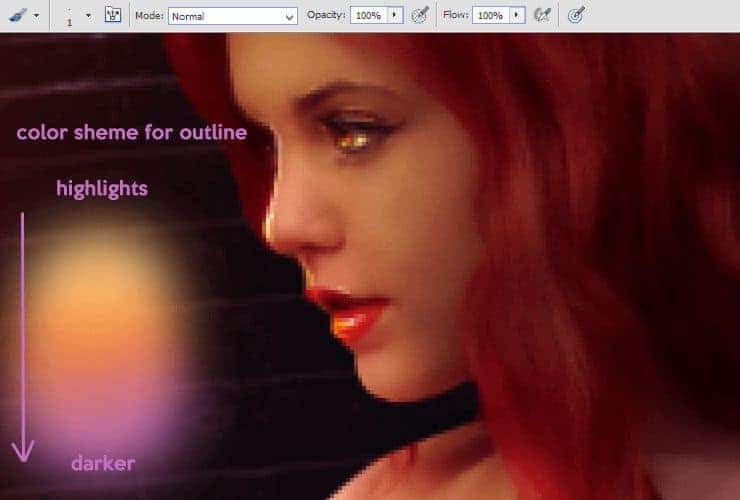
Step 61
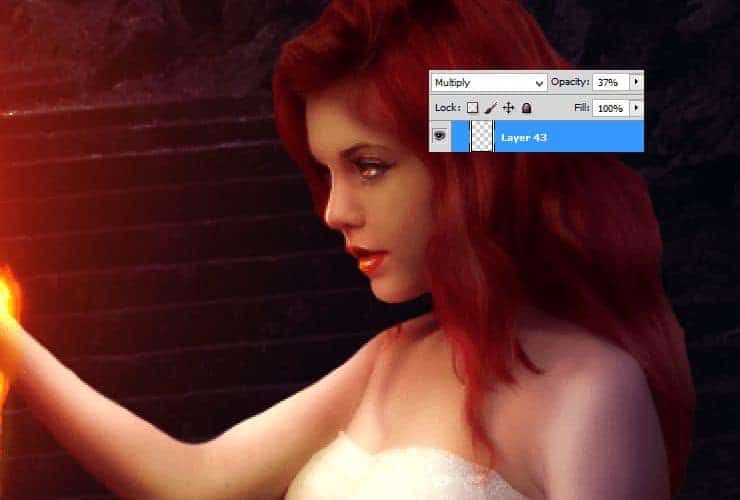
Make shadows on face. Add new layer (Shift+Ctrl+N or shortcut). Then, use soft round brush with opacity around 60%. Use #5e1d11 color and draw shadows on nose, face edge and hair.
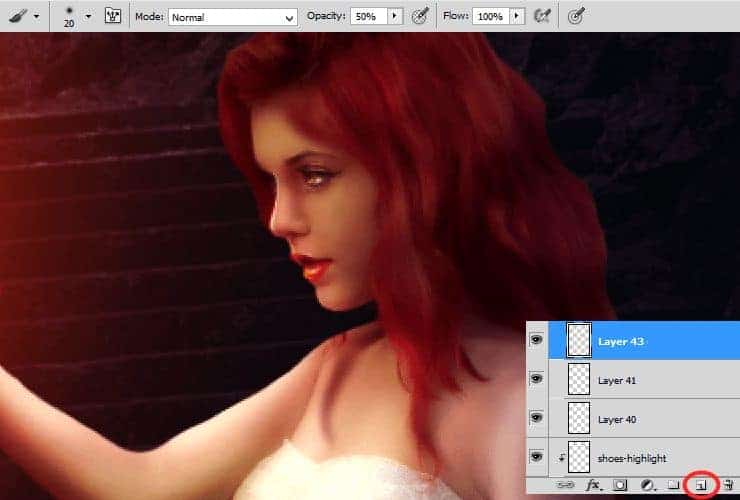
Decrease its opacity to around 40% (here:37%), change blending option to Multiply.
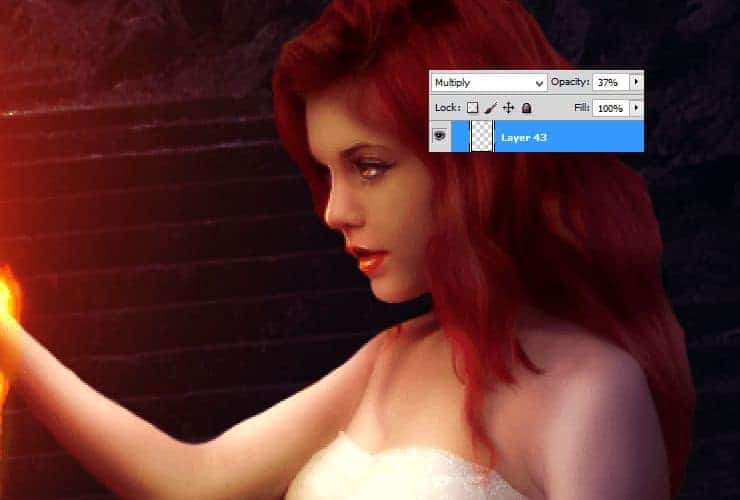
Decrease its opacity to around 40% (here:37%), change blending option to Multiply.
Step 62
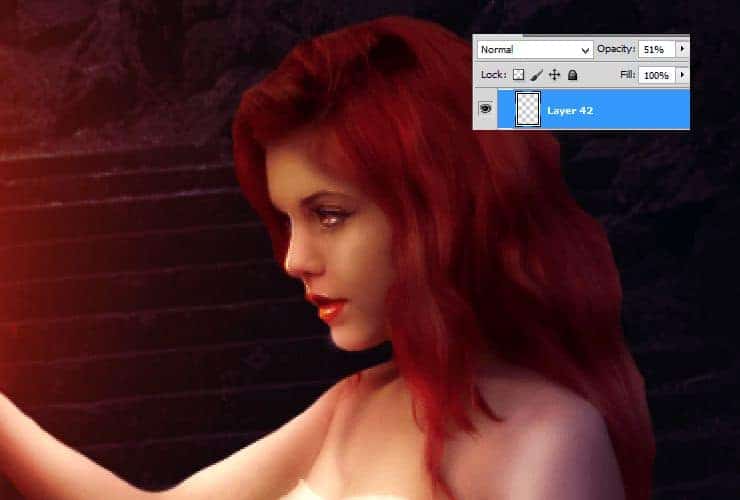
Again add new layer (Shift+Ctrl+N or shortcut). Use the same size and opacity of brush. Change color to white. Draw highlight on nose, on chin and on cheeks.
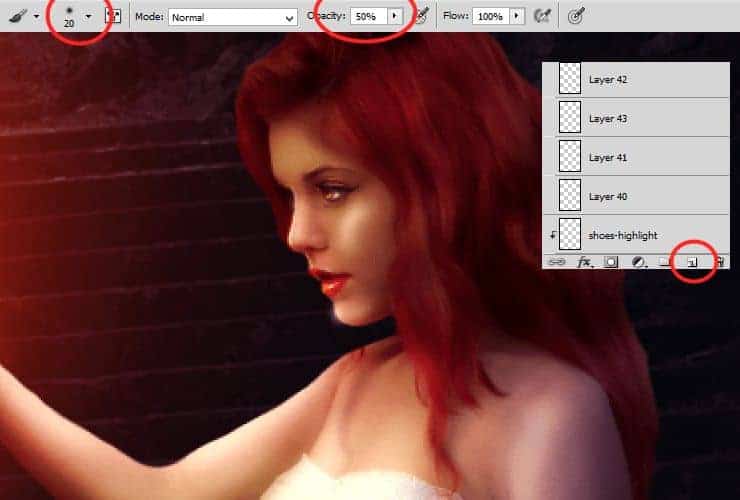
Decrease its opacity to around 50%.
Step 63
Okay. Go above all layers and add new layer (Shift+Ctrl+N or shortcut). Make the same thing as in step 60. Create outline of model's body, by using the same color sheme as in this step.
Step 64
Add falling particles around model. Add new layer (Shift+Ctrl+N or shortcut). Set #fffc82 - light yellow color in your color picker. Choose small, hard round brush and draw smaller particles by strokes of brush. You can also use "Rough Round Bristle" brush from Adobe Photoshop preset. It's also good for making particles. If you want, you can also use every dust or particle brush, you want.
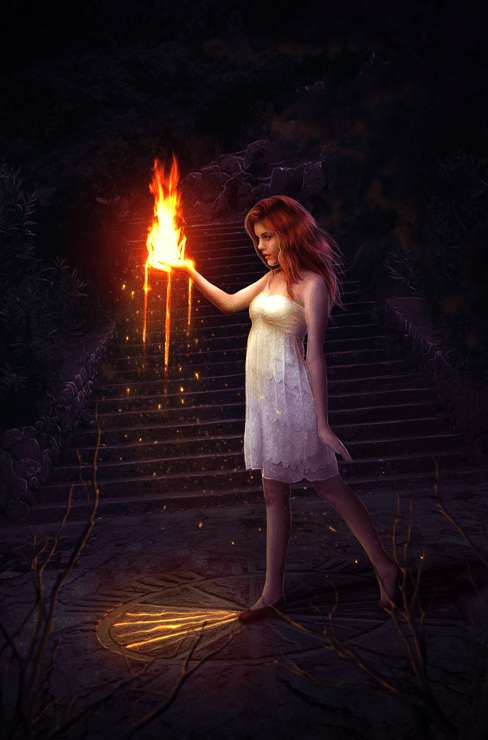

8 comments on “How to Create a Fantasy Photo Manipulation with Fire”
thanks for an awesome tutorial. wish i could post what i made of it on here :(
The end result is nice, but waaaay too many layers!
So sick of making layers... Need to find better methods.
Thanks.
why u dont use Photoshop cs6 for this tutorial? It's hardly to understand while Im using CS6
Link of ''Grunge map'' had died. I dont understand step 4, how to do it ??
Diego Armando
link to Grunge maps Weird 0001 2 (L) cgitextures is broken. Tree sidebar PNG is a pay file. Love your tutorial. Thank you
amazing
Nice