Download Lightroom presets and LUTs, absolutely free. Use the presets to add creativity and style to your photos.
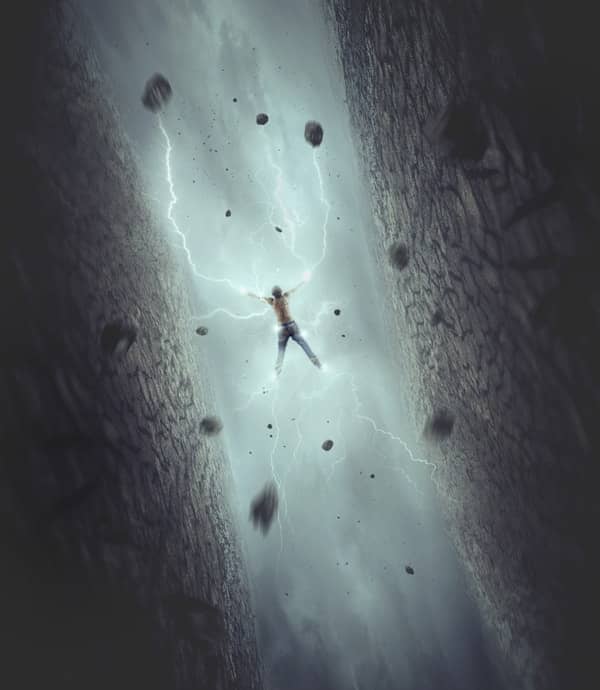
In this tutorial, I'll show you how to create a powerful scene with a man holding a light. You'll learn how to combine different stocks together by using adjustment layers, masking and brush tools. Furthermore, you'll learn how to work with groups, perspective and create a lighting effect.
We'll start this tutorial by creating a surreal environment with sky and desert images. Then we'll add the model and do some retouch on him as well as blend him with the background using adjustment layers and brush. Later we'll add the rocks, particles, lightning and create some light effect. We'll finish it up with some adjustment layers. You'll need Photoshop CS3 or newer to follow the process.
Tutorial Resources
Step 1
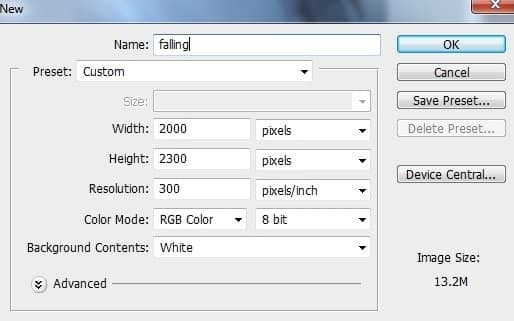
Create a new document in Photoshop with the given settings:
Step 2
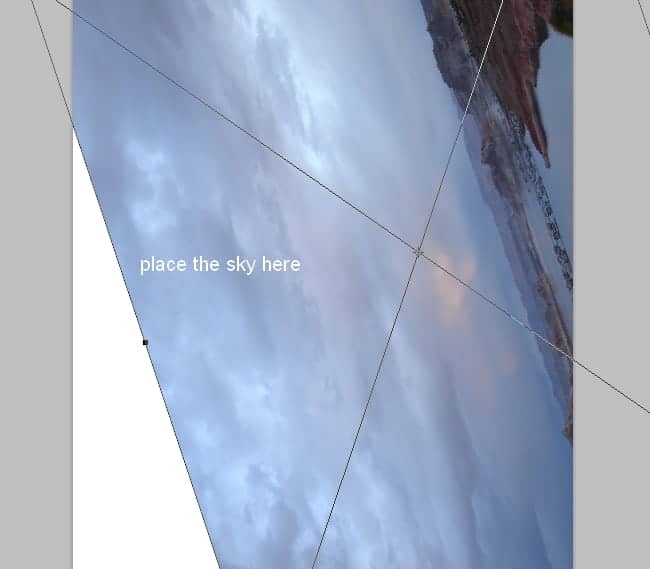
Open the sky image. Drag it into our white canvas using the Move Tool (V) and use the Free Transform Tool (Cmd/Ctrl+T) to rotate it as shown below:
Step 3
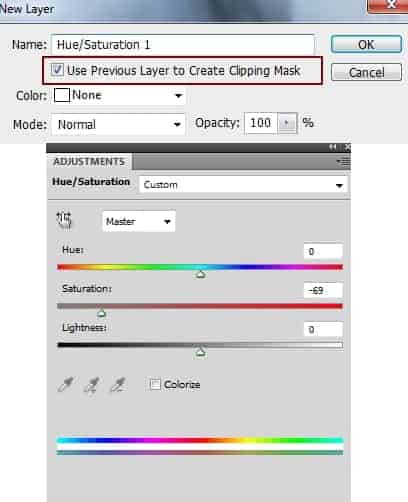
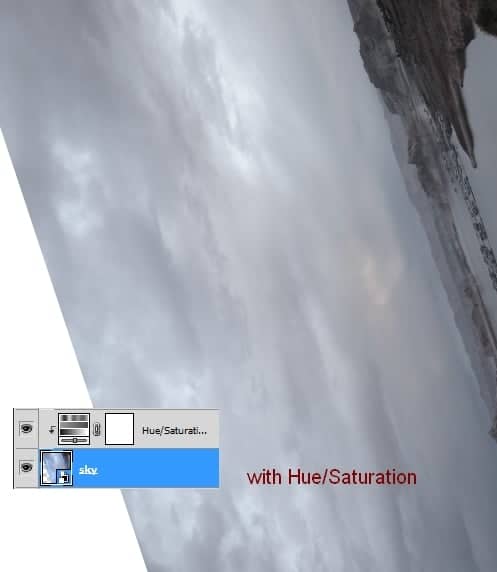
I used an adjustment layer with Clipping Mask to desaturate the sky color. Go to Layer > New Adjustment Layer > Hue/Saturation:
Step 4
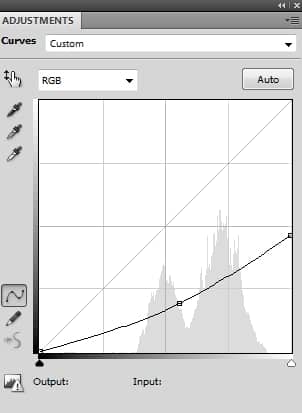
I used Curves to darken the sky sides:
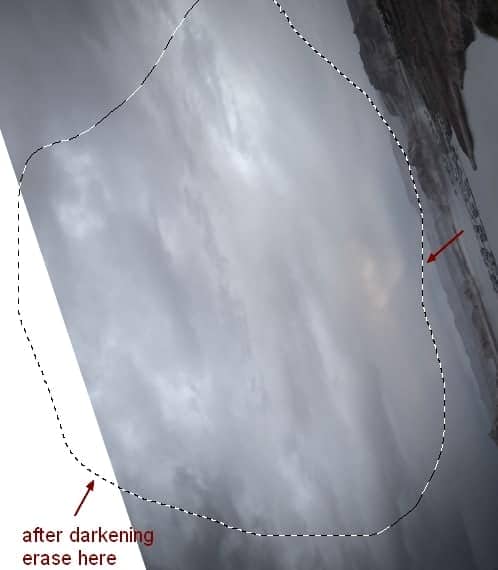
On this layer mask use a basic, soft brush with black color to erase the middle as I don't want it to be darkened:
Step 5
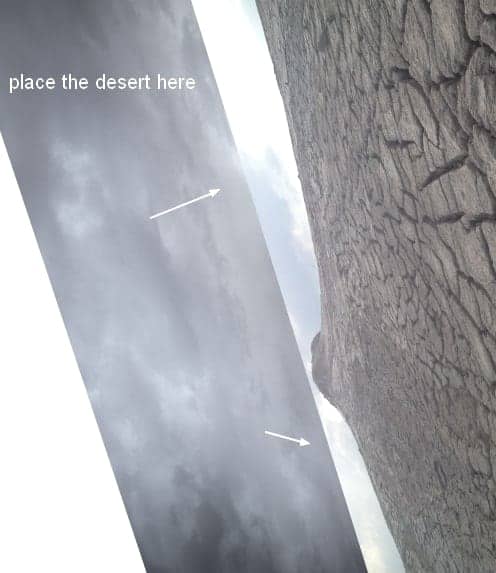
Drag the desert image into our main document and transform it, place it at the right side:
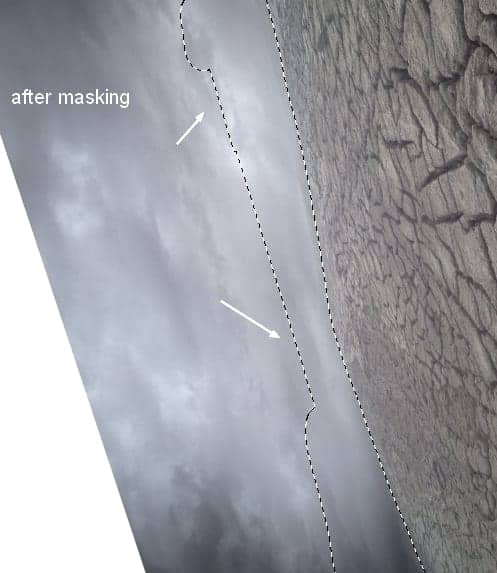
Click the second button at the bottom of the Layers Panel to add a mask to this layer. Use a soft black brush to remove the hard edges and blend the desert with the background:
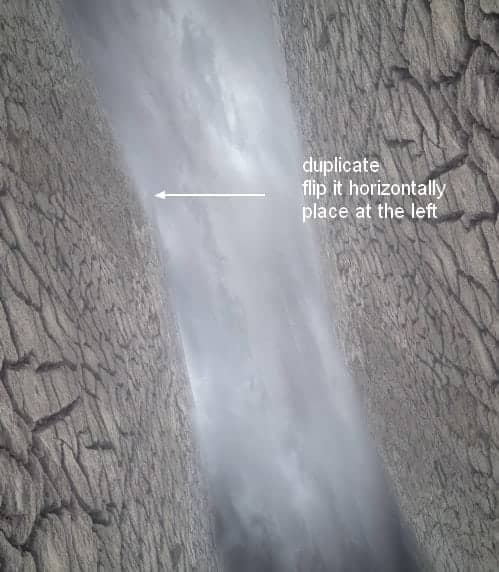
Duplicate this layer and flip it horizontally (Edit > Transform > Flip Horizontal). Position it at the left side:
Step 6
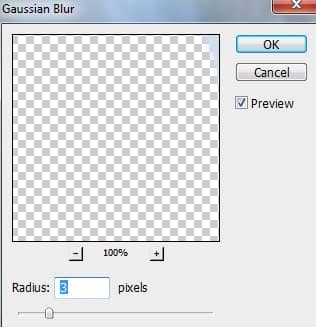
To add some depth to the scene, on each desert layer, go to Filter > Blur > Gaussian Blur and set the radius to 3 px:
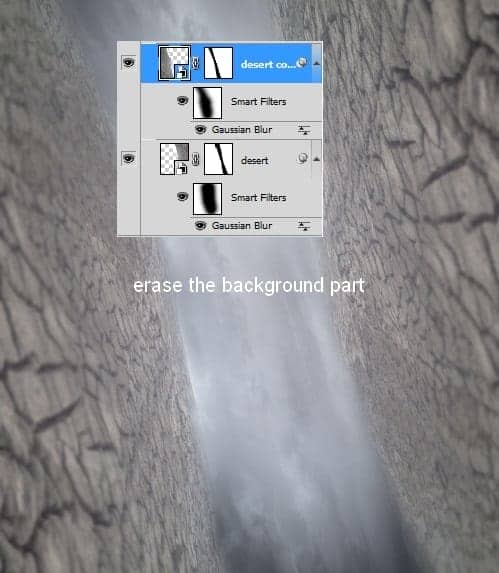
On the Filter Mask use a soft black brush to remove the blur effect at the top of the desert (background part) and make the blur effect visible only on the foreground:
Step 7
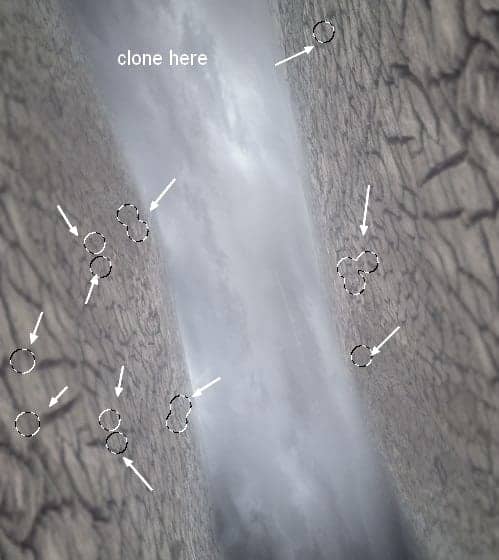
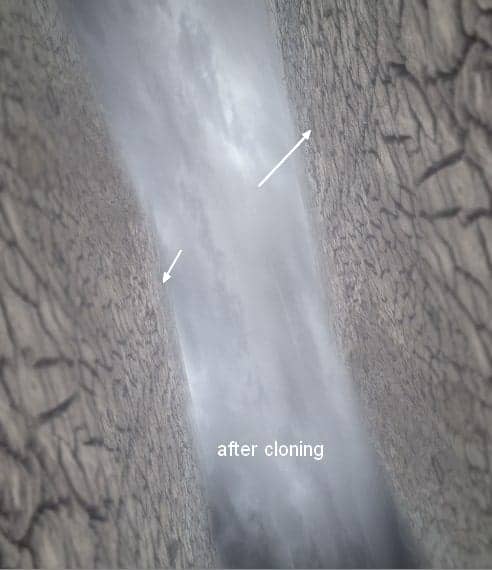
Make a new layer and active the Clone Tool (S). Use this tool to clone on some parts of the deserts to make them less uniform:
Step 8
Select the desert layers and the clone one then press Cmd/Ctrl+G to make a group for them. Change the group mode from Pass Through to Normal 100%. Make a Curves adjustment layer within this group to brighten the background parts:

9 comments on “How to Create a Dreamlike Scene of a Man with White Lights in Photoshop”
Thank you I learned a lot from following this tutorial!
Wow, this is great! Awesome job, love the final result!
Useful lesson. I love all your lessons
Love you bro...! you're awesome.., awesome piece of art
very nice, and very helpfull
here is my version
https://farm9.staticflickr.com/8774/17060403910_a0491b5ffd_b.jpg
Nice tutorial. I followed this tutorial and put my own spin to it. http://fav.me/d8pusfn
Dolan
i like memes
nice