
Luminar AI lets you turn your ideas into reality with powerful, intelligent AI. Download the photo editor and see how you can completely transform your photos in a few clicks.
Step 36
Let’s add some interesting lighting in our scene. Create a new layer and change the blending mode to color Dodge. Sample a deep blue color from the scene (with the brush tool selected holt the alt key until the sampler cursor appears and click on the desired color – my color is #1d3378). Set the brush size to 50px and the opacity to 20%. Paint over the moon and the nose of the character in smooth strokes.
Step 37
Now we’ll add some special effects textures. Download the “Special Effects1” and “Special Effects2” zip files from the resources indicated above and extract their contents somewhere on your computer. You’ll notice that inside the two folders there are multiple files, each with a colored smoke effect on a black background. Choose one that you like and open it with Photoshop. Copy/paste in in our scene and change the blending mode to Screen to get rid of the black background. Lower the opacity to 50%.

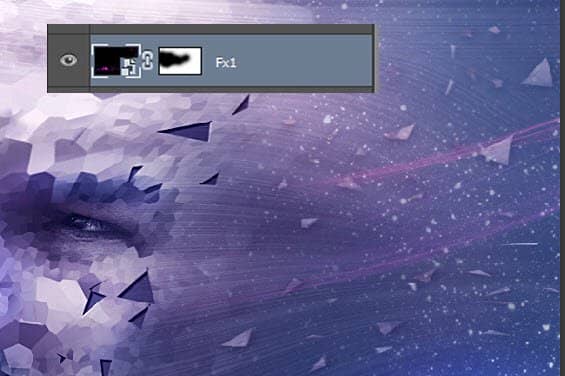
Step 38
We don’t want this effect all over the place but only showing in the right side of the scene. Add a layer mask to the effect layer and hide the left side of it until you have something like the image below.
Step 39
Repeat steps 37 and 38 with different effects from the downloaded effects folders. Feel free to rotate and resize them with Free Transform but don’t forget to convert them to Smart Objects beforehand. Add layer mask to hide unwanted regions and keep in mind that you want these effects showing mostly on the right side of the scene.

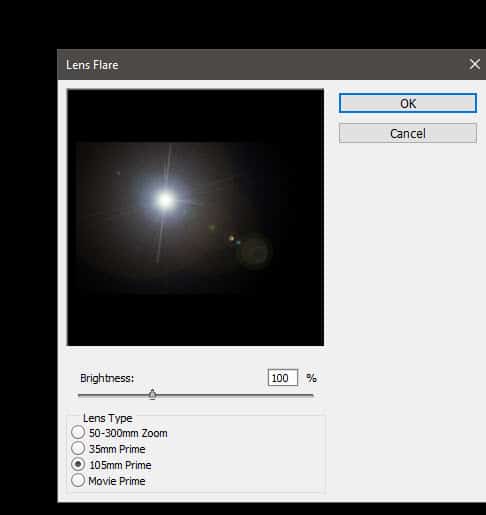
Step 40
Let’s add a lens flare effect. Create a new layer and fill it with black. Render a lens flare with the settings shown below by going to Filter > Render > Lens Flare.
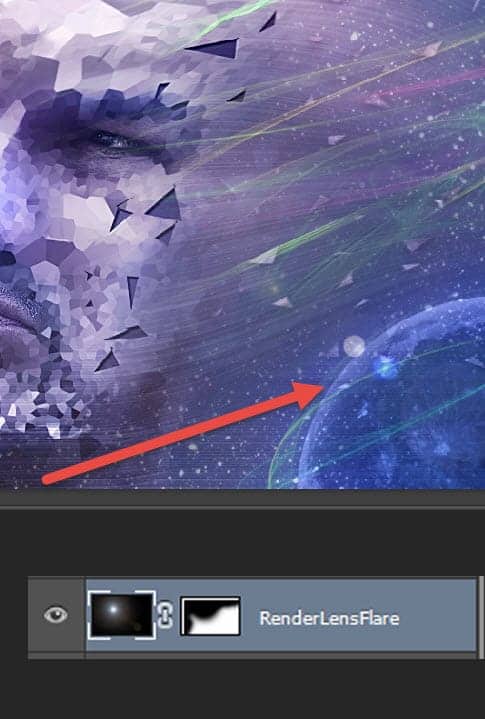
Step 41
Change the lens flare layer blending mode to Color Dodge and lower the opacity to 70%. Add a layer mask to hide the regions that are ugly or too powerful and feel free to move around the layer as you wish – beware though the hard lines that will show when moving the lens flare – if they appear hide them in the layer mask with a black brush.
Step 42
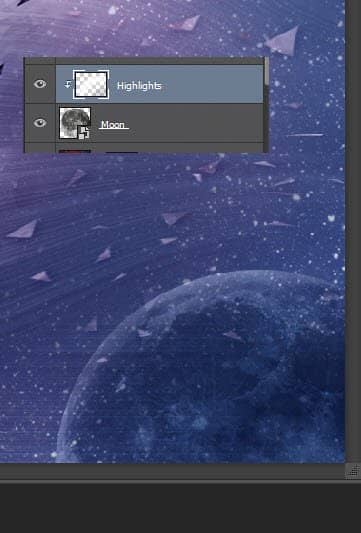
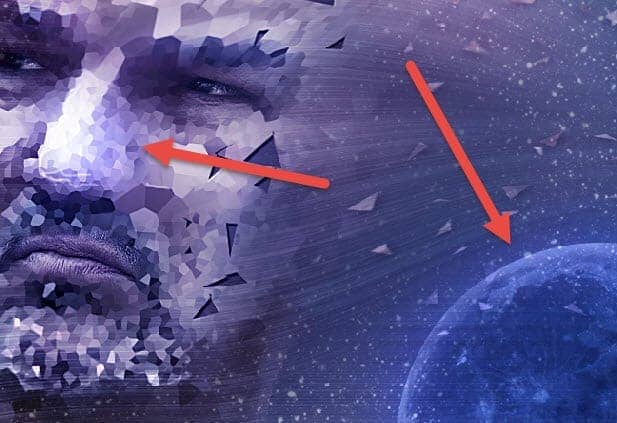
Let’s add some overall highlights to put focus on some areas and improve the scene lighting. Create a new layer and change the blending mode to Overlay. With a round soft brush at 30% opacity paint over the indicated areas. Paint with black at 20% opacity over the moon and some areas on the margins of the scene to allow the center to show better.
2 comments on “Create a Striking Photo Manipulation of a Face Distorted in Space”
Page 2 is broken, no instructions on it
This is creativity