Luminar AI lets you turn your ideas into reality with powerful, intelligent AI. Download the photo editor and see how you can completely transform your photos in a few clicks.
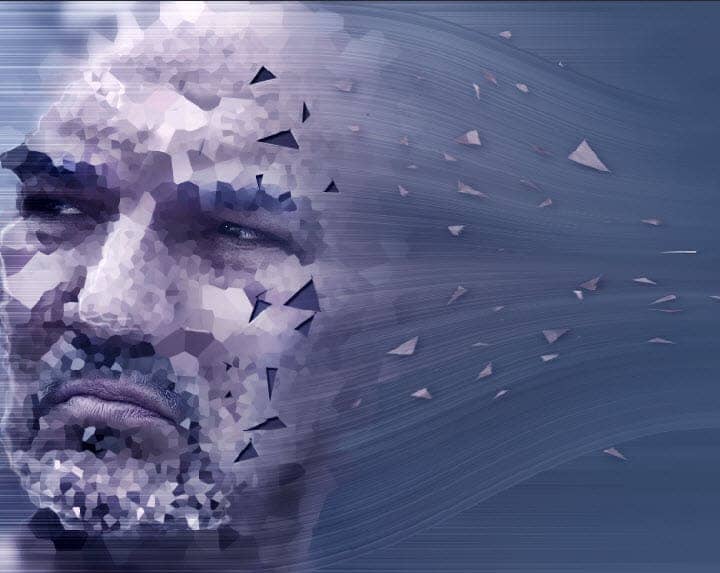
Step 28
Add a layer mask to this liquefy layer and use a round soft black brush to hide the obvious lines that were created in the step above.
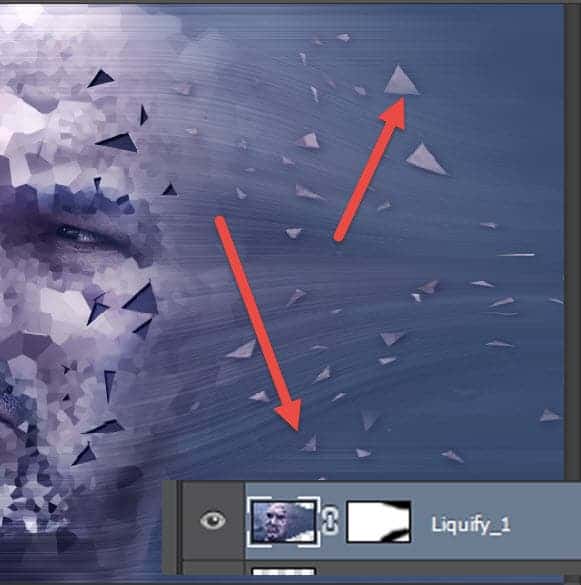
Step 29
Create a new layer from all the visible layers again and use the Liquify tool again to modify the face as shown below. Basically we’re dragging the back of the head towards the right and the front of the face towards the left.

Step 30
Now let’s add some soft contrast to our scene. Create a new layer from all the visible layers and apply a 50px Gaussian Blur. Change the blending mode to Soft Light and you’ll see not only an increase in contrast but also increased intensity.

Step 31
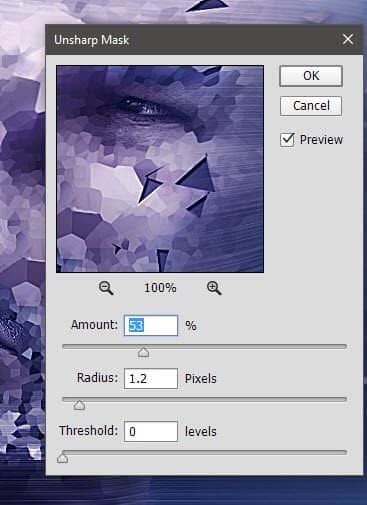
Let’s sharpen it a bit. Create a new layer from all the visible layers and apply a sharpen effect by going to Filter > Sharpen > Unsharp Mask. Add a layer mask and hide the sharpen effect on all areas except the face (paint with black in the layer mask over the areas you want hidden).
Step 32
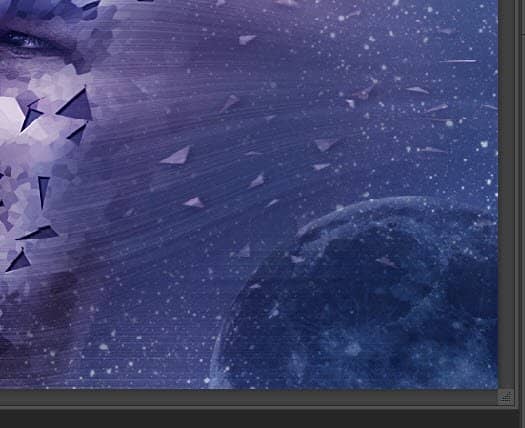
Let’s add some interesting detail to the scene. Open the file “Stars” and select all with Ctrl + A. Copy with Ctrl + C and go back to our scene and paste with Ctrl + V. Convert this layer to a smart object by right clicking on the layer in the layer palette and choosing from the drop down menu “Convert To Smart Object”. Do this for every external layer you’ll paste into the scene to preserve the original pasted layer pixels and info. Later you will be able to resize it and apply various filters non-destructively. Change the blending mode to Screen.

Step 33
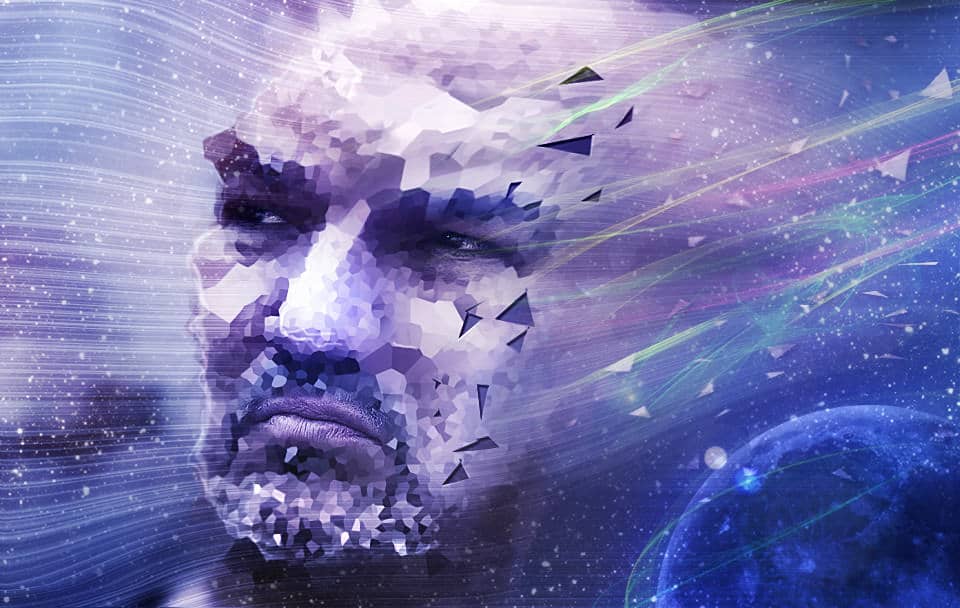
Add a layer mask and use a round soft brush to hide away the areas on the face and the places where the effect is too strong. Your image should look like the photo below:

Step 34
Open the file “Moon”. Use the Elliptical Marquee Tool to make a selection of the moon and copy/paste it in our scene. Convert it to a smart object and resize/place the moon in the bottom right corner of the scene. Change the blending mode to Soft Light.
Step 35
Create a new layer and clip it to the moon layer by Alt-clicking between the two layers in the layer palette. This procedure will make the upper layer show only through the visible pixels of the lower layer thus not affecting the rest of the scene. With a round soft brush at 10% opacity paint some highlights on the edges of the moon.


2 comments on “Create a Striking Photo Manipulation of a Face Distorted in Space”
Page 2 is broken, no instructions on it
This is creativity