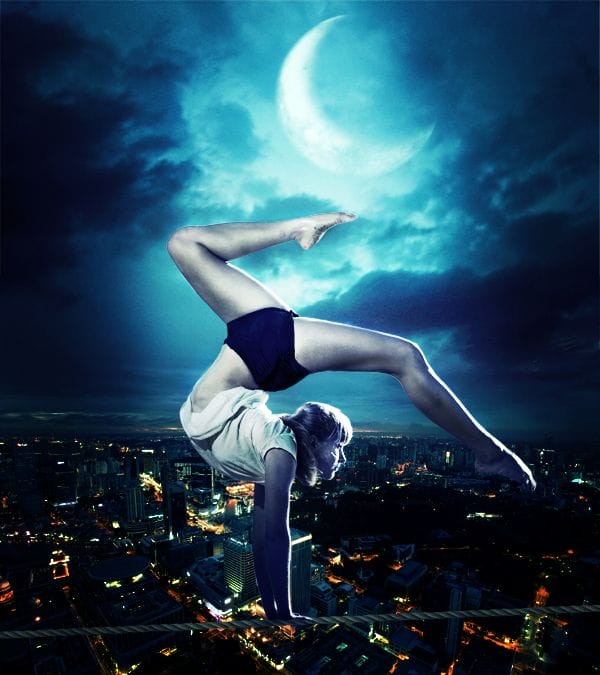
Learn how to create this dangerous scene of a tightrope dancer over a beautiful twilight cityscape. This tutorial will show you how to blend photos together using color matching and light painting techniques.
Preview of Final Results
Download the PSD
Equilibrium.zip | 106.38 MB
Download from Website
Tightrope Dancer Photoshop Tutorial
Resources
Step 1
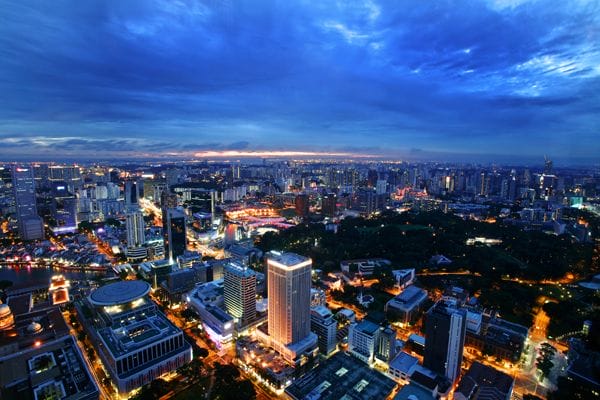
Open the ‘City’ Stock.
Step 2
Add a Color balance Layer adjustment:
- Shadows: -33 0 +14
- Midtones: -20 0 +26
- Highlights: -19 0 +5
You’ll have this result.

Step 3
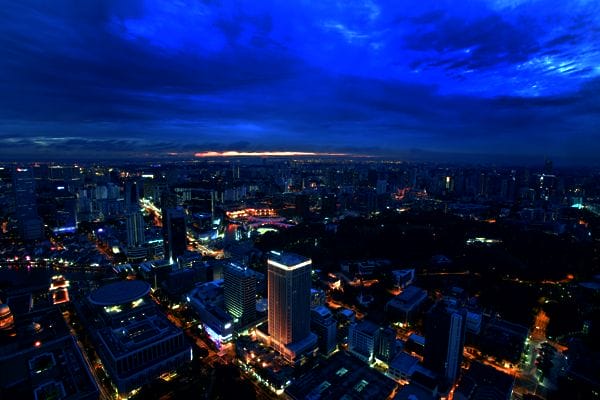
Add a Brightness / Contrast Adjustments Layer with these settings:
- Brightness: -105
- Contrast: +64
This is the result.
Step 4
Now we have to add the ‘Sky’ to our work. So let’s create some space above the city. Go to Image > Canvas Size and click on the arrow I’m going to show you below (1). Then replace the Height with 4912 Pixels (2).
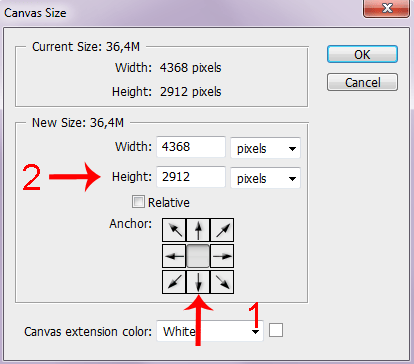
This is what we have now.
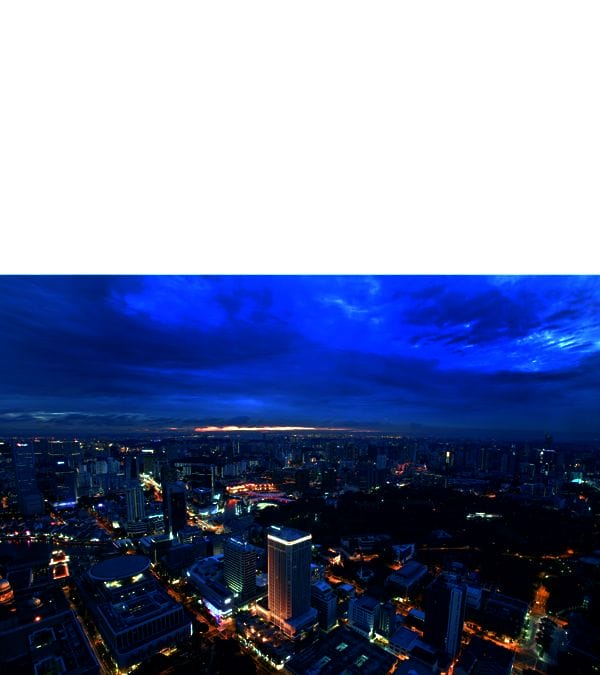
Step 5
Open the ‘Sky’ stock. After cropping the stock rules advise put it in a new layer above everything.
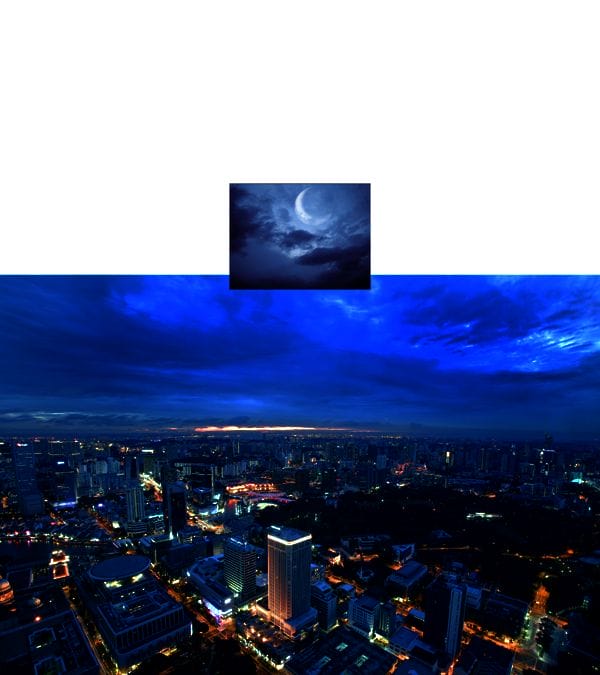
Step 6
Now resize the sky to fit it in the canvas.
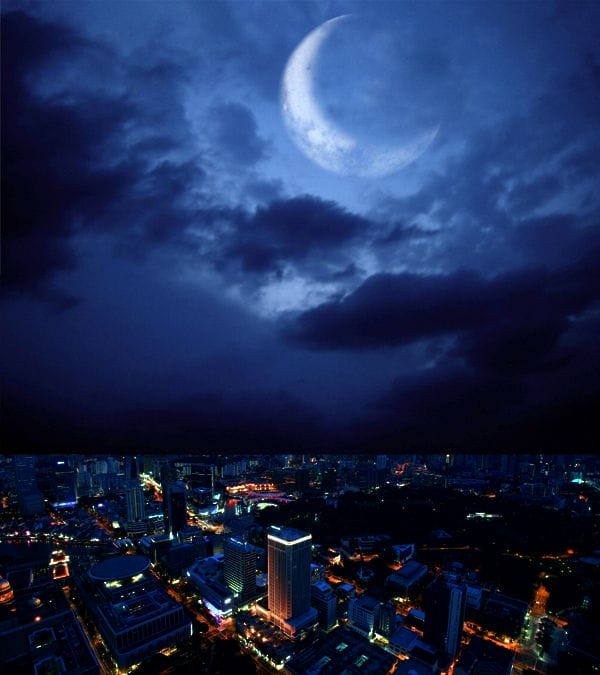
Step 7
Add a Mask to the Sky layer. We need to blend it with the rest of the manipulation. Choose a soft round brush (Settings: Opacity > 30-40% – Size > 180 – Color > Black) and on the layer Mask start to paint at the bottom of the sky to gently delete the strong contrast between it and the city.
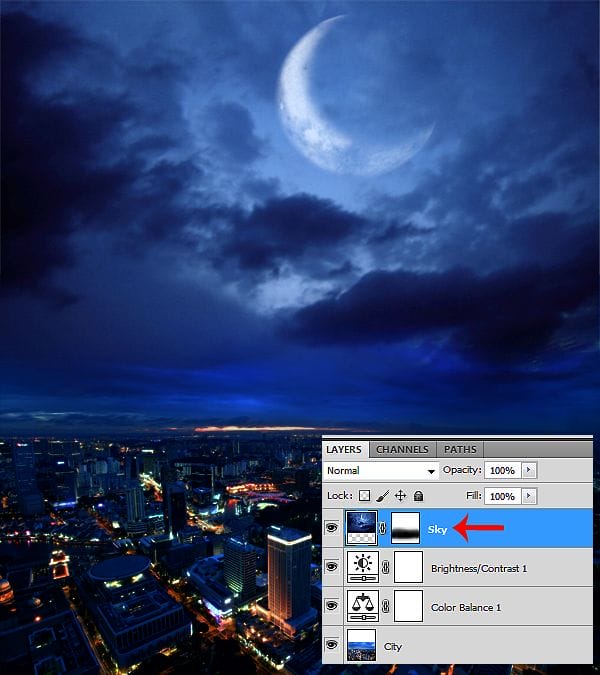
Step 8
Add a Color Balance Adjustment Layer ONLY for the Sky.
- Shadows -37 0 0
- Midtones -43 0 52
- Highlights -38 0 42
This is the result.
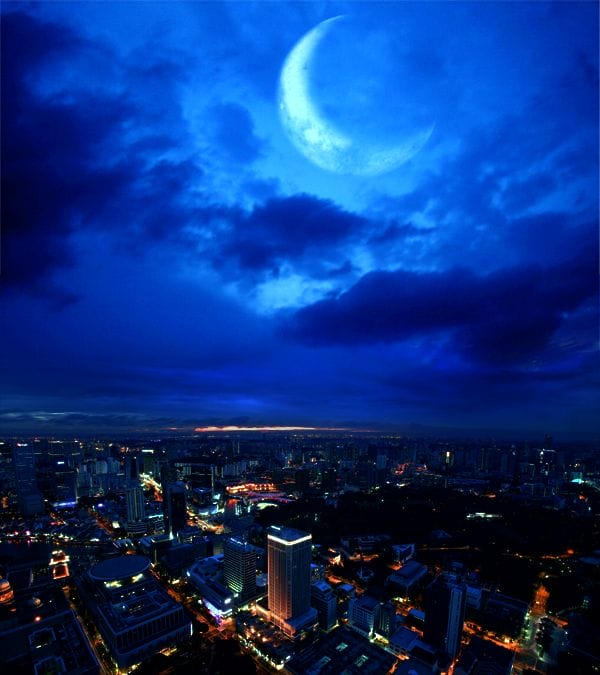
Step 9
The background looks too saturated. Let’s add a Hue/Saturation Adjustment Layer
- Saturation -14
- Lightness -4
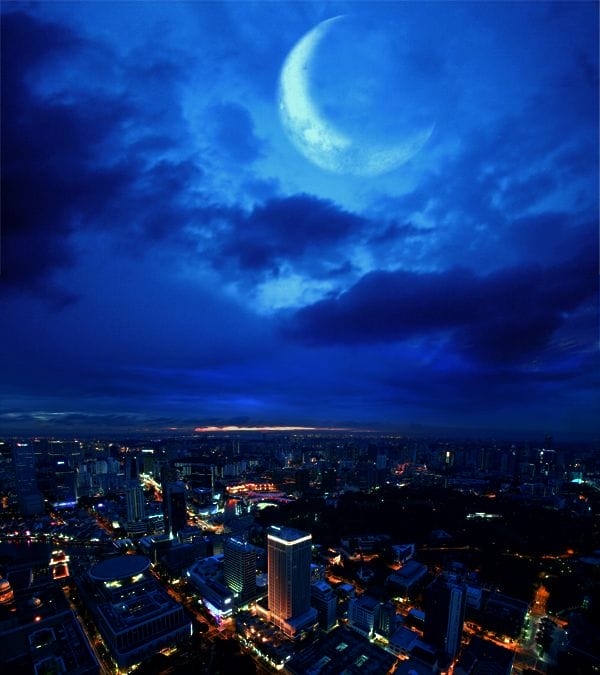
Step 10
Add a Brightness / Contrast Adjustment Layer to give more Light. Set the brightness to +20. Here’s the result.
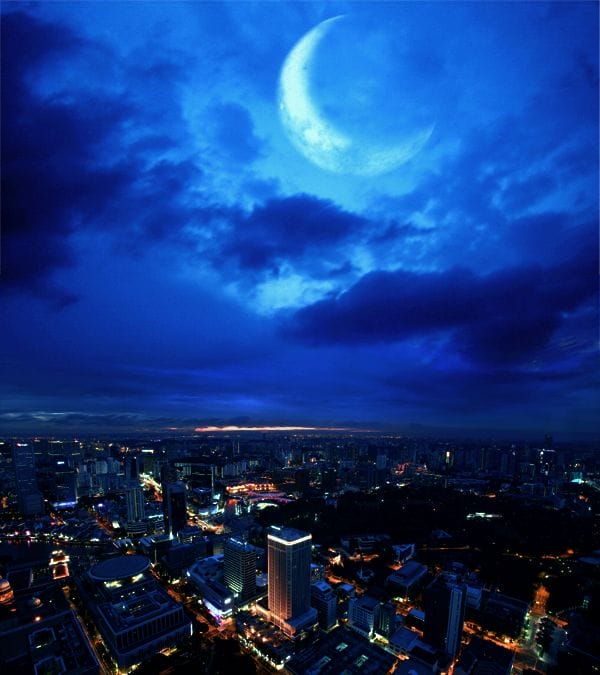
Step 11
Open the ‘Lady’ stock and cut her off her background. I know there are a lot of methods to do it. In this case I used the Pen Tool to be more precise. Place the Lady above all layers.
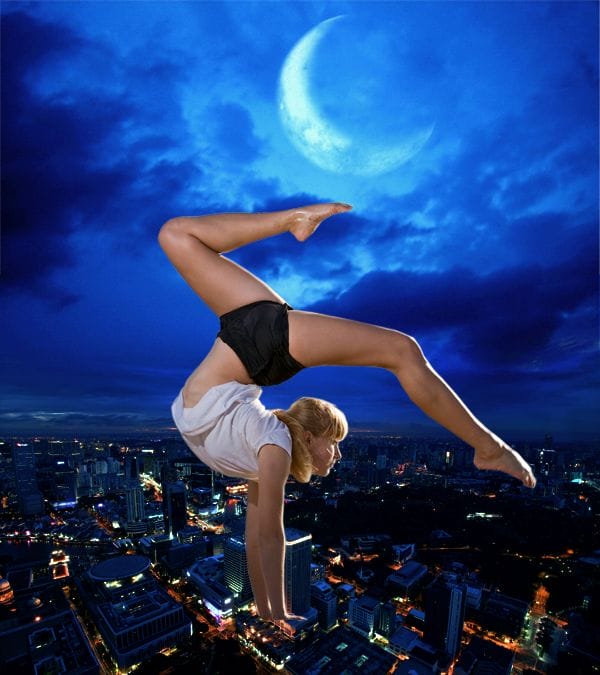
Step 12
Add a Hue / Saturation Layer ONLY for the Lady layer.
- Master: Saturation -42
- Reds: Saturation -41
- Yellows: Saturation -18; Lightness -16
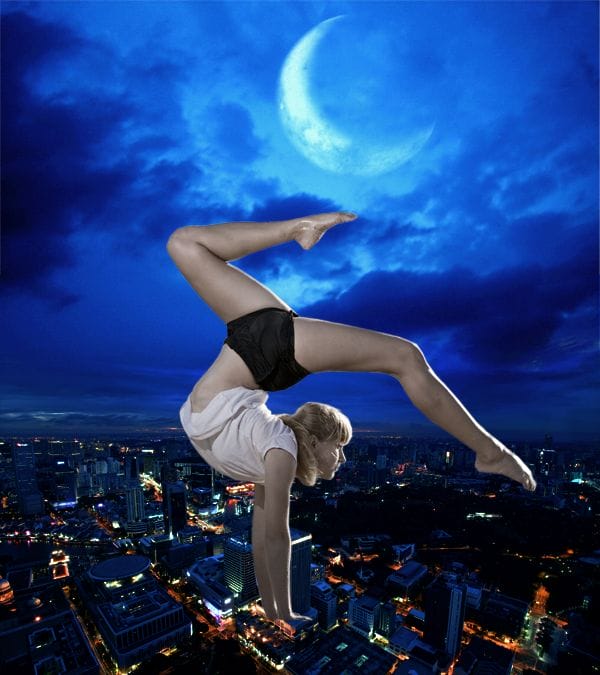
Step 13
Add a Color Balance Adjustment Layer ONLY for the Lady layer.
- Shadows -10 0 +24
- Midtones -14 0 +86
- Highlights -18 0 +31
And this is the result.
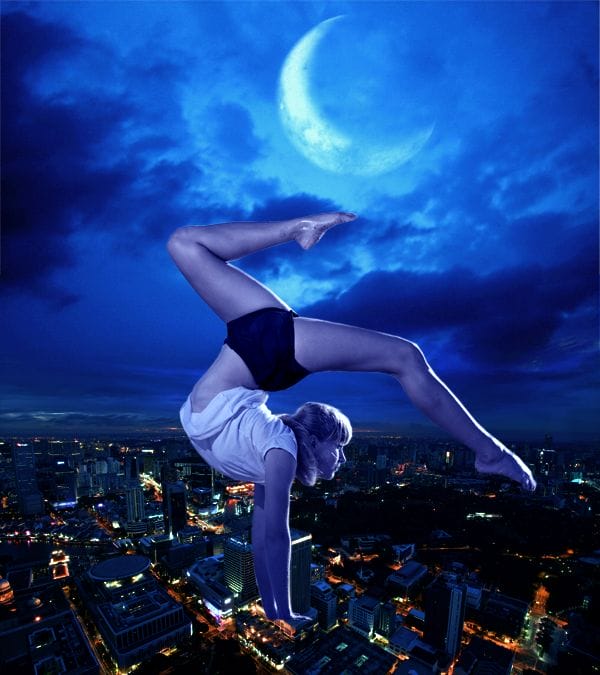
Step 14
Add a Photo Filter ONLY for the Lady layer.
- Filter: Cooling Filter 82
- Density: 11%
Set this layer to Overlay with Opacity and Fill at 50%.
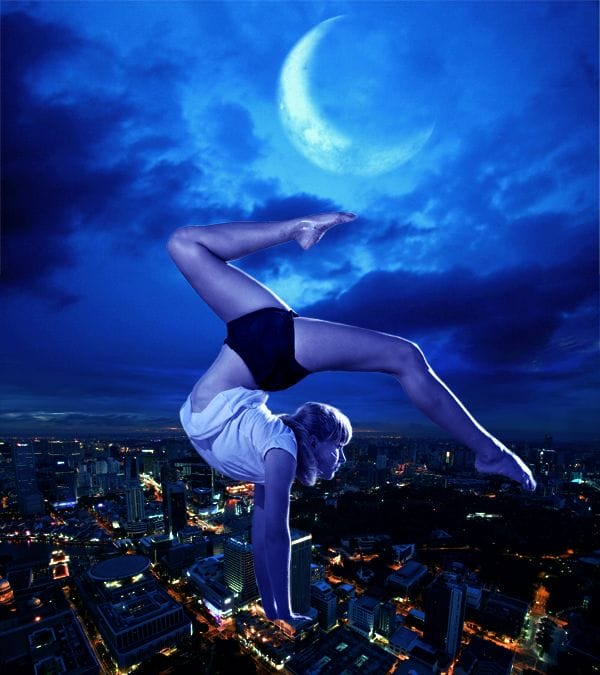
Step 15
Let’s add some light. Create a new layer. Pick the White color and use the Gradient Tool (Radial) in the middle of the manipulation (as you see in the image below).
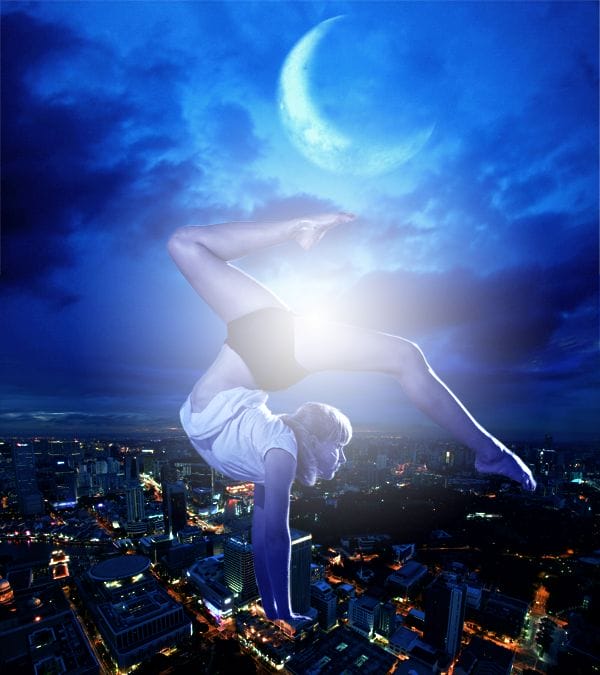
Set this layer to Overlay with Opacity at 70%. And this is the result.
10 responses to “Create this Breathtaking Photo Manipulation of a Tightrope Dancer in Photoshop”
-
Nice technique. Really useful……….Thanks for sharing
-
Wow, these are really creative! They remind me of those Chip Fosse drawings from Overhauling’. Great work
-
amazing picture
-
Beautiful!! I like it
-
awesome tutorial, thanku so much
i have tried to make this one
http://souravlovesnature.deviantart.com/art/Dancer-In-The-Dark-356856418 -
Simple, and easy… And not a whole list of stocks to download
-
Hi, Nice work i love it,
-
i personally did this and it turned out looking absolutely amazing!!!!!!!
-
Beautiful tutorial! I think it would be helpful if you showed where the tools/layers can be found like the other tutorials.
-
It would be better if the explanation is done with video


Leave a Reply to Deanne LoretteCancel reply