Make your artwork look like they're from an alternate universe. These Cyberpunk presets work with Photoshop (via the Camera Raw filter) and Lightroom. Download all 788 presets for 90% off.
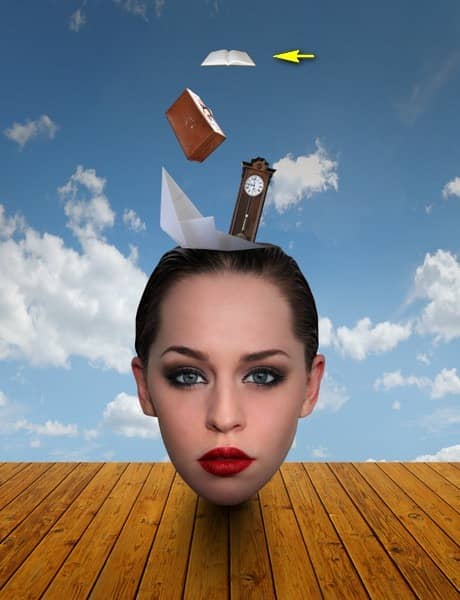
Now, activate the Transform tool (Ctrl/Cmd + T) once again and then activate the Rotate tool through the transform tool’s contextual menu (right click on the canvas to bring this up).
Rotate the book as shown below:
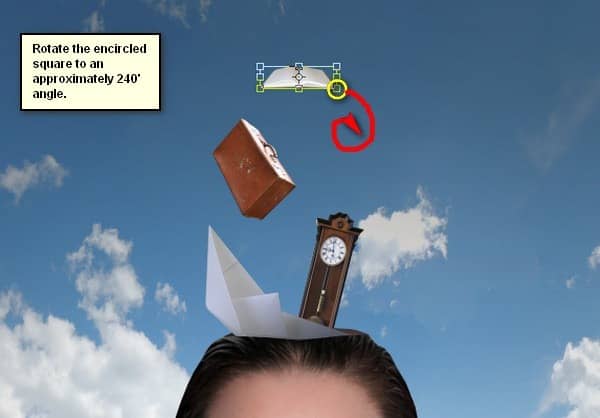
The result:
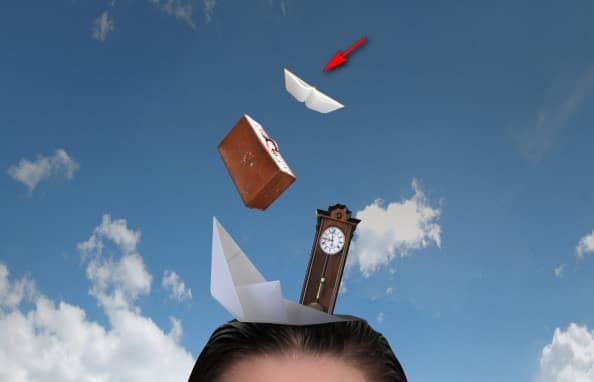
Step 33
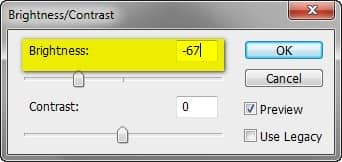
Next, let’s adjust the book’s brightness/contrast. To do that, click on the book layer and then go to Image > Adjustments > Brightness/Contrast and input the following:
- Brightness: -67
- Contrast: 0
The result:

Group this layer and name it “book”.
Step 34: Create the 1st Gauge-eye
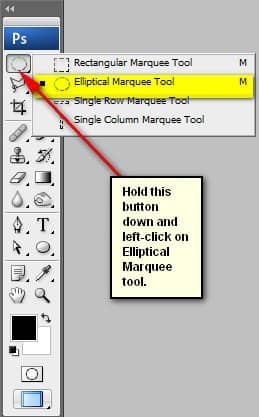
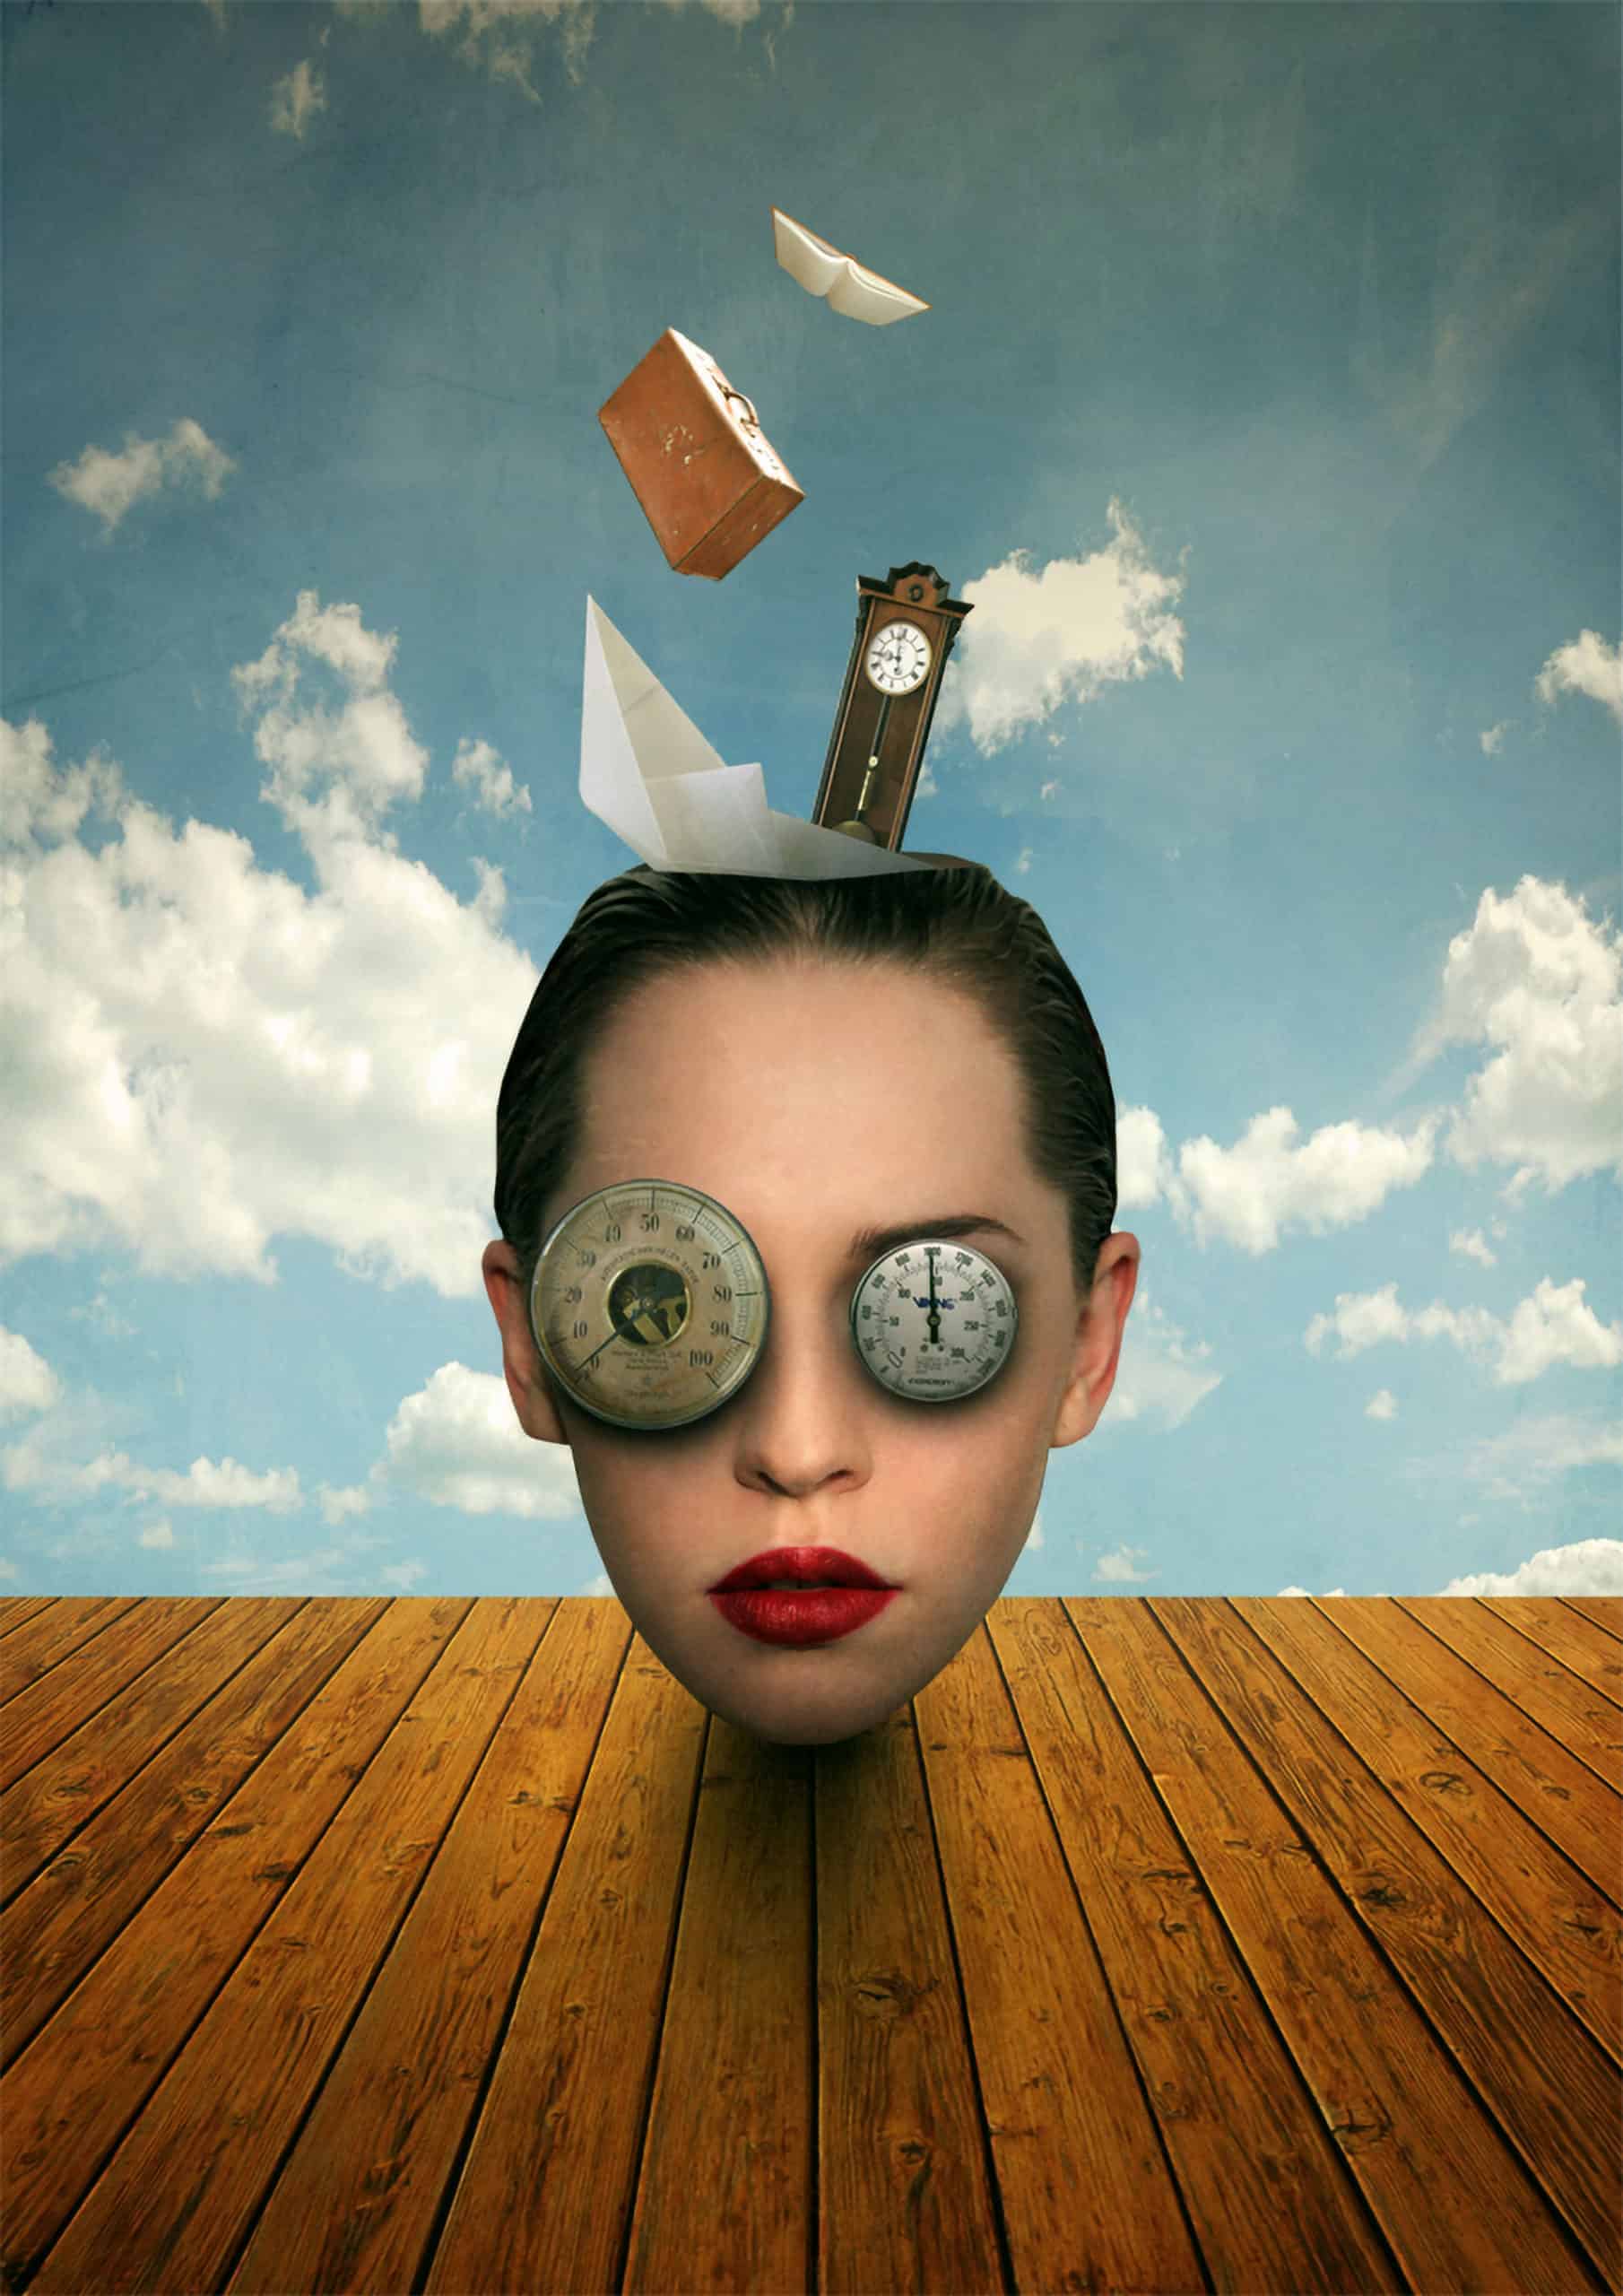
Now, we will be replacing the woman’s eyes to pressure meters. To start, let’s open “old gauge” by falsemaria. Once open, activate the Elliptical Marquee tool (M).
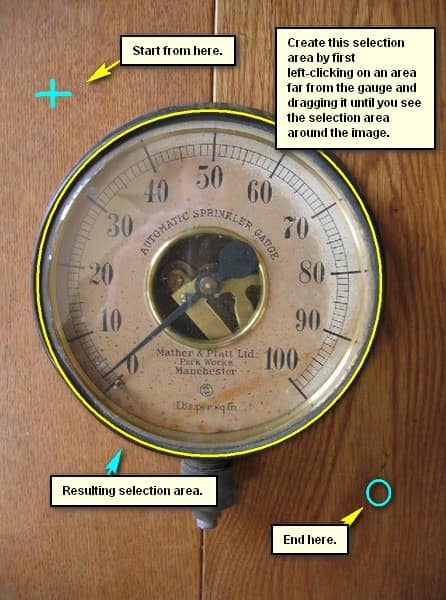
Now, create a selection area around the “old gauge” stock image. See image below:
Step 35
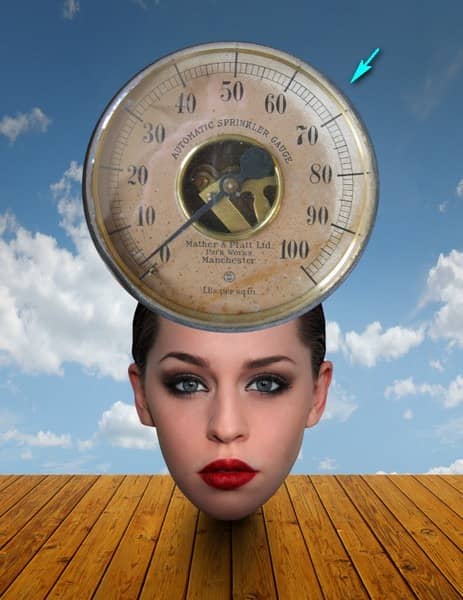
Once done, activate the Move tool (V) and drag this gauge to our canvas. Once on the canvas, rename it to “gauge 1”. Make sure to put this layer above all the layers that we’ve created.
Position the gauge on the canvas as shown below:
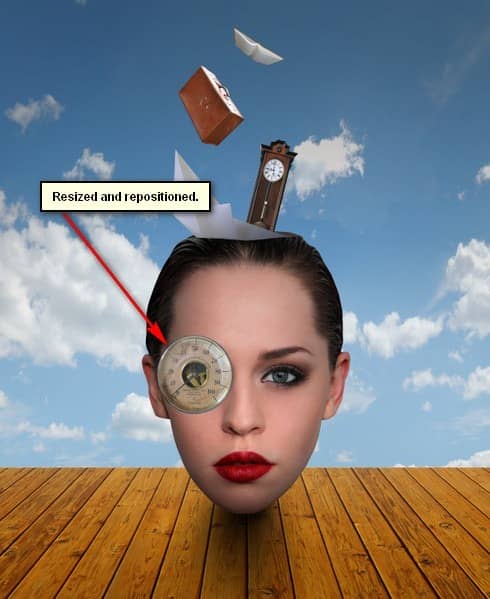
Once positioned, activate the Transform tool (Ctrl/Cmd + T) and then resize and reposition it as shown below:
Step 36
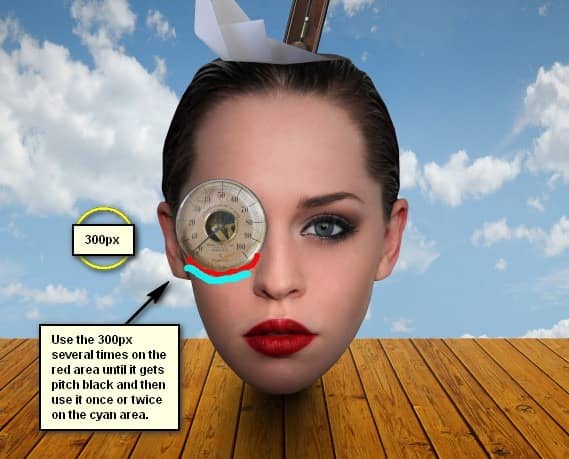
Next, let’s create the gauge’s shadow to make it look more realistic. First, create a new layer (Ctrl/Cmd + Shift + N) and name it “shadow of gauge 1”. Put this layer below the “gauge 1” layer so that the shadow appears at the back of it.
Now, activate the Brush tool (B) and input the following:
- Brush size: 300px
- Hardness: 0%
- Opacity: 25%
- Flow: 100%
- #: 000000
Then, let’s paint:
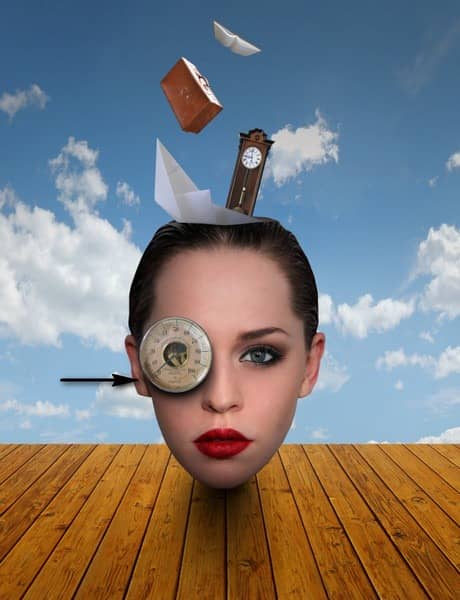
The result:
Step 37
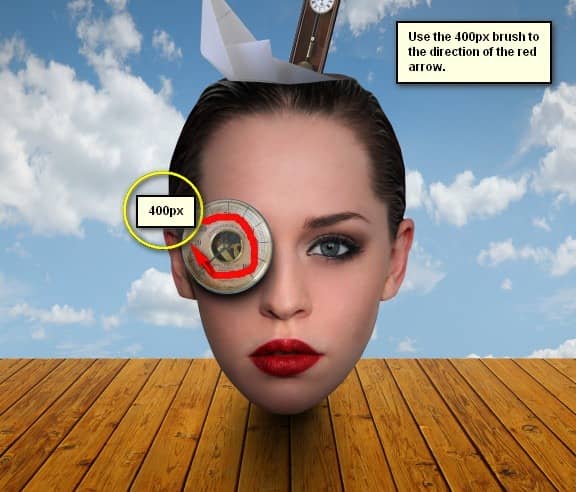
Next, let’s darken the gauge to make it look more realistic. To do that, create a new layer (Ctrl/Cmd + Shift + N) and then name it “darken gauge 1”. Make sure to put this layer above the “gauge 1” layer; right click on the “darken gauge 1” layer and then click on “Create Clipping Mask”.
Now, activate the Brush tool (B) and then input the following:
- Brush size: 400px
- Hardness: 0%
- Opacity: 15%
- Flow: 100%
- #: 000000
The result of that should be similar to this:
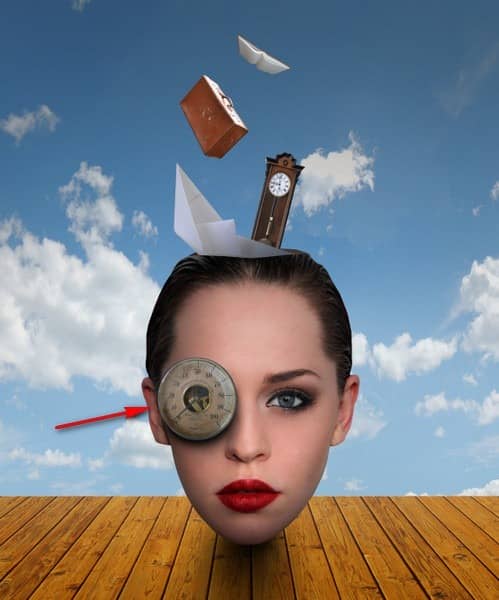
Now, select all the layers that we’ve created for this step and then group them. Name this group to “gauge 1”.
Step 38: Create the 2nd Gauge-eye
Now, we will add the second pressure gauge. To start, open the stock image “water pressure gauge” by fantasy stock. Once open, activate the Elliptical Marquee tool (M) and use it to create a selection area around the “water pressure gauge”. See image below:


2 comments on “Create This Surreal Representation of the Mind Artwork in Photoshop”
Where are the remaining steps?
These were pretty awesome. A few made me laugh. Thanks for sharing.