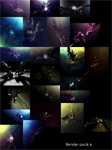
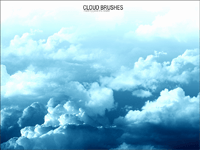
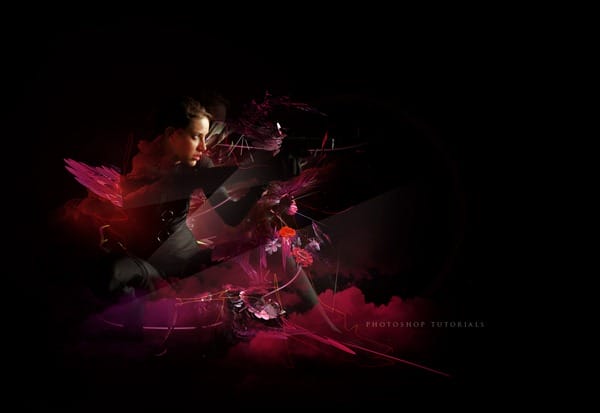
In this Photoshop tutorial, you will learn several ways of drawing abstract elements and blending images to create an abstract and futuristic photo manipulation. These types of photo manipulations are popular in wallpapers and signatures (AKA sigs) where people combine their interests into a collage that describes themselves.
What you will need


Preview of final results

Step 1
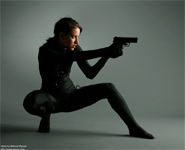
Create a new document with dimensions; 1600 x 1100px. First change the foreground color to a bright reddish color, the exact color doesn’t matter then hit Alt+Backspace to fill the background layer red. Paste the image with the model into your document then scale and move it until it looks like the image below.

Step 2
Now we need to mask out the girl, this is usually the most tedious part of any photo manipulation but it needs to be done so you may as well get good at it. If you really can’t be bothered masking it then you can download the masked image as a PSD file here then just skip on to step 5, otherwise lets start masking. The method I use is quite complicated, first select the pen tool then look at the main toolbar and you will see three small buttons at the left, select the middle one which should say paths if you hover over it. Now start tracing round the edge of the girl, don’t worry too much about being accurate as we will be putting her on a black background later. Also don’t go round her hair, just draw round it without going near it. After you’ve got all the way round her and closed your path. Next right click somewhere in the document and select Create vector mask, this will get your image looking something like the one below.

Step 3
Now change the foreground color to black or just hit D then select the background layer and hit Alt+Backspace to fill it black. You’ll notice that there will be some thin white bits around the model. So select the layer with the girl on it then click the layer mask button at the bottom of the layers panel. Now select the brush tool and choose a soft round brush about 50px diameter and 50% opacity and make sure the foreground color is still black. Now just draw over the white patches just to blend the black of her clothes into the background. After you’ve done this do the hair but change the brush opacity to 100% then just roughly blend the hair into the background. After fiddling with it for a while you should have a result like below.
12 responses to “Futuristic Collage”
-
I am stuck at number 7. When I select original and path layer the option of creating a mask is blocked. What am I doing wrong ?..
-
Hello, first of all, thanks for the tutorial. I have few questions if someone can help, please.
After step 6, I select both main layer and empty later with the pen stroke (Btw, is it freestyle pen?) and when I select these two, the mask option greys out.
-
I can’t download the render file. could you upload another reference?
-
WOW! It’s really nice…..
-
where is the remaining steps…?
-
Click on Next Page or visit here: https://www.photoshoptutorials.ws/photoshop-tutorials/photo-manipulation/futuristic-collage/?singlepage=1 :)
-
-
Nice … :D
-
Such a great Tutorials But i am confuse in 4th Step can you please explain 4th step :) thanks
-
Cool idea tutorial!!!! Nice Work for a new learner.You’re so cool. Thank you so much.
-
i always stuck at step 7 . i don’t understand . please help me .
-
I have the same problem….
-
-
Nice tutorial. Its is help every learner about Photoshop. Thanks for share this post.


Leave a Reply