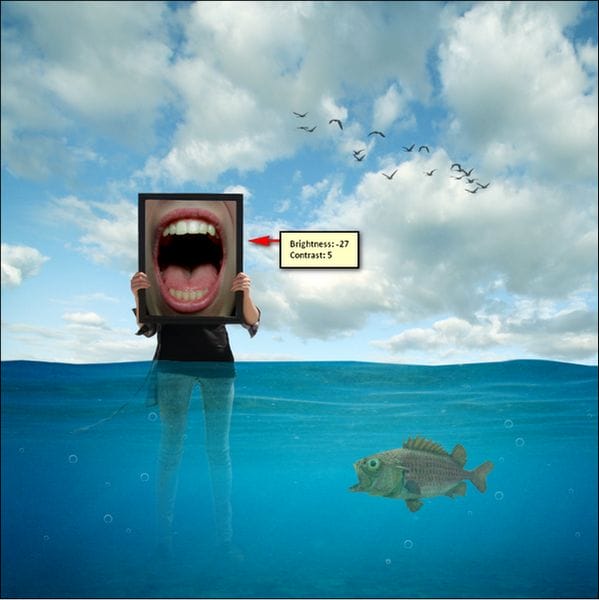
- Brightness: -27
- Contrast: 5
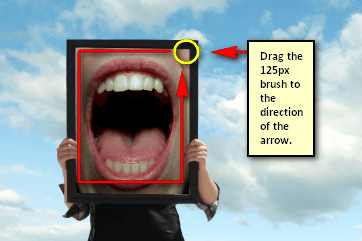
Next we would need to darken the sides of the “mouth” layer to give it some shadow and make it more realistic – make it look like it really is inside the frame. Start by creating a new layer (Ctrl/Cmd + Shift + N); name this layer “Darken” and put it above the mouth layer. After that, right click on this layer to bring up the contextual menu. Once the menu is active click on “Create clipping mask”. Clipping masks make sure that the “paint” you’re going to brush in wouldn’t scatter to other layers.
Now activate the Brush tool (B) and input the following:
- Brush size: 125px
- Hardness: 0%
- Opacity: 15%
- Flow: 100%
Note: Use the default brushes and not the previous ones.
Now, let’s paint:
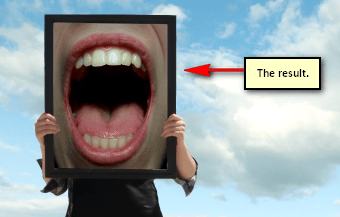
The result:
Step 10: Add the textures
In this step, we will be adding some textures to give our image a grungy feel. Let’s open the first texture: “Paper Texture 1” by Wojtar Stock. Once opened, activate the Move tool (V) and drag this to our canvas. Position it this way:
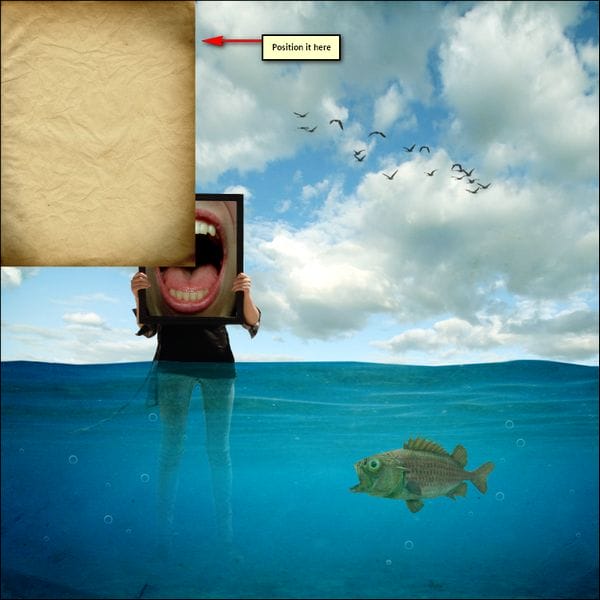
Now, transform it to this size:
Once that is done, change its Blending Mode and Opacity to the following:
- Blending mode: Soft Light
- Opacity: 70%

The result of that would look like this:

Next, let’s open the “Old Paper 37 stock” by ofruin stock Move it to our canvas using the Move tool (V) and transform it to the size of our canvas.
After that, change the Blending mode and Opacity values to the following:
- Blending mode: Color Burn
- Opacity: 50%

Step 11: Adjust the feel of our image
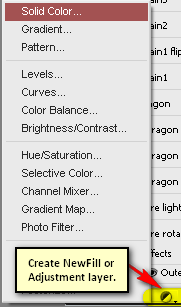
Now we’re going to enhance the colors of our work. Let’s start by creating a Solid Color adjustment layer. To do that, click on the Create New Fill/Adjustment layer button located on the Layer Window. See image below:
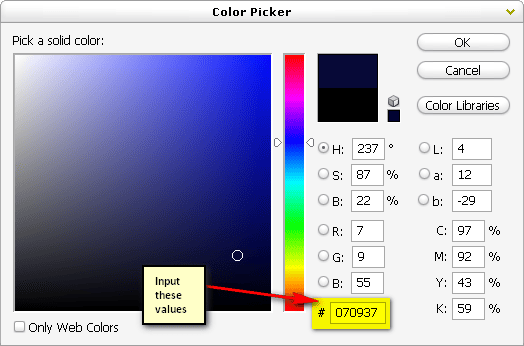
After clicking on the Solid Color adjustment layer, the Color Picker box would appear. Once it appears, input the following:
- #: 070937
Once you’ve done that, use the following:
- Blending Mode: Exclusion
- Opacity: 50%

After that, create a new Solid Color adjustment layer and input the following:
- #: 503929
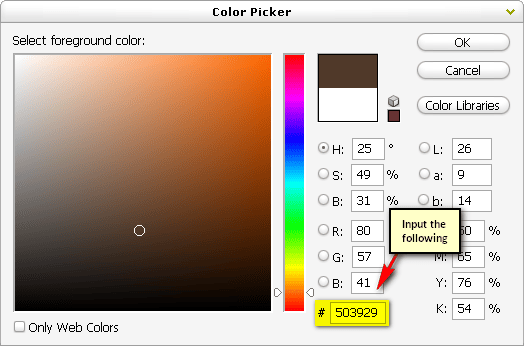
Apply the following:
- Blending Mode: Soft Light
- Opacity: 30%

Create a new Solid Color adjustment layer again, input the following:
- #: d68230
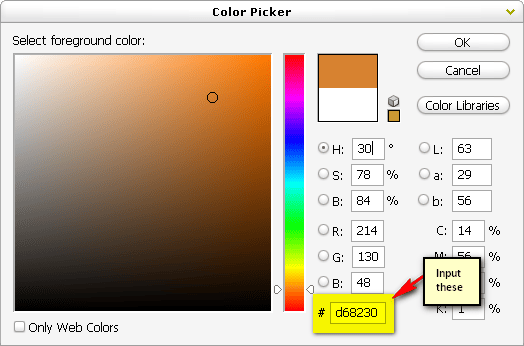
- Blending mode: Soft Light
- Opacity: 10%

Now, let’s create a Brightness/Contrast adjustment layer from the Create New Fill/Adjustment layer button. See image below:
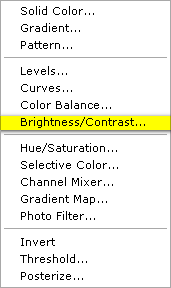
Once the box opens, input the following:
- Brightness: -15
- Contrast: -5
The image should now be looking like this:
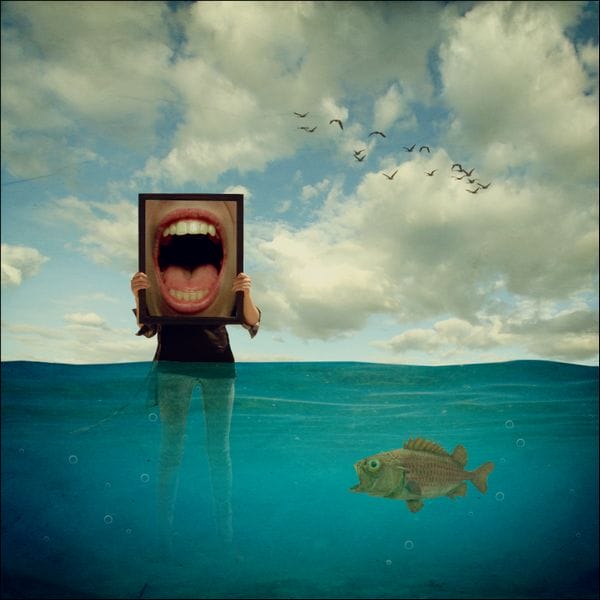
Now, let’s create a Gradient Map adjustment layer:
5 responses to “How to Create a Retro Surreal Photo Manipulation using Photoshop”
-
I know this tutorial is an old tutorial and that some of the stock photos are gone, but I really like the tutorials on this website by Michael Manalo. I can follow along using other stocks and the artworks are beautiful.
-
It would have been much more helpful as a beginner if I could see what the layers looked like on the right side of the screen. As it was, the lasso tool at the very beginning working with the water lost me. Please don’t assume you’re dealing with experts when directing these tutorials!
-
koji si ti bumbar?????? ke je slika ud une pičke???? mamu ti jebem!!!
-
The pic of the woman got deleted :(
-
I’m beginner , so I’m stuck on sky. When I put them on main picture (canvas) they are so small , and when I resize sky, resolution is changed and it looks really ugly. Any help ?


Leave a Reply