Luminar AI lets you turn your ideas into reality with powerful, intelligent AI. Download the photo editor and see how you can completely transform your photos in a few clicks.
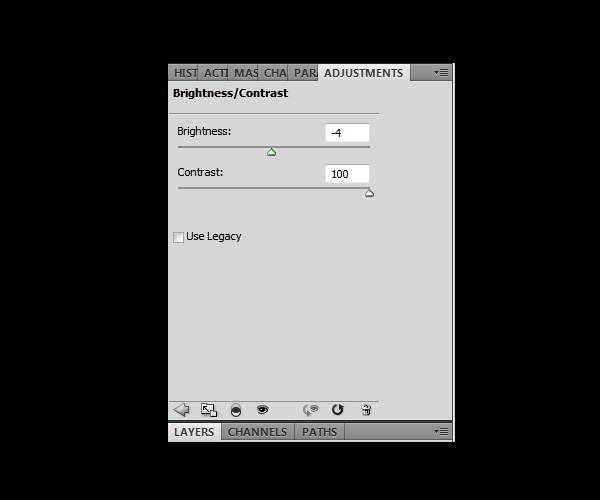
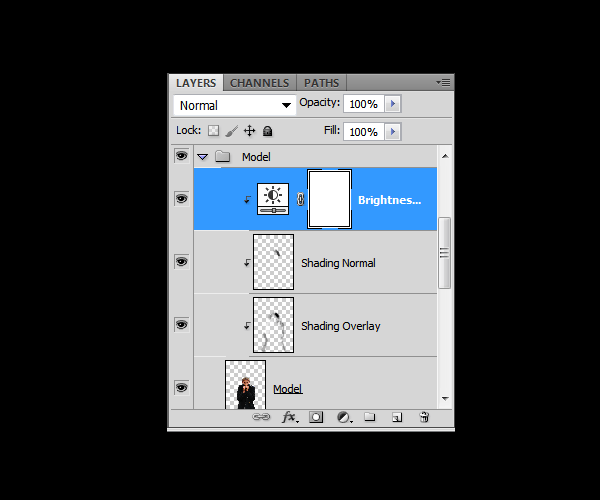
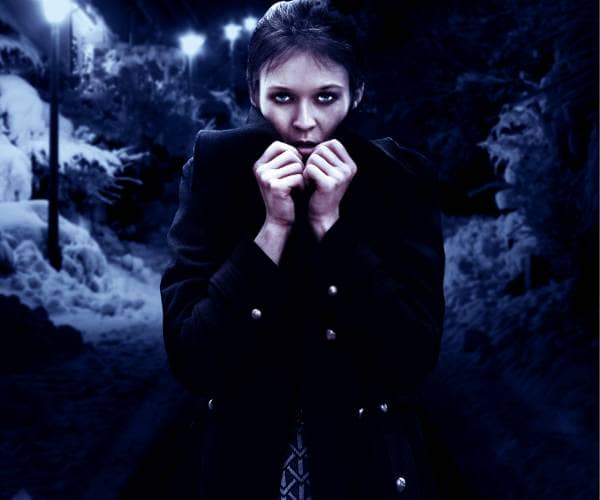
Your Layer module and the model should look now something like this:
Step 25
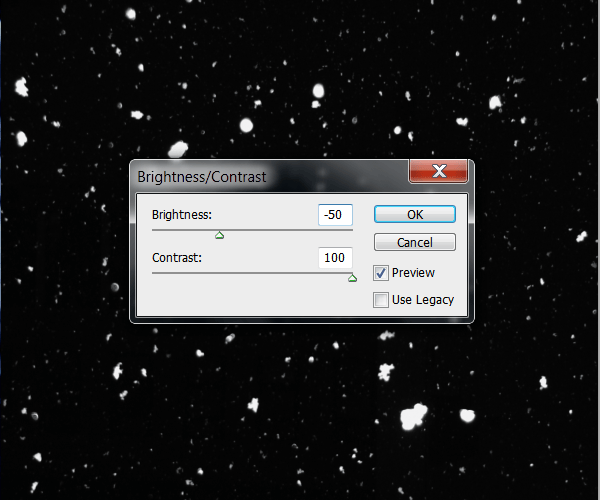
Drag the Snow stock image to your document and rotate it 90° so it is vertical,then stretch it to fill the whole canvas,this next layers should also be placed under the "Adjustments" group. Open the Brightness and contrast menu and apply the next settings:
Step 26
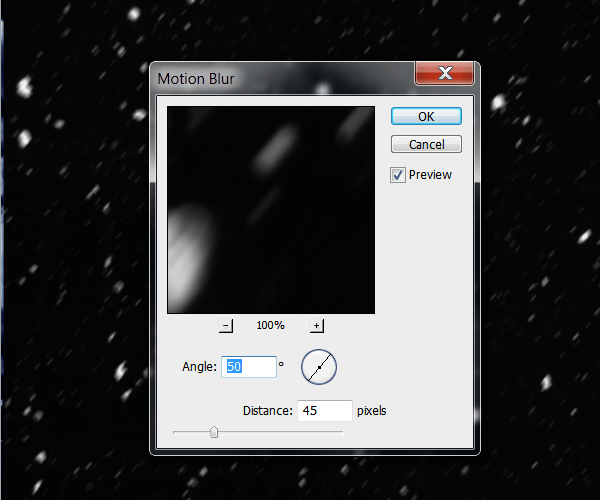
Now duplicate this layer.On the first layer we are going to apply a blur filter to give some motion to the snow flakes.Go to Filter>Blur>Motion Blur and set the angle to 50° and the Distance to 45 pixels:
Step 27
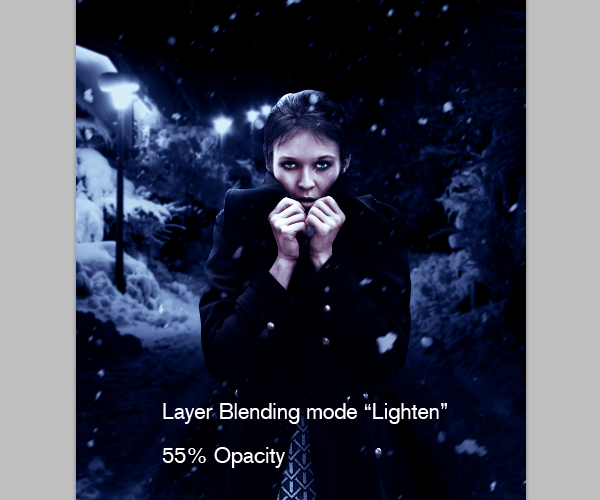
Lower this layer opacity to 55% and change its blending mode to "Lighten". Now take the eraser tool (E) and erase all the little snowflakes leaving only the biggest ones:
Step 28
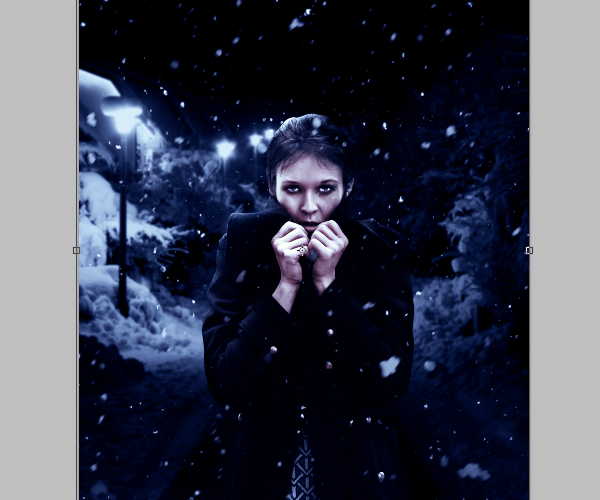
Apply a sharpen filter to the duplicated snow layer and change its blending mode also to "Lighten".Then using the eraser,erase the biggest snowflakes so it only shows the fade blurred ones:
Step 29
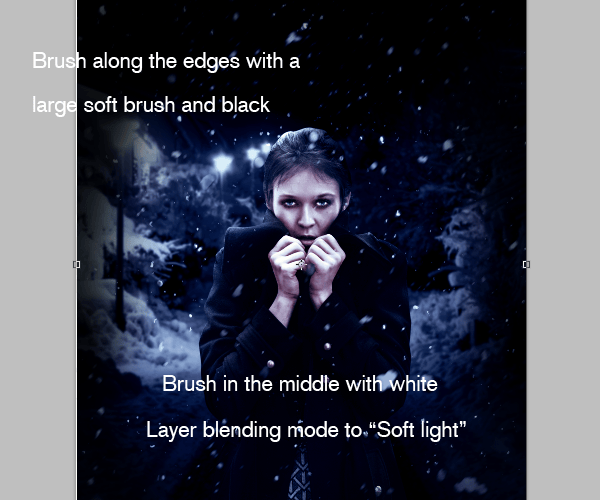
Create a new layer on top of the Snow,the model and the background and select a very large round brush 0% hardness and 15%opacity with Black as your foreground color.Brush over the edges of the whole image to make the focus on the center,then Create a new layer on top of that one and change its layer blending mode to "Soft Light" and brush now in the middle of the image,this time with color white:
Step 30
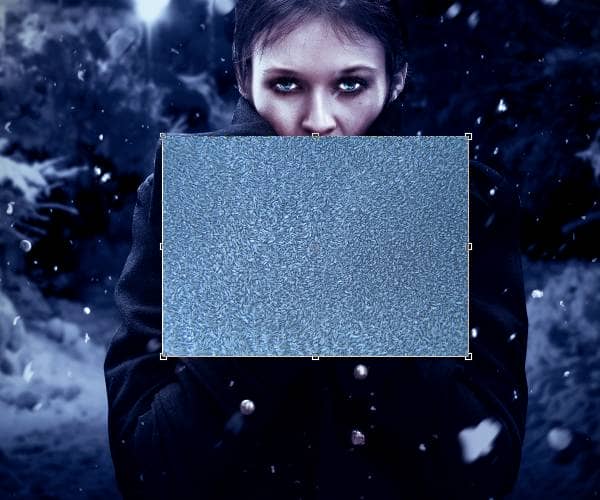
Take the frost texture an drag it inside your document.Resize it to cover the hands of the girl. Then change its layer blending mode to "Overlay".Place all this layers of ice on top of the "Adjustments" group so this layers don't get affected by them.
Step 31
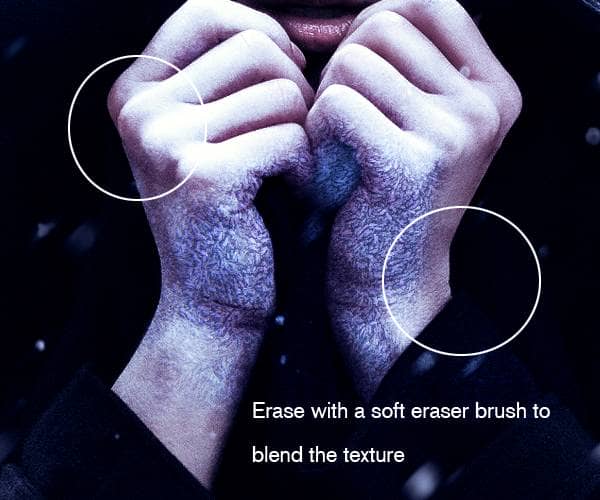
Using the eraser tool (or you can add a layer mask) erase the edges of the frost texture so it only covers part of the hands. Use a soft brush with low opacity for blending:
Step 32
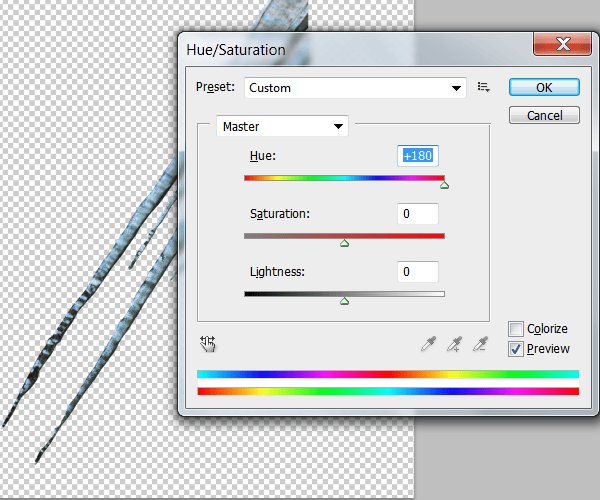
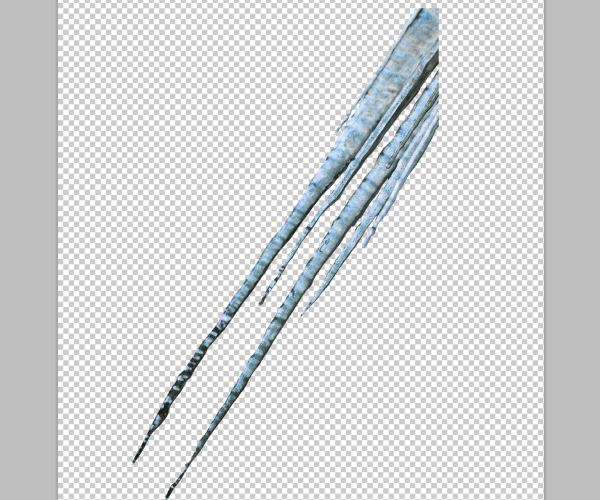
Drag the Icicle stock image to Photoshop and extract it from the background the same way we did with the model.Try to keep as much detail as possible.Then Bring up the Hue and Saturation menu and apply the next settings to give the Icicle a bluer hue:
Step 33
Drag the icicle to your working document ,resize it and place it over the hands.Erase the edges with a soft brush to blend with the frost texture and lower its layer opacity to 85% to make the effect of translucent ice:


One comment on “How to Create This Freezing Cold Portrait Photo Manipulation in Photoshop”
Great, thanks for all the helpful info!