Make your artwork look like they're from an alternate universe. These Cyberpunk presets work with Photoshop (via the Camera Raw filter) and Lightroom. Download all 788 presets for 90% off.
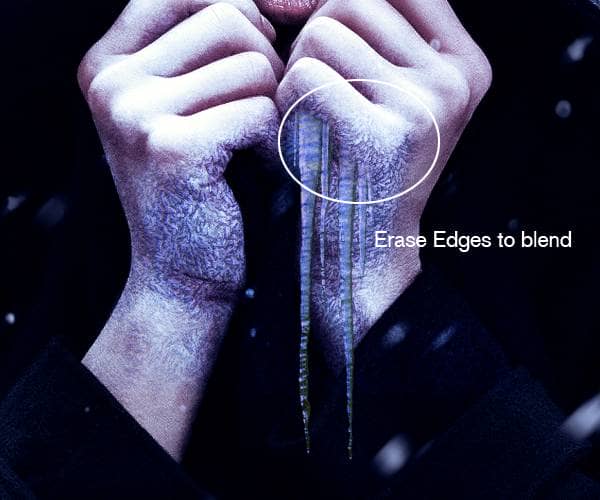
Step 34
Now duplicate the icicle layer and Flip it Horizontally,resize it and place it on the other side of the hands:
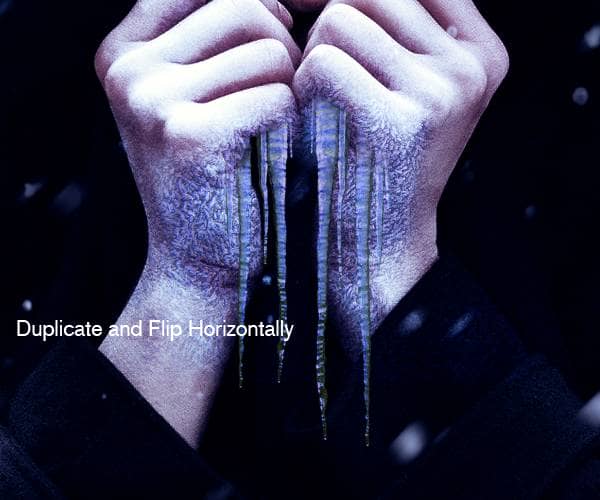
Duplicate and resize a couple of times more the icicle and place them in the center of the hand:
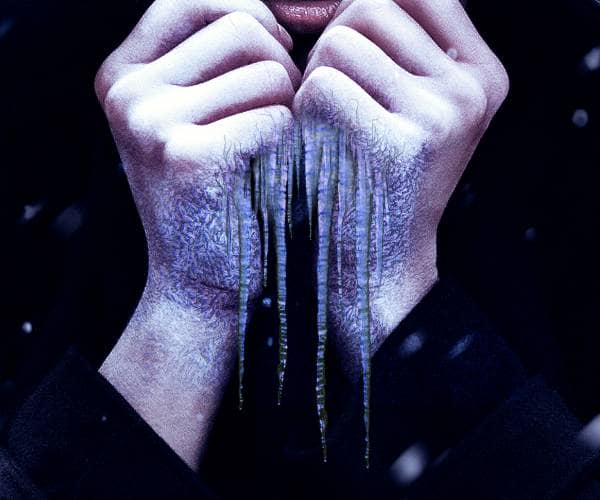
Step 35
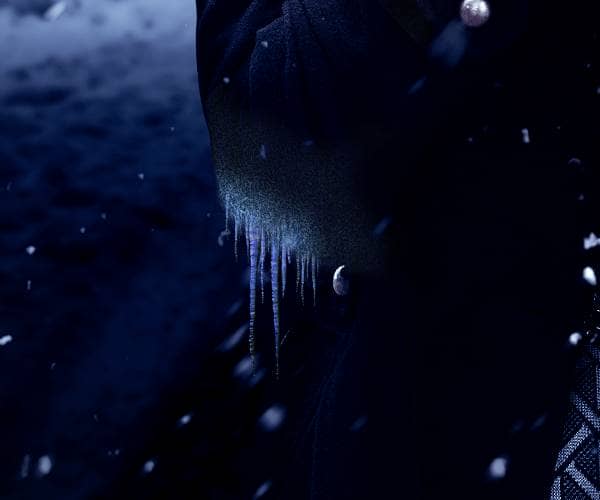
Remember to create new groups to put this layers inside. Now do the same as we did with the frost texture and the icicles on the lower part of the coat.Duplicate the frost texture and place it on top of the part you want to cover,only this time do not change the layer blending mode because otherwise it will be too dark to see and then blend it with a soft eraser.Also duplicate ,resize and position the icicles many times around the frost texture.Increase a little bit the Contrast and decrease the brightness of the textures to blend them with the coat:
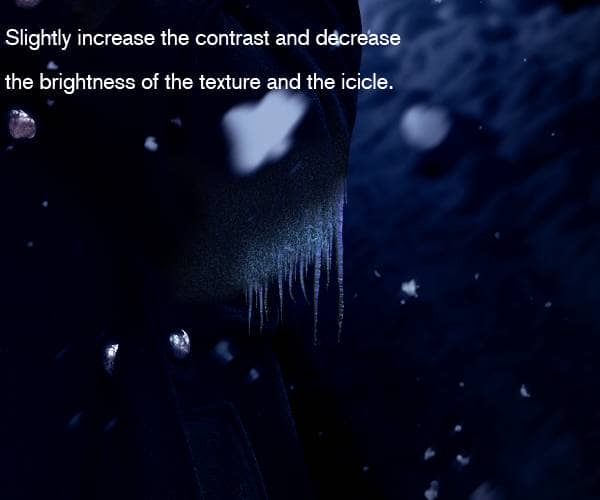
Step 36
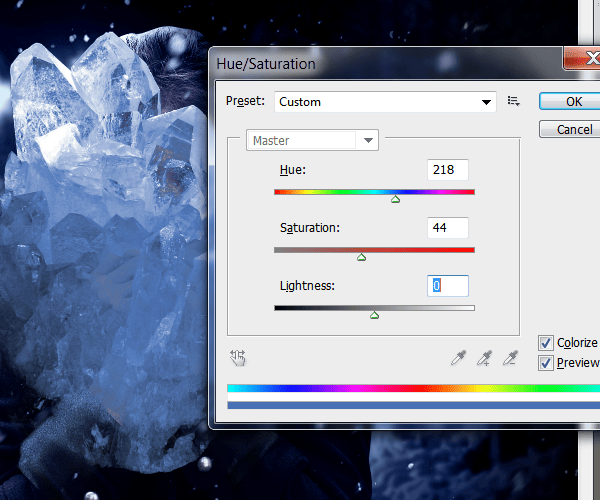
Take the crystal image,drag it into Photoshop and extract it from it's background like we did before. Bring the Hue and Saturation menu and apply the next setting to give the crystals a matching blue hue:
Step 37
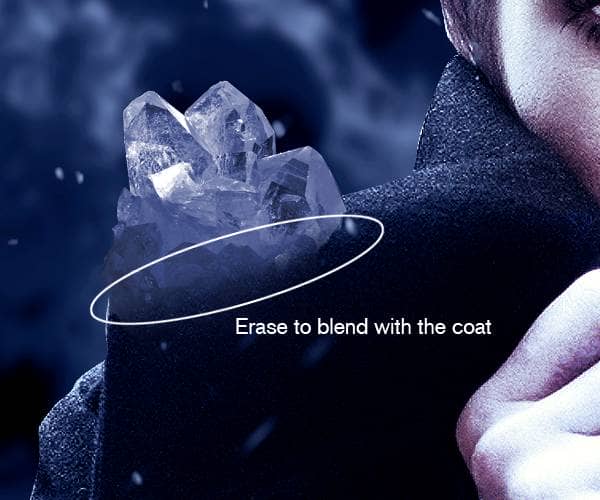
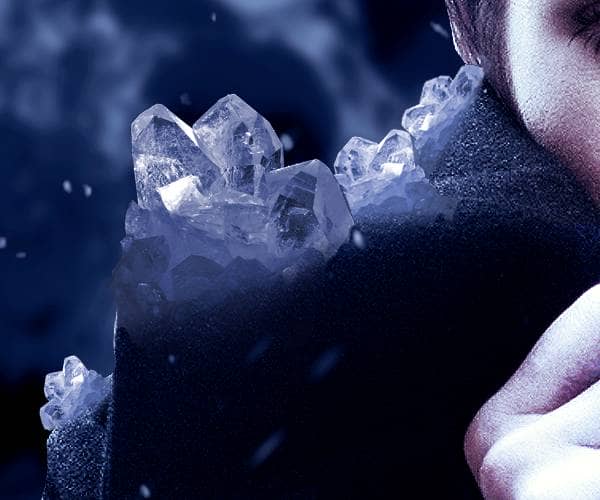
Resize the crystal and place it on the coat.Duplicate this layer as needed to fill the edges:
Step 38
Take the frost texture and place it on top of the crystals and erase with a soft eraser brush to blend:
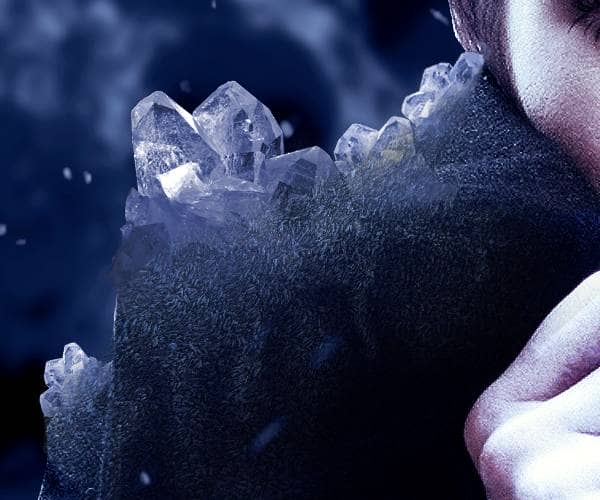
Step 39
Repeat the same for the other side.You may want to decrease again the Brightness and increase the Contrast on this side to match the light on the composition.
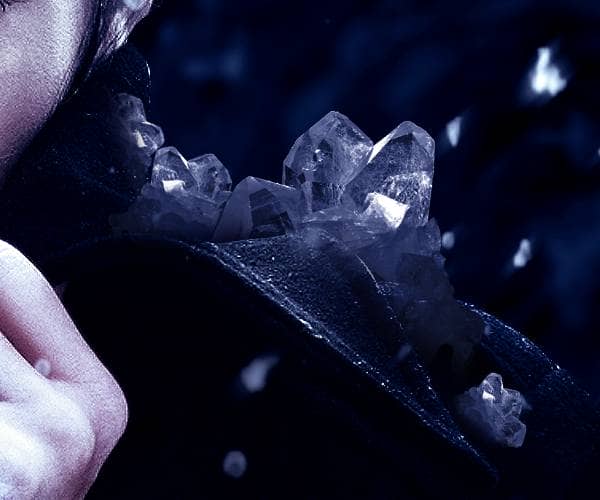
Step 40
Duplicate a couple more times the frost texture and blend on some parts of the coat like the sleeves:
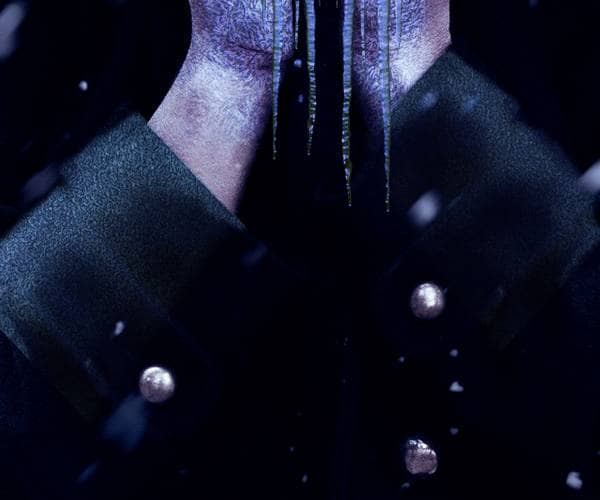
Step 41
For the last touches we are going to create some nice flares to finish off our manipulation.Create a new layer on top of all the other layers and take the brush tool.Select a 100 pixel round brush with 0%hardness and 100%opacity.Now select two contrasting shades of blue (#0b2089,#12dec4) and paint two little circles with this colors and one little white:
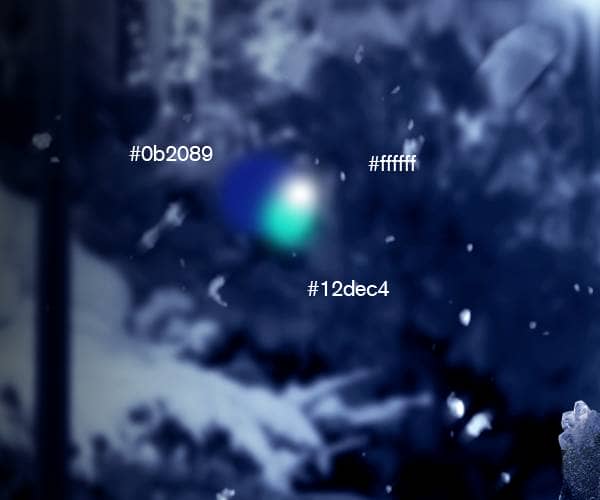
Step 42
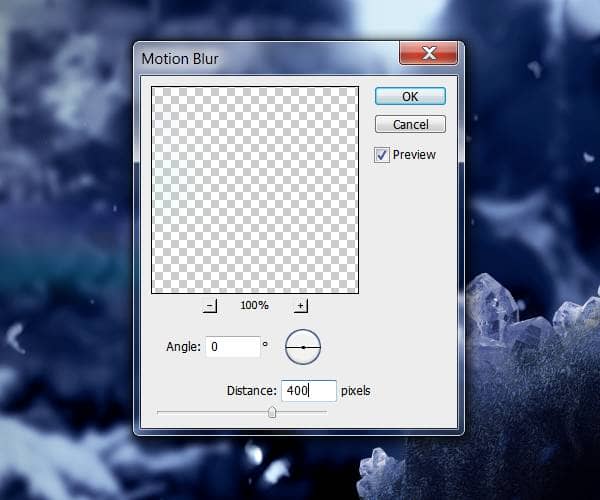
Go to the menu Filter>Blur>Motion blur and apply the next settings:
Step 43
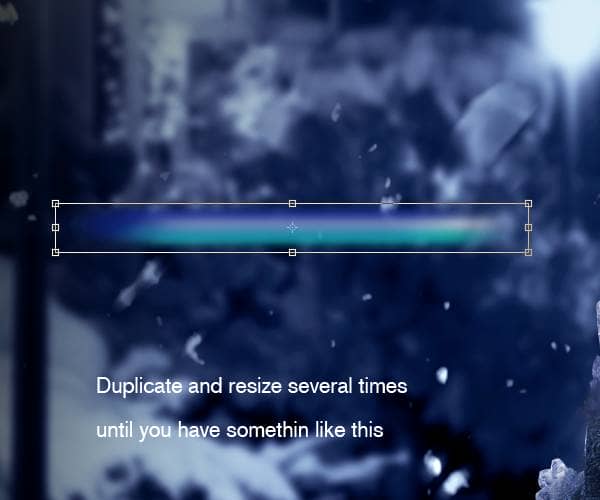
Now duplicate this layer about 5 times or until you get something like this and merge them (Ctrl+E):
Step 44
Apply a motion blur once again and change the layer blending mode to "Screen". Then go to the menu Filter>Sharpen>Sharpen and apply it 3 times. Shrink the flare a little bit and duplicate it 3 times.Place the duplicated flares on the brightest spots of the image (Lamps and ice reflections)

One comment on “How to Create This Freezing Cold Portrait Photo Manipulation in Photoshop”
Great, thanks for all the helpful info!