Luminar AI lets you turn your ideas into reality with powerful, intelligent AI. Download the photo editor and see how you can completely transform your photos in a few clicks.

Step 26 - Darken The Sky
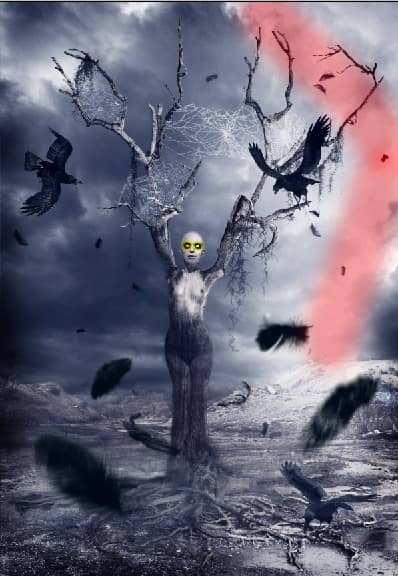
According to me the right upper part of the sky is too bright. We will fix it in this step. Add new Adjustment Layer Levels and set Input Levels on 0; 0,92; 255. Grab the Gradient Tool (G) and fill the thumbnail witht solid black color. Grab the Brush Tool (B), pick white color and paint over the areas which are highlighted on the picture bellow:

Step 27 - Final Touches
You are almost finished. There are only two things left.
First of all add new Adjustment Layer Levels on the top of your layers. Set Input Levels on 4; 0,83; 255. This darken the picture a little.
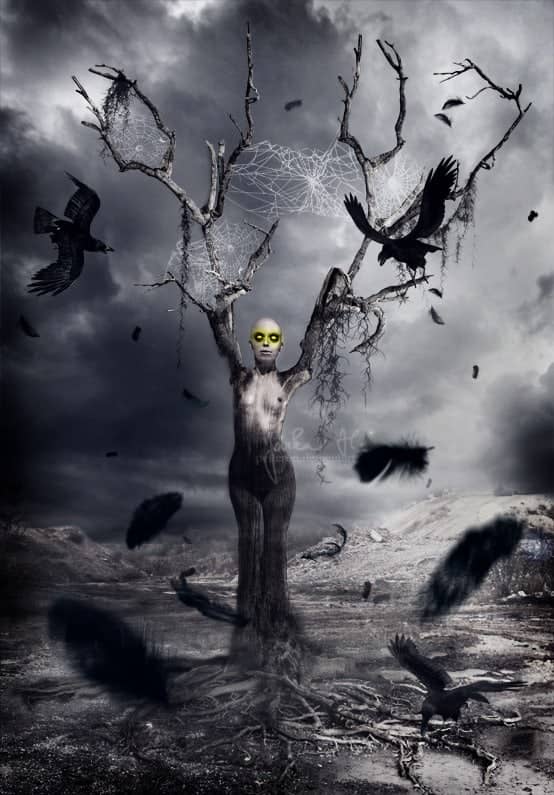
Grab Marquee Tool (M) and select the whole picture. Go to Edit > Copy Merged and then Edit > Paste. And now go to Image > Adjustments > Auto Color.
Conclusion
Congratulation! You´ve just finished the tutorial. Hope you´ve learnt something new or found inspiration for your new artwork. I like to see your work based on this tutorial in the comments.
![01[1]](https://cdn.photoshoptutorials.ws/images/stories/TerrifyingHorrorPhotoManipulation_1436C/011.jpg?strip=all&lossy=1&quality=70&webp=70&avif=70&w=1920&ssl=1)


5 comments on “Terrifying Horror Photo Manipulation”
The branches, ravens and some brushes don't exists and its a pity that I cannot complete you very nice tutorial. Regards Magdalena
Got this tutorial from the Google search engine.. but i really appreciate the work you have done in this Photoshop tutorial...
Great tutorial but the raven link no longer exists. I think this tutorial would be suited to intermediate, definitely not a beginners tutorial.
A very god tutorial but a bit hard
Nice bro, like it ...