
Note: If you cannot seem to select the layer by clicking on it, you are probably clicking the wrong thing. To the left of the layer name, there is a small icon of the layer. You should control/command + click on that image, not the text itself.
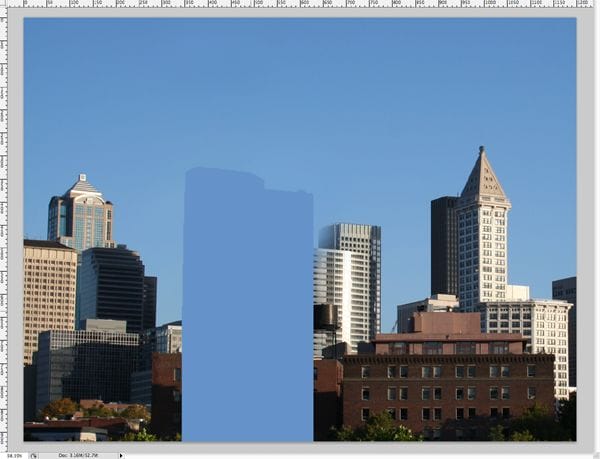
Step 6 – Add a new sky (part 1)
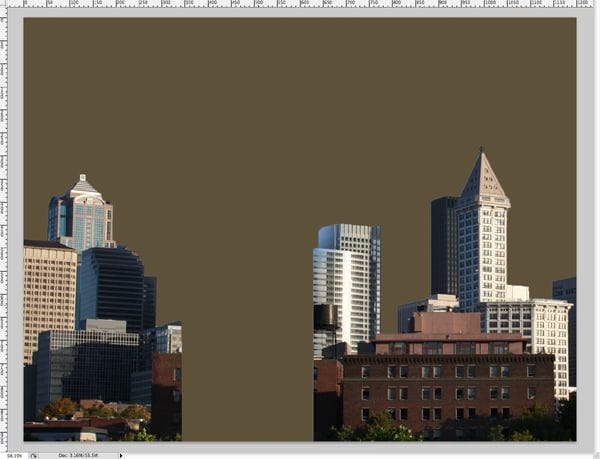
Now, select all the blue like you did before with the wand/quick select “w” tool. With this new selection, create a new layer (Layer > New > Layer) and fill it “g” with a brown (I used #5e5139). You should now see something like this.
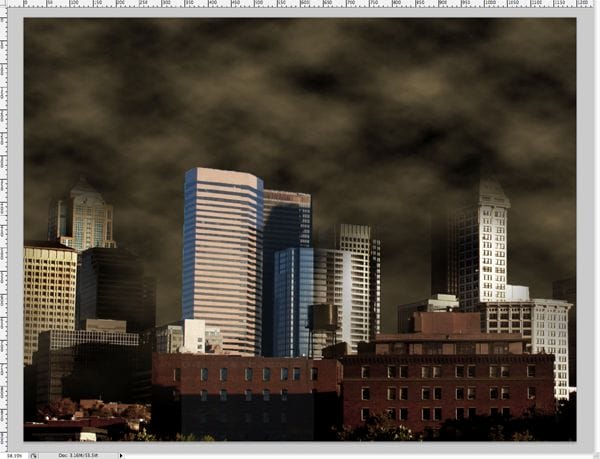
Step 7 – Add a new sky (part 2)
Now we are going to add clouds. In a new layer, using a brown foreground and a black background, go to Filter > Render > Clouds. Once you’ve done that, hit control/command + T, and drag out the sides of the box so that the clouds get a little flatter, and stretched out looking. At this point, you should only see clouds. Take the eraser (using a brush size of about 300px, hardness of 0) and start erasing the bottom of the clouds layer, so that you can begin to see your city again. Customize this as much as you’d like. You probably want to see most of the buildings though. This is what my result looked like.
Don’t worry if your colors are a little off, we will fix that in the last step.

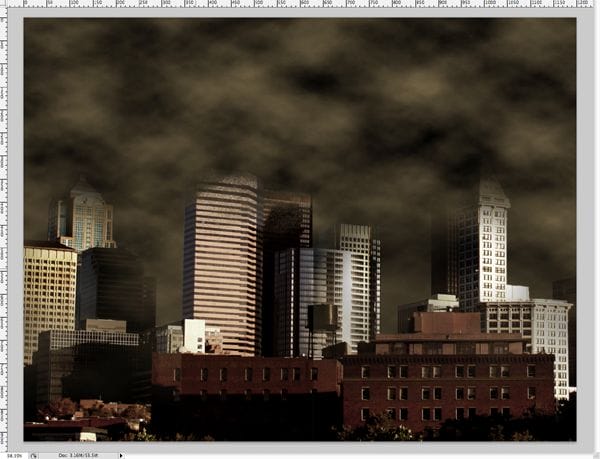
Step 8 – Bring your selected buildings to the top
This is a simple step. Locate your buildings that you isolated a while back in step 4, turn on the layer visibility and move the layer to the top of the stack. You should now see something like this.
Step 9 – Dissolve Effect (Setup)
Another easy step. Just follow along with the following images, and set up your eraser tool “e” to mimic these effects. In order to see this brush palette, go to Window > Brushes.


Step 10 – Dissolve Effect (Erasing)
Now for the fun part — the dissolve effect! Using either a pen tablet, or your mouse, start erasing the top(s) of your building(s) with your newly customized eraser tool “e”. This step is very customizable, so results may very significantly. This is what I got.
Step 11 – Dissolve Effect (Debris)
This is probably the most fun you’re going to have in this tutorial, because now you get to draw the debris! First configure your brush tool “b” to look exactly like your eraser by just following the images in step 9 in case you forgot the settings. In a new layer, starting with the color black, begin to put debris into the scene. Keep in mind that a twister will be sucking it up into the sky, so make it go upward, and off to an angle to add realism. It might look a bit unnatural right now, but it will be fixed later when we add the twister. I said to start with black as your foreground color, but as you go on, start option + clicking around the area you’re working on to pick up new colors from the background like browns, reds, and grays. Your debris shouldn’t just be one color, but a combination of colors taken from the surrounding environment instead. Play around with it until it looks right to you. Once again, this step is very customizable (like most of this tutorial in fact… so your results can very dramatically.)
One response to “Twister in the City”
-

Now I can put myself flying over cities, DEVOURING ALL!
Beware, the Pterodactyl has LEARNED, thanks to this person!
Leave a Reply