
Step 16 – Final Coloring
In order to change the coloring of the entire image, we have to flatten it first. In order to do this, to Layer > Flatten Image. After you’ve done this, you’ll notice that everything has been merged into one layer, and that way, any changes we make to that layer will effect the whole image rather than just parts. Go to Image > Adjustments > Hue/Saturation. Apply the settings in the following image. You can change the hue according to the mood that you want to set in your image, but I suggest that you keep the saturation low like this (from 10 to 25), because in movies, they always take most of the color out of the film. And make sure that you have colorized checked at the bottom.

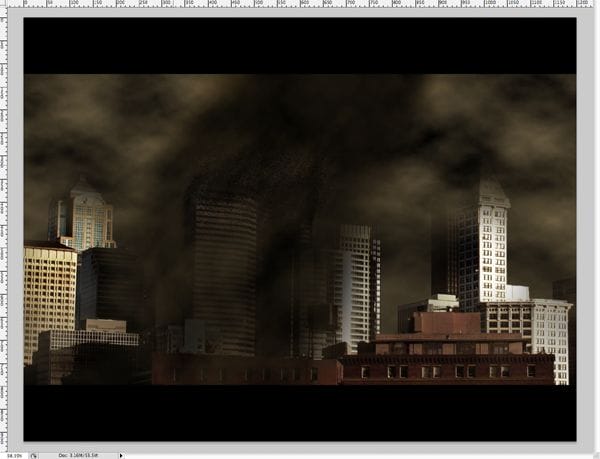
The End – Congratulations
Congratulations, you’ve reached the end of the tutorial! I hope you understood what was going on, and enjoyed learning about this effect as much as I did teaching it. You have just learned how to take a daytime, clear-weathered, intact city, and turn it into a dark, stormy, destroyed city under attack. Looking back at your original image, you should be able to see quite a difference, and you did it all without premade brushes and photos. If your image doesn’t look exactly like mine does, don’t freak out. Rather, see this is as a good thing, because you have changed it to make it your own. Keep playing around with it, practice the techniques, and try to improve on areas here and there that you think could use improvement. It is all up to you as the artist — good luck!

Here’s an alternative outcome using a different image:

One response to “Twister in the City”
-

Now I can put myself flying over cities, DEVOURING ALL!
Beware, the Pterodactyl has LEARNED, thanks to this person!
Leave a Reply