 Adjust the Low Frequency Layer
Make your artwork look like they're from an alternate universe. These Cyberpunk presets work with Photoshop (via the Camera Raw filter) and Lightroom. Download all 788 presets for 90% off.
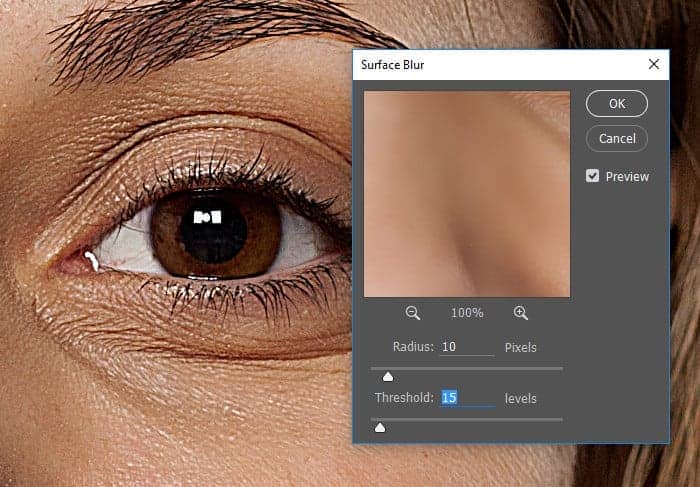
Create the Low Frequency Layer
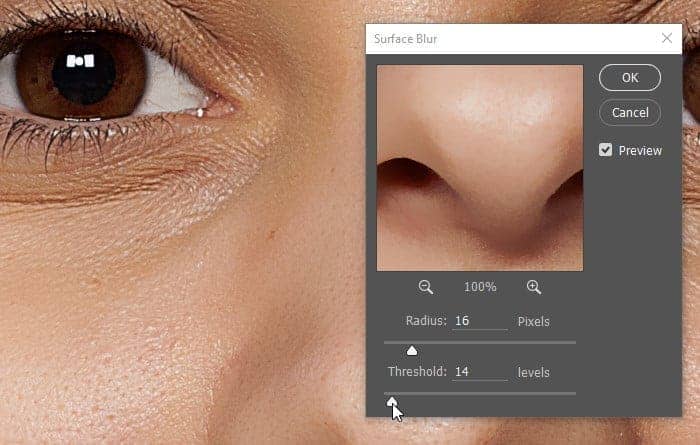
Select the Low Frequency Layer then go to Filter > Blur > Surface Blur. Adjust the settings but don't spend too much time on it because we'll be fine-tuning this later.
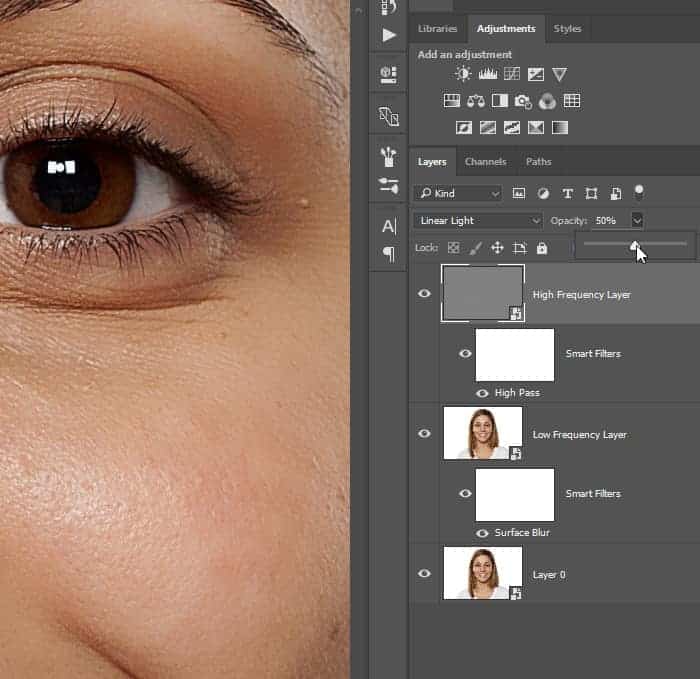
Adjust the High Frequency Layer
Right now we have an overly-sharp image. Reduce the opacity of the High Frequency layer until you get something that looks more natural. Generally setting this to around 50% is a good start.
 Adjust the Low Frequency Layer
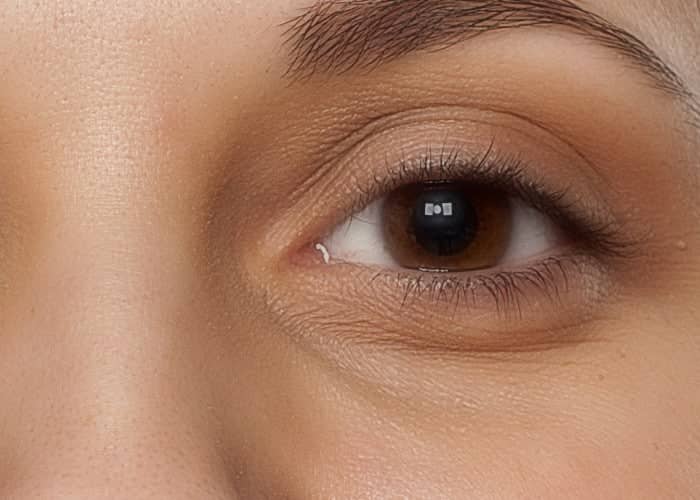
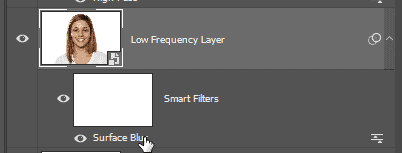
Now that we're done with the High Frequency layer, we can go back into the Surface Blur filter and fine-tune the effect. In your Layers panel, doubleclick on the Surface Blur filter to edit it.
Start off by setting the Threshold setting to 255 levels. Adjust the Radius setting so that the skin tones look smooth but set it so high that your entire image becomes blurry.
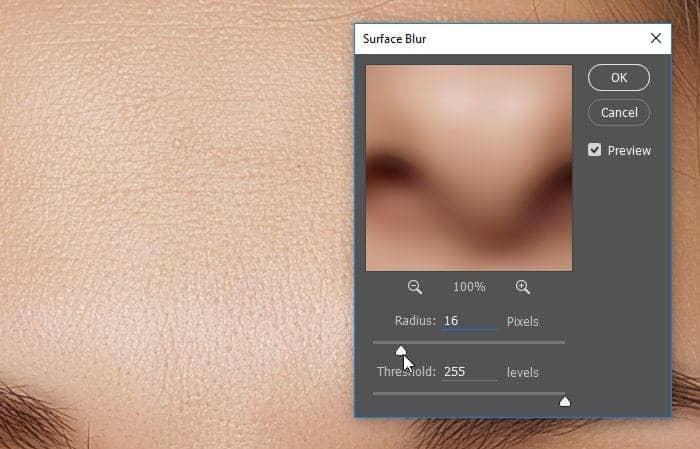
Reduce the Threshold setting until the details start to reappear. You might need to go back and forth between the two settings to fine tune it.
Group the Layers
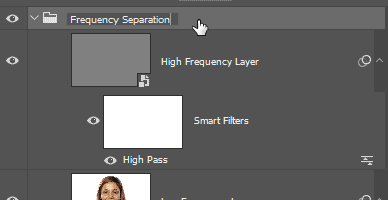
Select the two frequency layers then press Ctrl+G (Cmd+G on Macs) to group the layers. Rename the layer to "Frequency Separation".
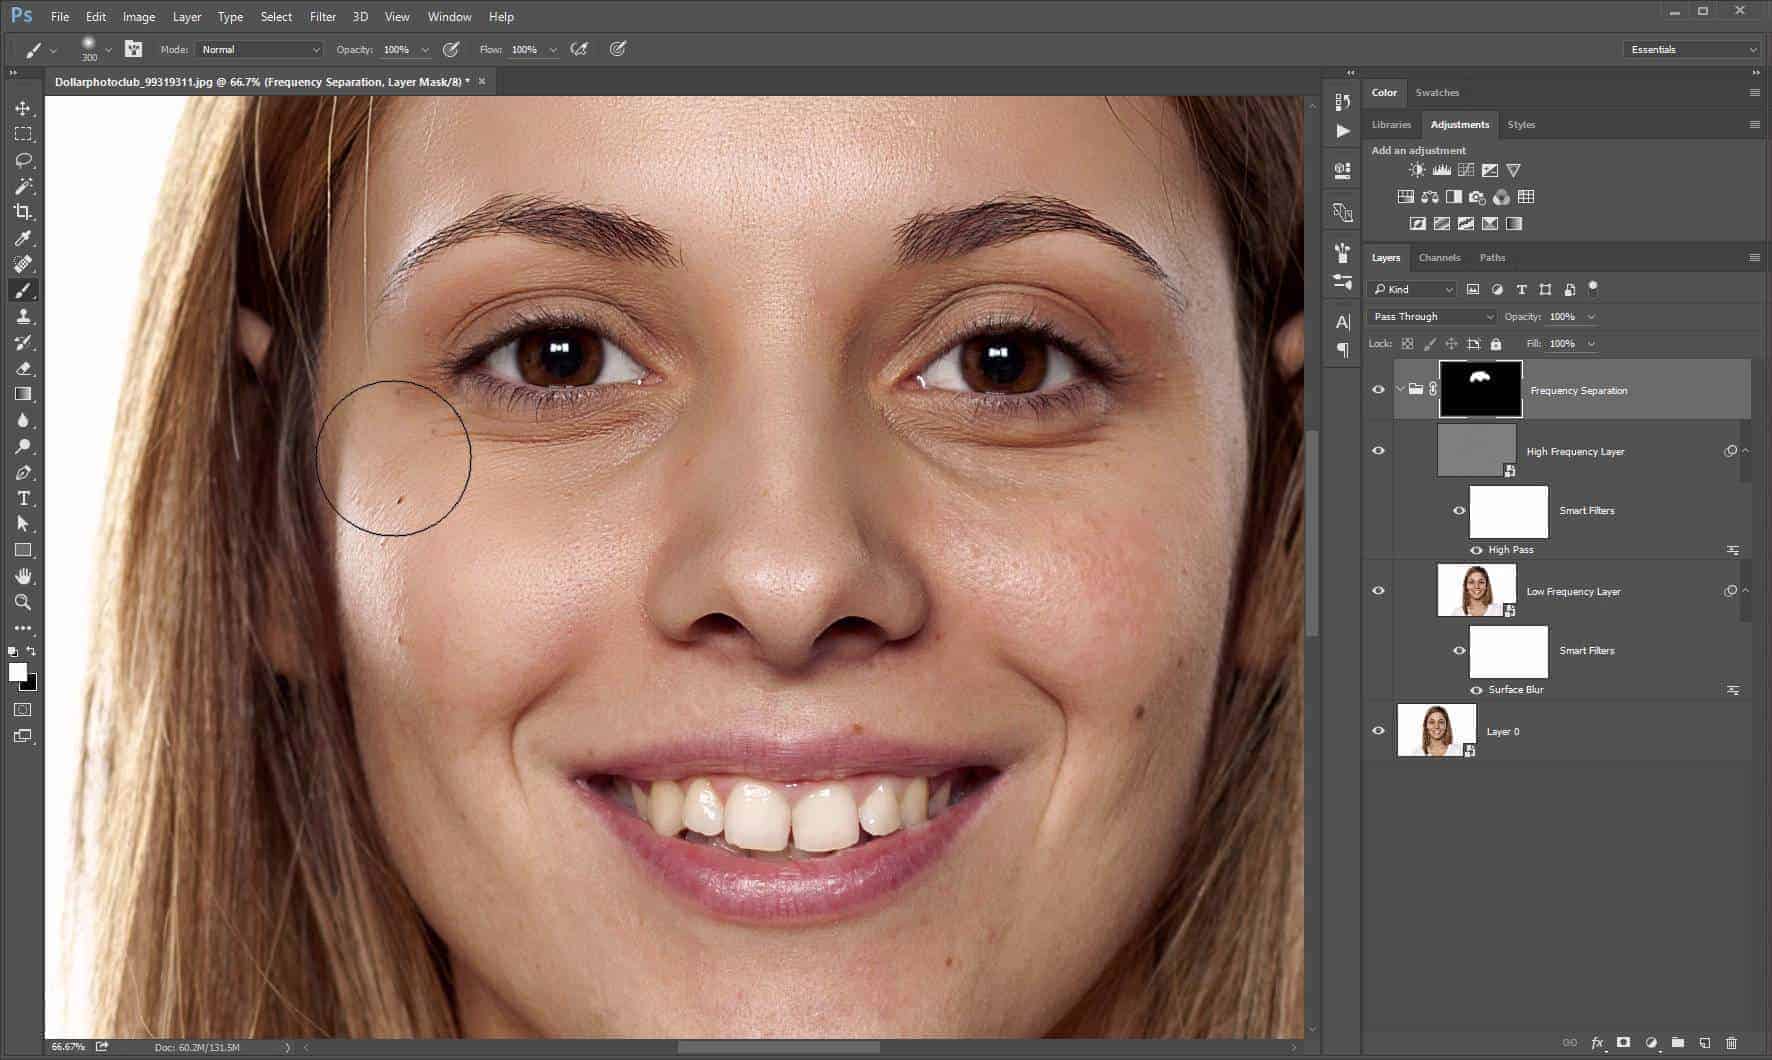
Add a Layer Group Mask
On the bottom of the layers panel, hold the Alt/Option key then click on the Add Layer Mask button. Holding the Alt/Option key will create an inverted layer mask.

Select the brush tool and paint over the skin to reveal the airbrushed look. Make sure that your foreground color is white and that your brush opacity is not 0%. You can check the brush opacity in the option bar located below the menus.
[td_smart_list_end]
Need to Use the Healing Brush?
Good thing we used nondestructive editing techniques! Because if you didn't, you would have had to start again from scratch.
To make direct edits to the image, doubleclick on the Smart Object layer. Photoshop will open the layer in a new document. You can make the adjustments here. When you're done, just save and close the document and your main document will be updated with the adjustments you just made. Also, your frequency layers will be updated too so you don't need to redo everything.
Tip: If you need to use the Healing Brush tool, do it on a separate layer. Create the layer then select the Healing Brush tool. In the option bar located below the menus, enable the "Sample All Layers" option. Now you can use the Healing Brush on a separate layer.
25 comments on “How to Airbrush Skin With Frequency Separation”
Great Job
nice
I have never used frequency separation like this before. My eyes are opened wider every single day!
I have been trying to get this right for so many years. Up close like this, the task looks daunting to me, but you tutorial is really a good one.
so amazing!
Huh, I have never heard of this technique before and I am wondering why. I would be using this all of the time on the photoshoots that I deal with on a regular basis.
Very nice training videos. Very informative! Thanks for the share.
Great post here. It's amazing what can be done with Photoshop. And it's fun to learn all the tricks of the trade. :)
wow its amaizing
Very informative!
where the download link source image?
May I ask the picture?
Following so I can watch later
...
Nice :p
Thank a lot for teaching.
Very informative! Thanks for the share.
IMO anything about story telling is great , who agrees?
absolutely correct
hi! i downloaded file a couple of times and couldn't open it with winzip. any suggestions on my next step? thanks
link is broken
try again...it works for me
super
Interesting :p :)
Helpful, but I'm not sure how many newbies will be able to reach to the smart layers and frequency layers in the first place. A thorough tut with VO would've been great.