Make a Hue/Saturationadjustment layer to change the color of the sparks on the right. On the layer mask, paint on the left so it won’t be affected by this adjustment layer.

Step 34
To add more fiery effect to the scene, make a new layer and select a medium-soft brush with the color #ffd72b. Press F5to change the settings of this brush:


Use this brush to paint small dots around the fire area. Hit [ or] to change the size of the brush while painting if needed.

Step 35
Press Ctrl+G to make a group for this dots layer and change the mode to Color Dodge 100%.

Make a new layer within this group and increase the brush size to paint some big dots around the fire. Add a mask to this layer and use a soft black brush to reduce the opacity of the dot on the bottom left.

Step 36
Apply a Gaussian Blurof 34.5 pxto soften the effect.

Step 37
Double click the small dots layer and apply an Outer Gloweffect. Set the color of glow to #ffd72b.

Step 38
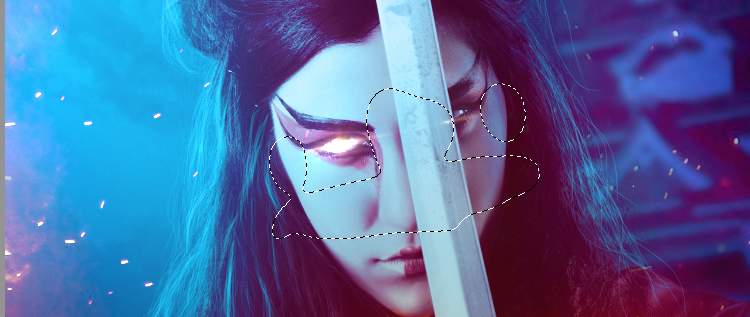
Place the light image onto the eyes area and resize it to be much smaller. Change this layer mode to Linear Dodge 100%.

Add a mask to this layer to erase the hard edges of the effect, to make it visible mostly on the left eye.

Duplicate this layer and move to the right eye. Use a layer mask to remove the unwanted details .

Step 39
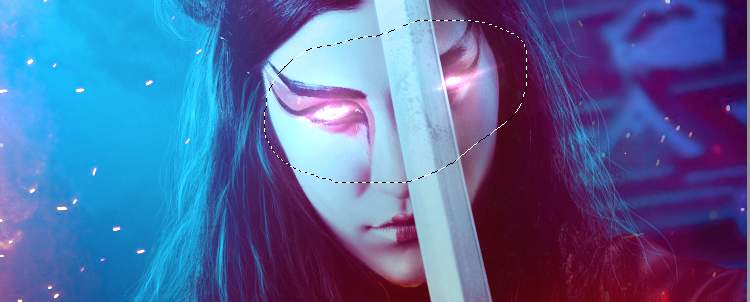
Make a group for these layers and change the group’s mode to Linear Dodge 100%. Add a Hue/Saturationadjustment layer to change the color of the light effect to be more purple.

Step 40
Create a new layer and change the mode to Screen 100% and use a soft brush with the color #b88db2 to paint around the light area to add a glowing effect for them.

Step 41
Make a new layer on top of the layers and use a soft brush with the color #ff47f3to paint on the nose, eyes and sword areas to make the reflection of the light on them. Change this layer mask to Overlay 100%and use a layer mask to remove the unwanted light details.

Step 42
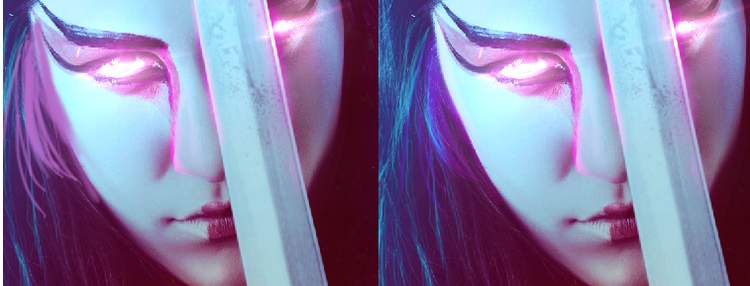
Create a new layer and use a small soft brush with the color #b76bcd to paint pink hair near the light on the left eye. Change this layer mode to Overlay 100%.

Make a new layer and alter the mode to Color Dodge 100%to paint more light on this area.
2 responses to “How to Create a Samurai Photo Manipulation with Photoshop”
-
Entretenido y el resultado muy profesional, Gracias
-
thaanks for sharing this great lesson !!!!!!!


Leave a Reply