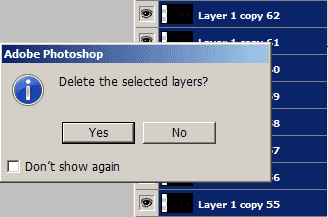
Step 8
You’ve probably already figured out how to create the light streaks by now. But before I let you experiment, i need you to download a set of Photoshop actions that will let you zoom in/out and rotate left/right. Download and save the controls action to your computer then load it into Photoshop:
Loading the Action
- Open the Actions pallet (Window> Actions).
- Click on the flyout menu located on the top right of the Actions pallet and select “Load Actions”.
- Locate and select the action file then click Load.
- The Controls action set should now be visible in your Actions pallet. There should be F keys assigned for each action. If you don’t see any F keys assigned, it probably means that you have those keys reserved for other actions. To assign a different key to run the action, select the action, click on the flyout menu, select Action Options and change the Function Key.

The function key is shown beside the action name.
Step 9
Use the images below as a reference to controlling the light streaks. Tip: This is a CPU & RAM intensive process so we recommend closing any unnecessary programs before proceeding.

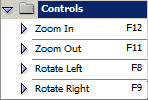
Use these commands to control the direction of the light streaks.

Use these commands to control the zoom and rotation of the light streaks.
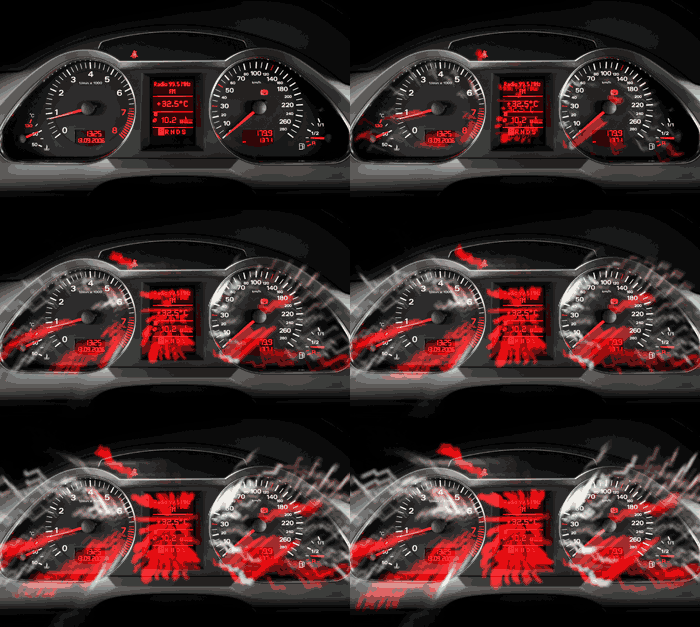
This is an animated sequence of the light streaks I created.
Animating the Light Streaks: Creating the Frames
To create the animation, we need to create the individual frames as layers.
Step 10
First, we need to determine the amount of frames we want in the animation. More frames will create a smoother and longer animation but will also take longer to complete and create a larger file size. For this tutorial, I will be creating an animation with around 10 frames. Because my animation will only have 10 frames, I can merge the 115 layers into 10 layers.

Step 11
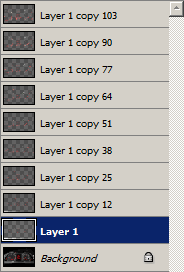
With some simple math, we’ll find out how many layers we need to convert to one. To do this, take the number of layers the light streaks was created with and divide it by the number of frames. For myself, this will be around 12 layers (115 layers ÷ 10 frames). Now select the top layer and press Ctrl+E to merge down with the answer to the mathematical equation as the number of times. For myself, I will press Ctrl+E twelve times to convert twelve layers into one. Select the layer below and do the same thing until all the layers have been merged
Step 12
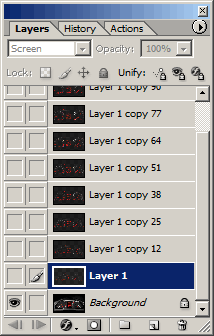
Hide all the layers except for the bottom two layers.
Step 13
Select the second layer and press Shift+Ctrl+Alt+E to create a new layer from the visible image. Select/activate the layer above, click on the eye to make it visible, and press Shift+Ctrl+Alt+E. Repeat this for the rest of the layers above.
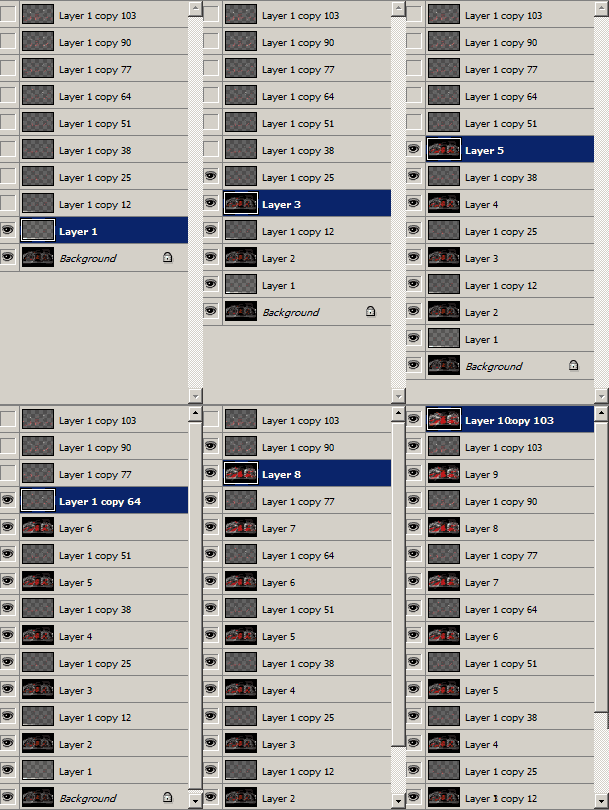
Step 14
Delete all the old layers except for Background.
One response to “Exposure Blur”
-
This is really cool.


Leave a Reply