Make your artwork look like they're from an alternate universe. These Cyberpunk presets work with Photoshop (via the Camera Raw filter) and Lightroom. Download all 788 presets for 90% off.
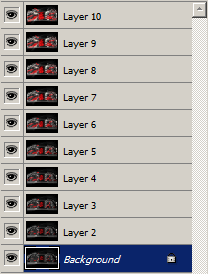
Animating the Light Streaks: Animating with ImageReady
Now that we have the frames created, we're ready to switch to ImageReady to start the animating process.
Step 15
Send the document to ImageReay (File> Edit in ImageReady or Shift+Ctrl+M).

You may also press the Photoshop to ImageReady button in the toolbox.
Step 16
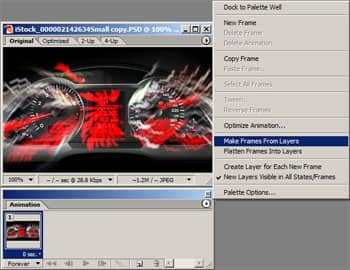
Open the Animation pallet (Window> Animation). Click the flyout menu on the top right corner and select "Make Frames From Layers". Your animation pallet should now contain frames created from the layers.
Step 17
Save the image. To save the image as an animated GIF file, change the Format in the Optimize pallet (Window> Optimize) to GIF and adjust the settings. Because the animation I created will be used on the web, I used the following properties: Format: GIF Colors: 64 Dither Method: None Use the "Save Optimize As" tool (File> Save Optimized As) to save the image.
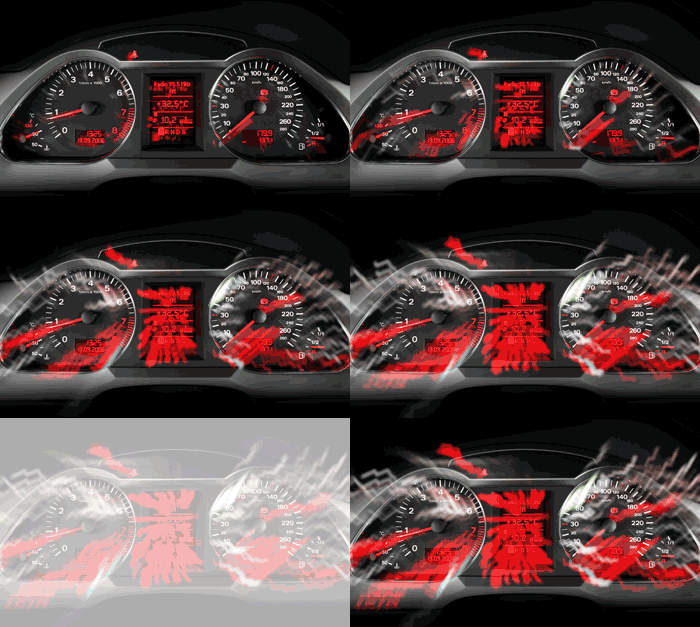
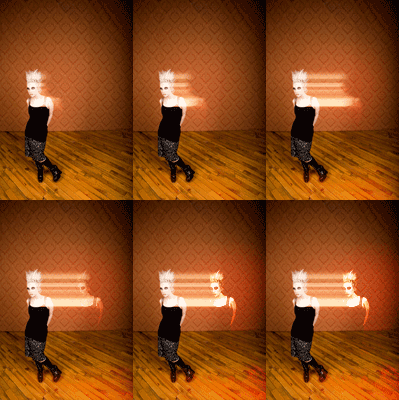
Final Results
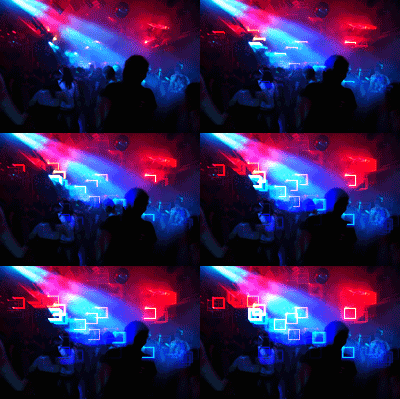
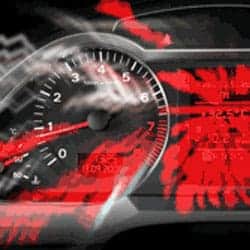
There are countless effects that can be created with this technique. Experiment with different combination to discover new exposure blur animations.


One comment on “Exposure Blur”
This is really cool.