Make skin look perfect in one-click with these AI-powered Photoshop actions.
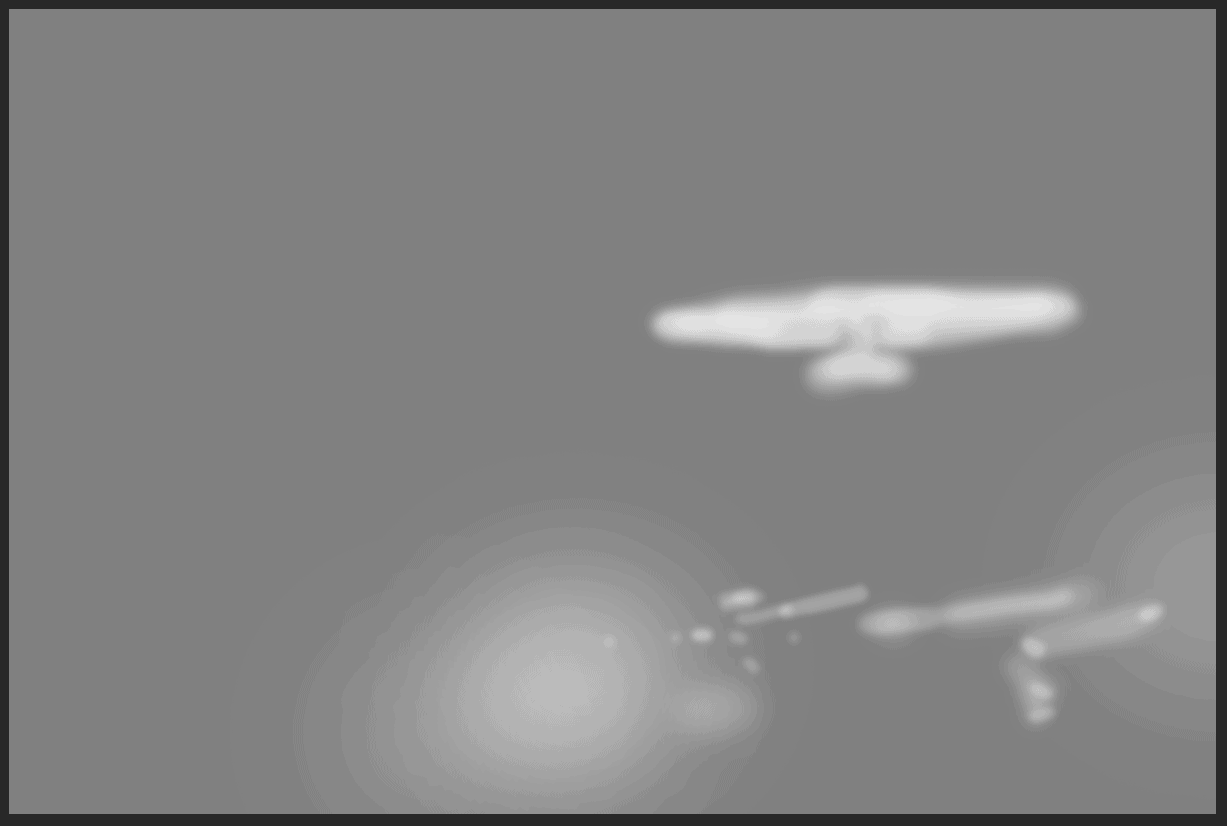
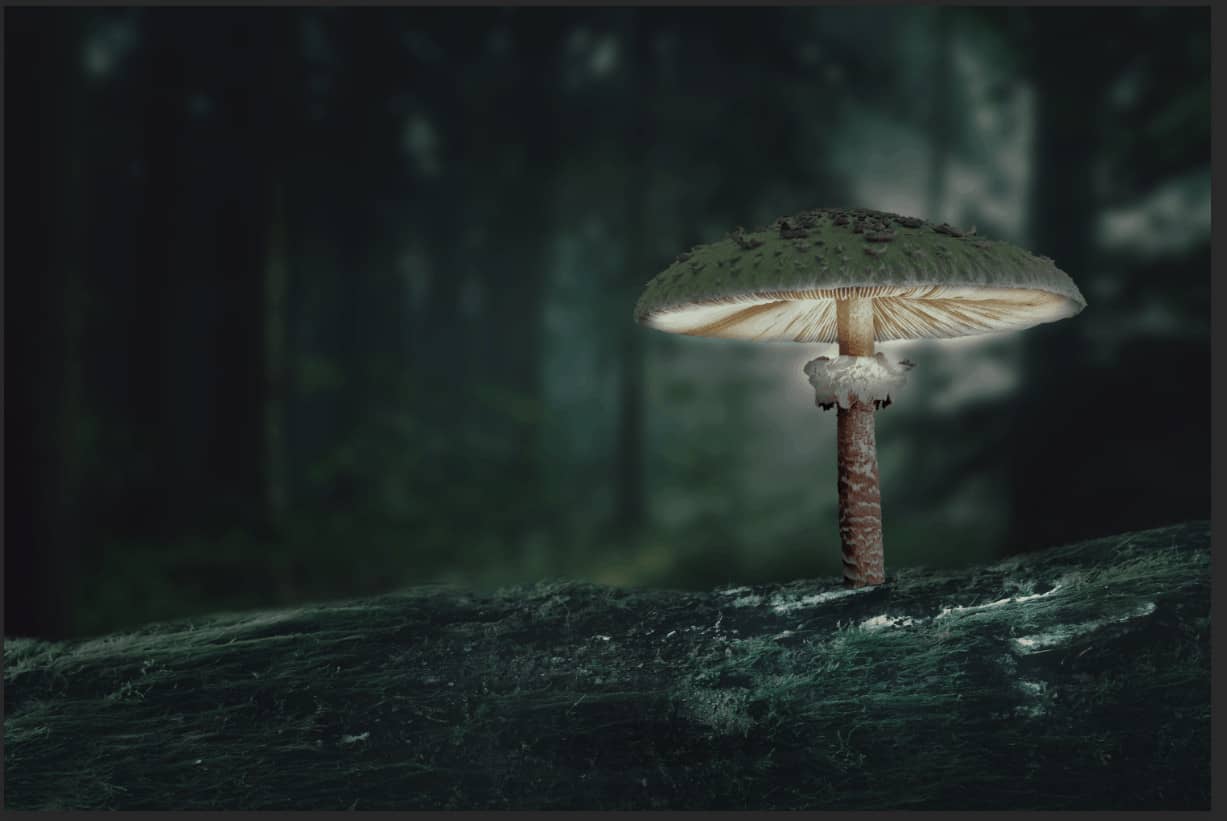
Blend mode change to Overlay.
Step 18
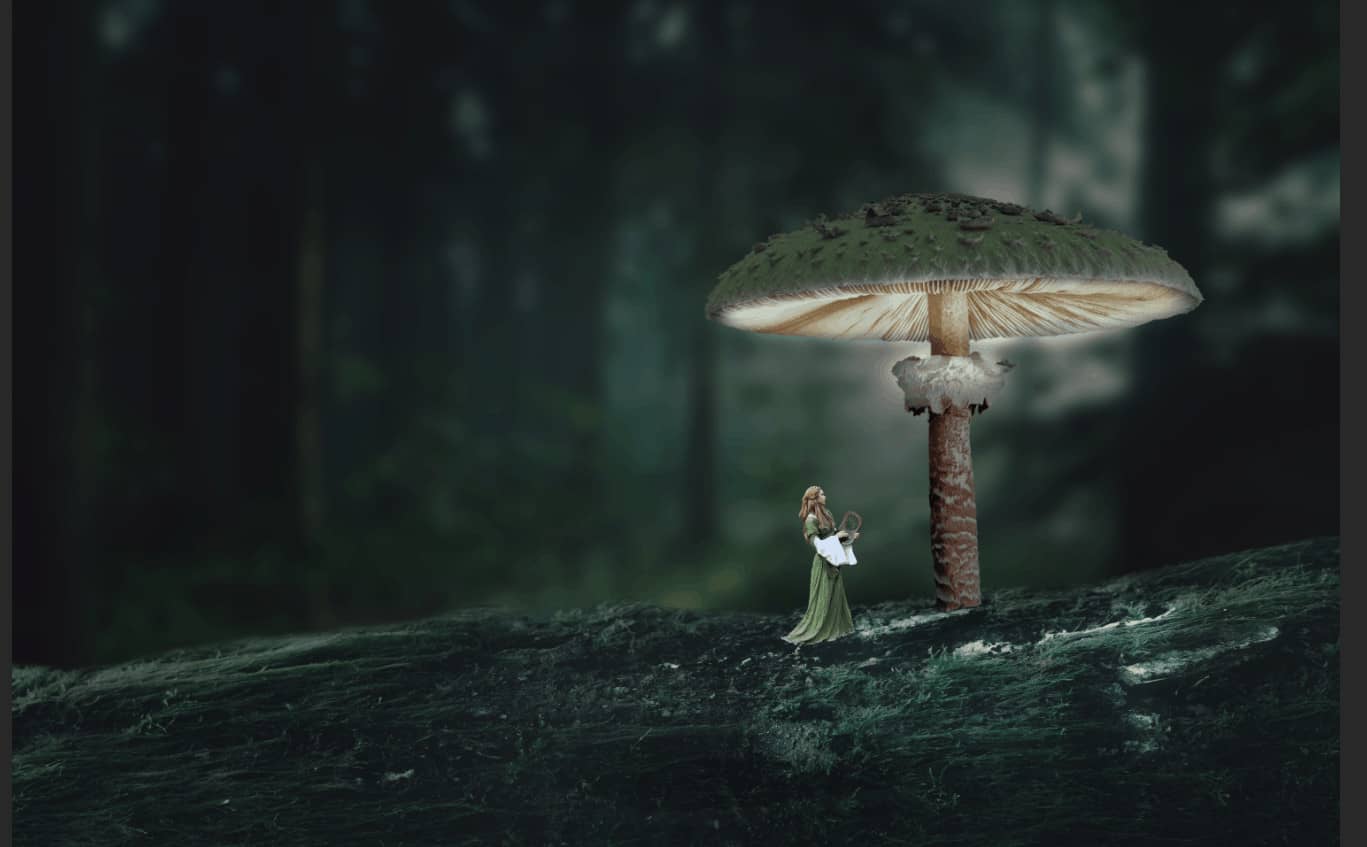
Now, go to File > Open and select Model. Then use a Pen Tool(P) and start selecting the Woman. When we finish the selection press right click on mouse and “Make Selection” then create layer mask..The simplest path you can draw with the standard Pen tool is a straight line, made by clicking the Pen tool to create two anchor points. By continuing to click, you create a path made of straight line segments connected by corner points.
- Select the Pen tool.
- Position the Pen tool where you want the straight segment to begin, and click to define the first anchor point (do not drag).
- Click again where you want the segment to end
- Continue clicking to set anchor points for additional straight segments.
- The last anchor point you add always appears as a solid square, indicating that it is selected. Previously defined anchor points become hollow, and deselected, as you add more anchor points
- Complete the path by doing one of the following:
- To close the path, position the Pen tool over the first (hollow) anchor point. A small circle appears next to the Pen tool pointer
 when it is positioned correctly. Click or drag to close the path.
 - To leave the path open, Ctrl-click (Windows) or Command-click (Mac OS) anywhere away from all objects. To leave the path open, you can also select a different tool.
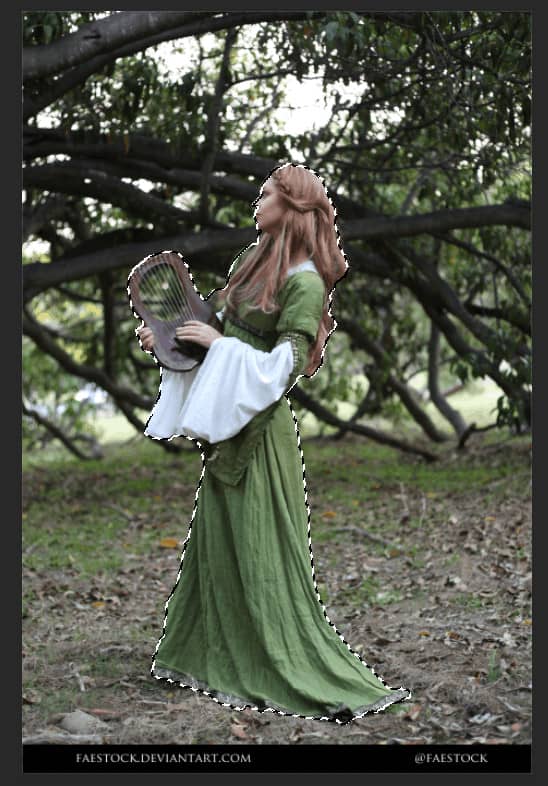
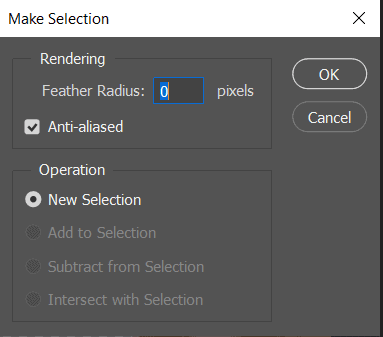
Feather Radius set to 0px and check Anti-alliased. After the selection area has been created, simply copy (Ctrl / Cmd + C) and Paste (Ctrl / Cmd + V) it to our work canvas. Then position the image with the transform tool (Ctrl / Cmd + T). Hold Alt + Shift and resterize like image below. In Photoshop CC only hold Alt to resterize al sides together.
Step 19
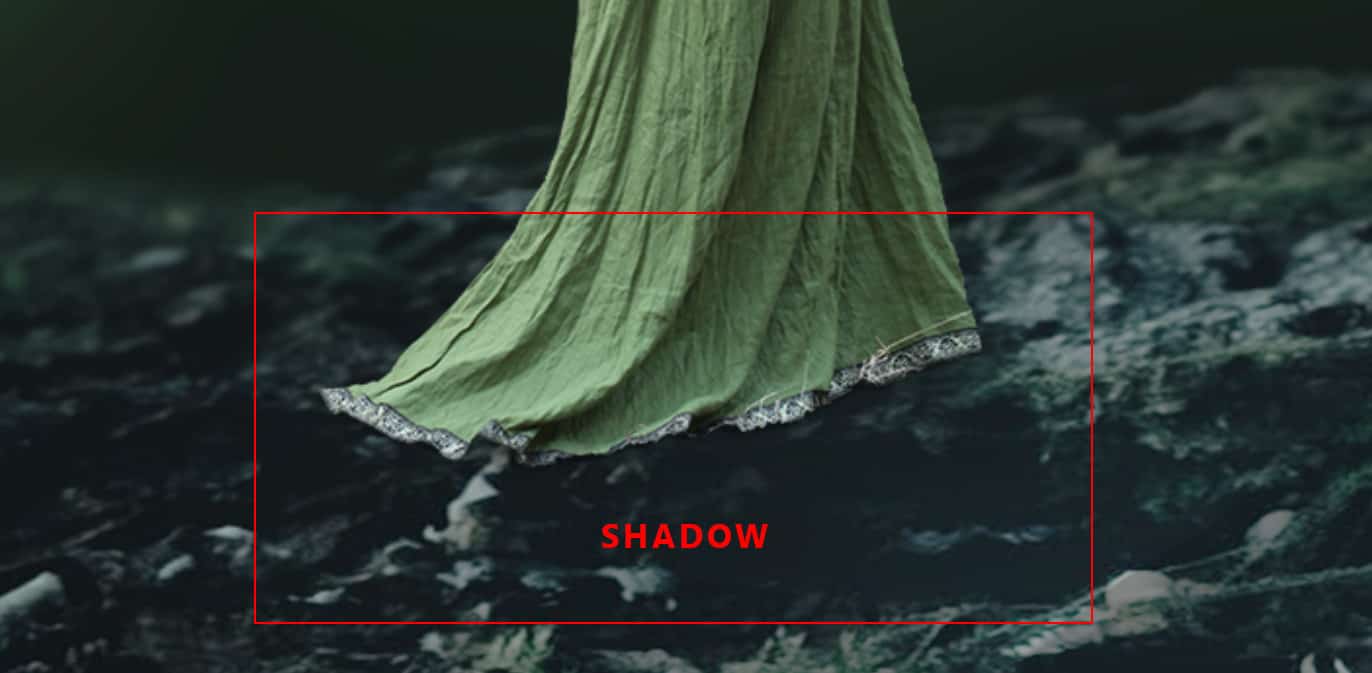
Hold Ctrl/Cmd and Create a new layer and use a Brush Tool(B) Soft Round with foreground color black and start painting the shadow but first drop a flow to 10%. Blend mode change to Multiply.
Step 20
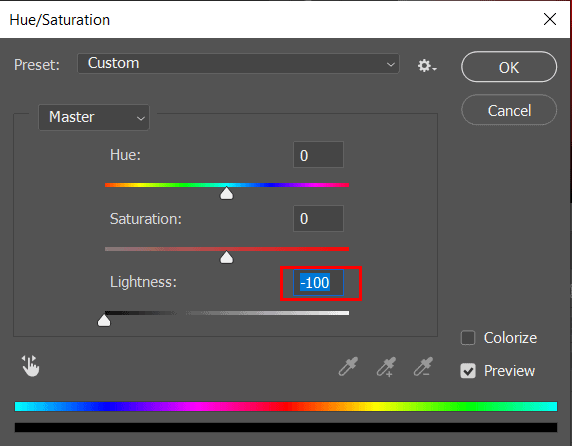
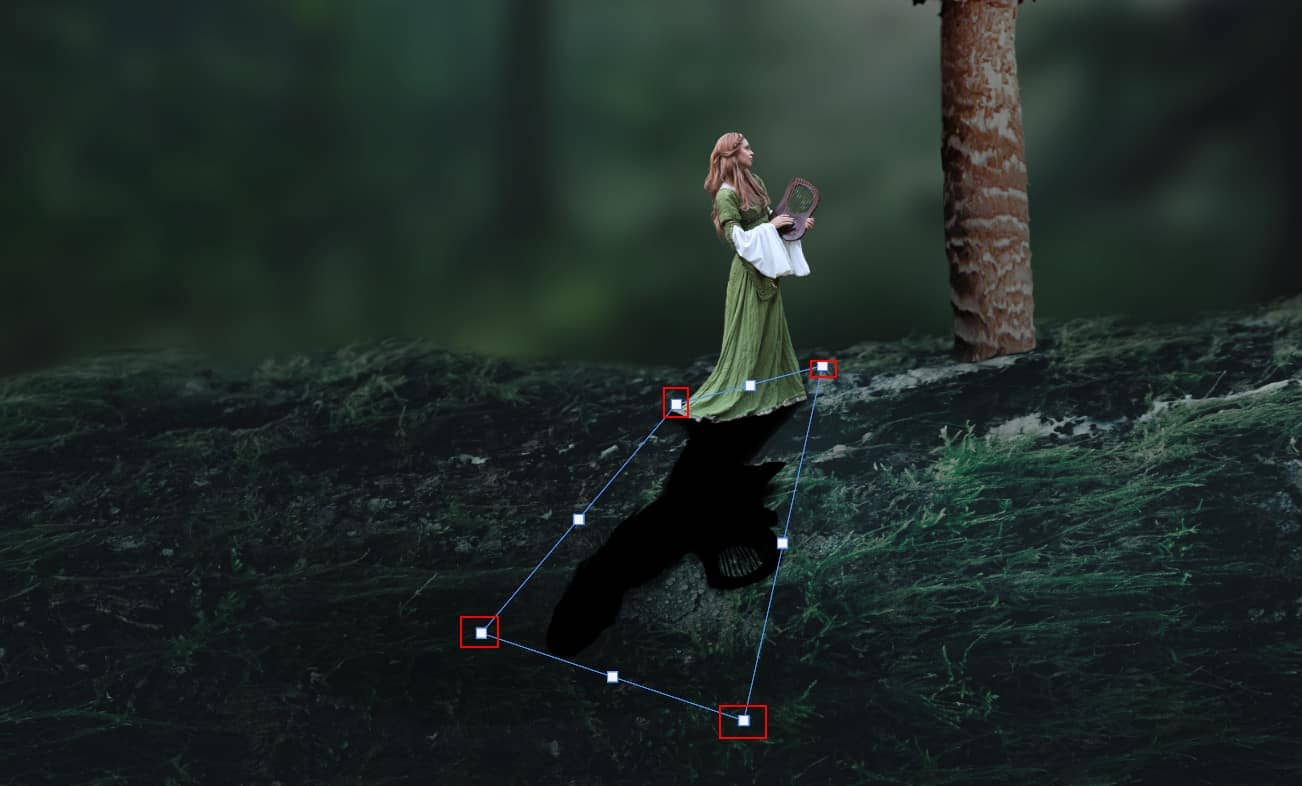
Now duplicate Mushroom layer (Press Ctrl/Cmd +J) and move it below Mushroom layer. We'll use it for a shadow, press Ctrl/Cmd + U to open Hue/Saturation Adjustment layer and set Lightness to -100.
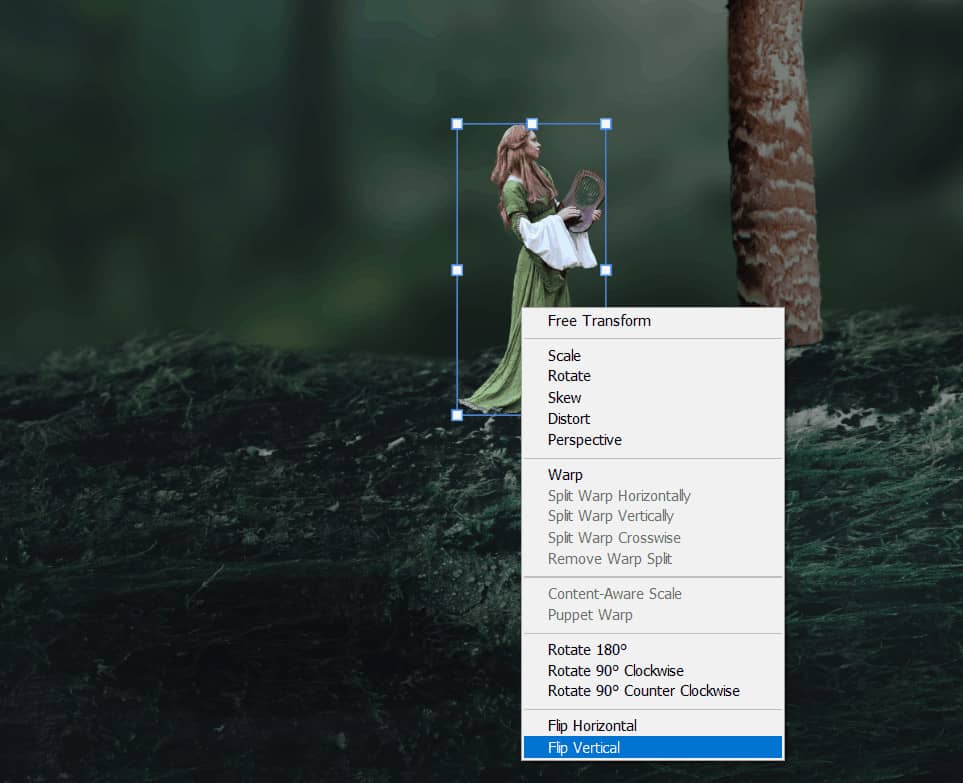
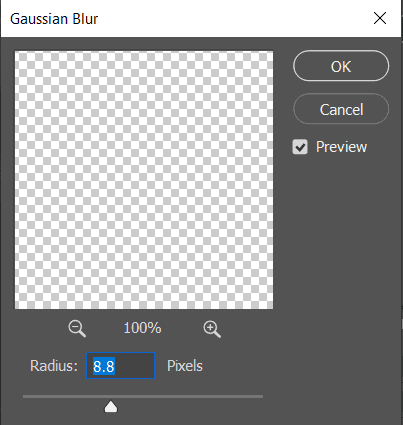
Then open a Transform Tool(Ctrl/Cmd + T) and flip it Vertical. To have complete control hold Ctrl/Cmd and move bottom pointers to left side. Go to Filter > Blur > Gaussian Blur and set radius to 8.8px. Opacity reduce to 33%.
Step 21
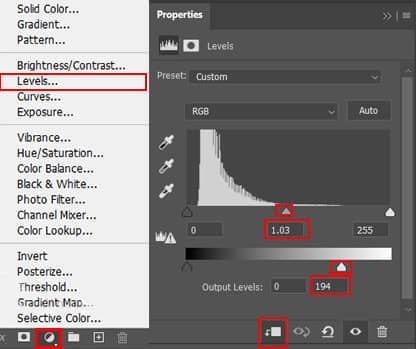
Select Model layer and add Adjustment Layer "Levels"
Step 22
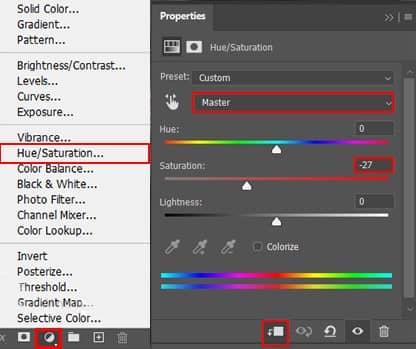
Add Adjustment Layer "Hue/Saturation"
Step 23
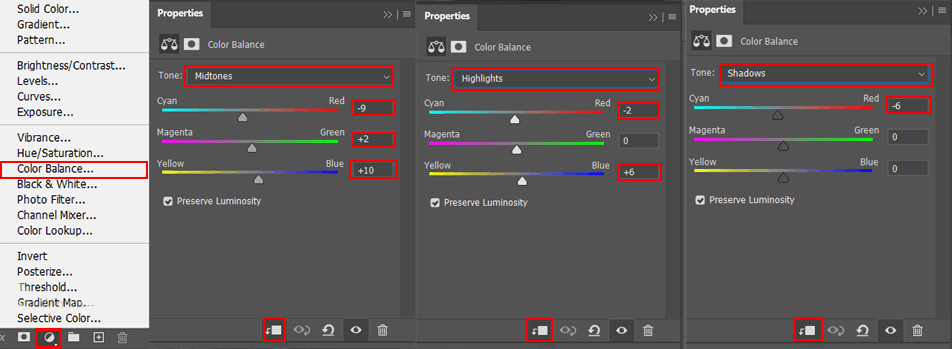
Add Adjustment Layer "Color Balance"
Step 24
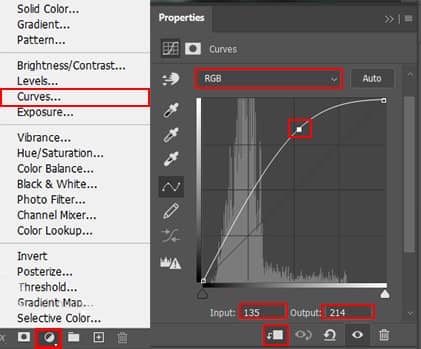
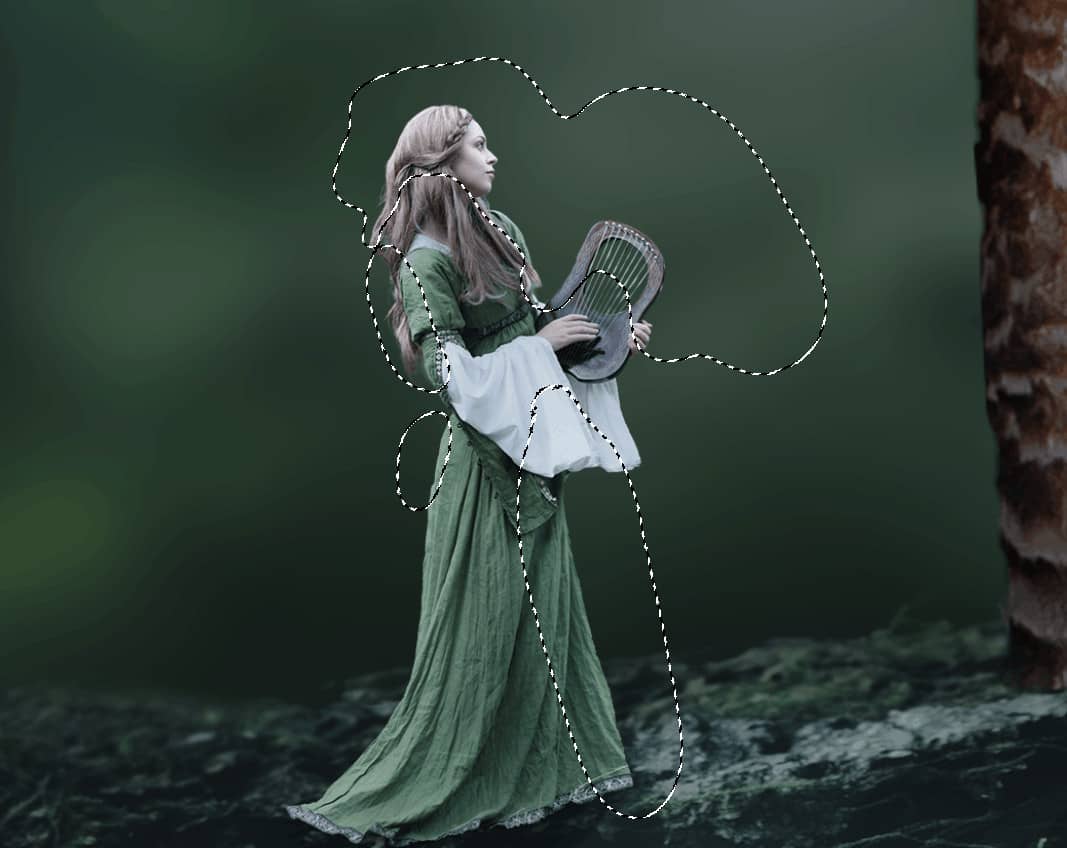
Add Adjustment Layer "Curves" and press Ctrl/Cmd + I to invert. Then use Brush Tool(B) Soft Round with foreground color white and paint on Highlight parts.
Step 25
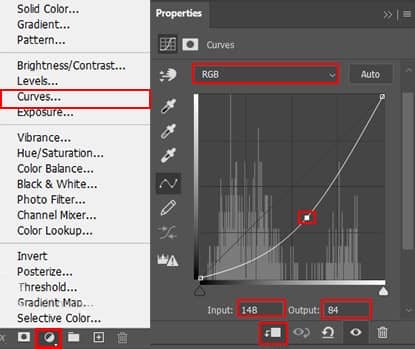
Add Adjustment Layer "Curves" and press Ctrl/Cmd + I to invert. Then use Brush Tool(B) Soft Round with foreground color white and paint on dark parts.
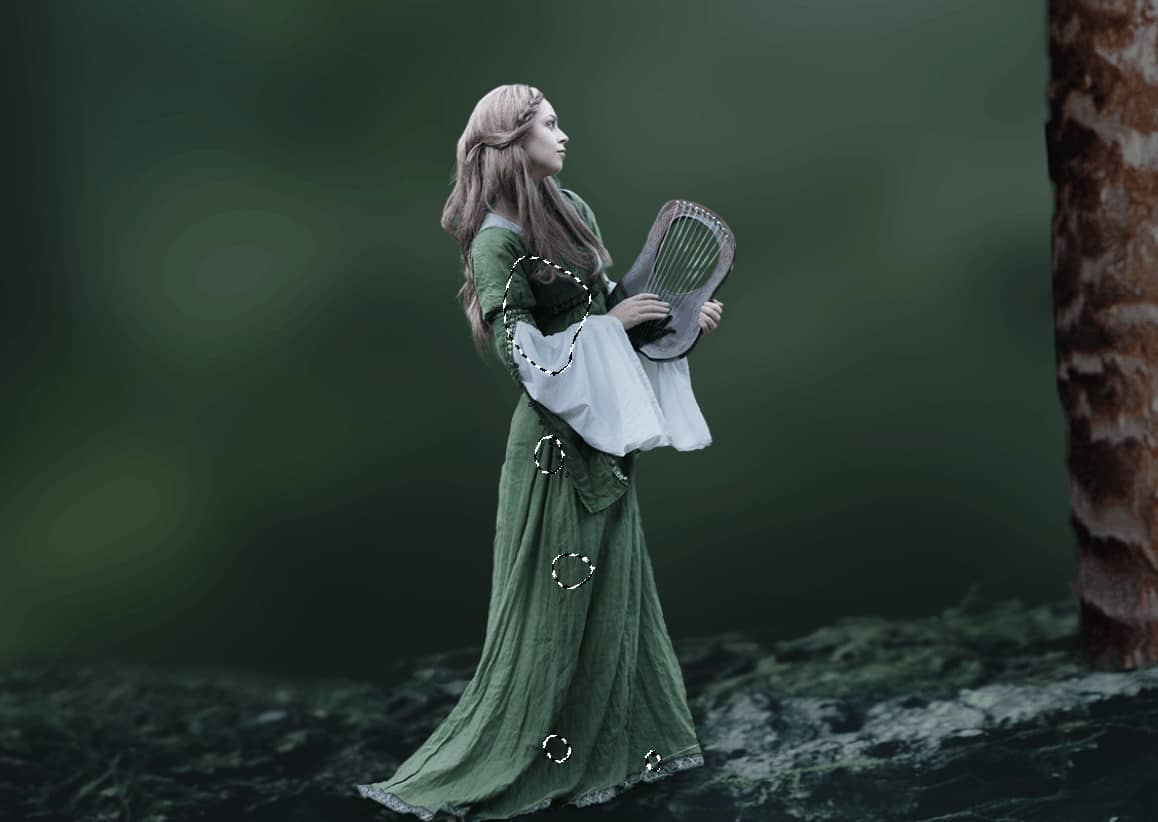
Step 26
Now , start create a new layer and use Brush Tool(B) Soft Round with foreground color blue and paint to the upper body which is exposed to light. Blend mode change to Linear Dodge (Add) with Opacity 4%.
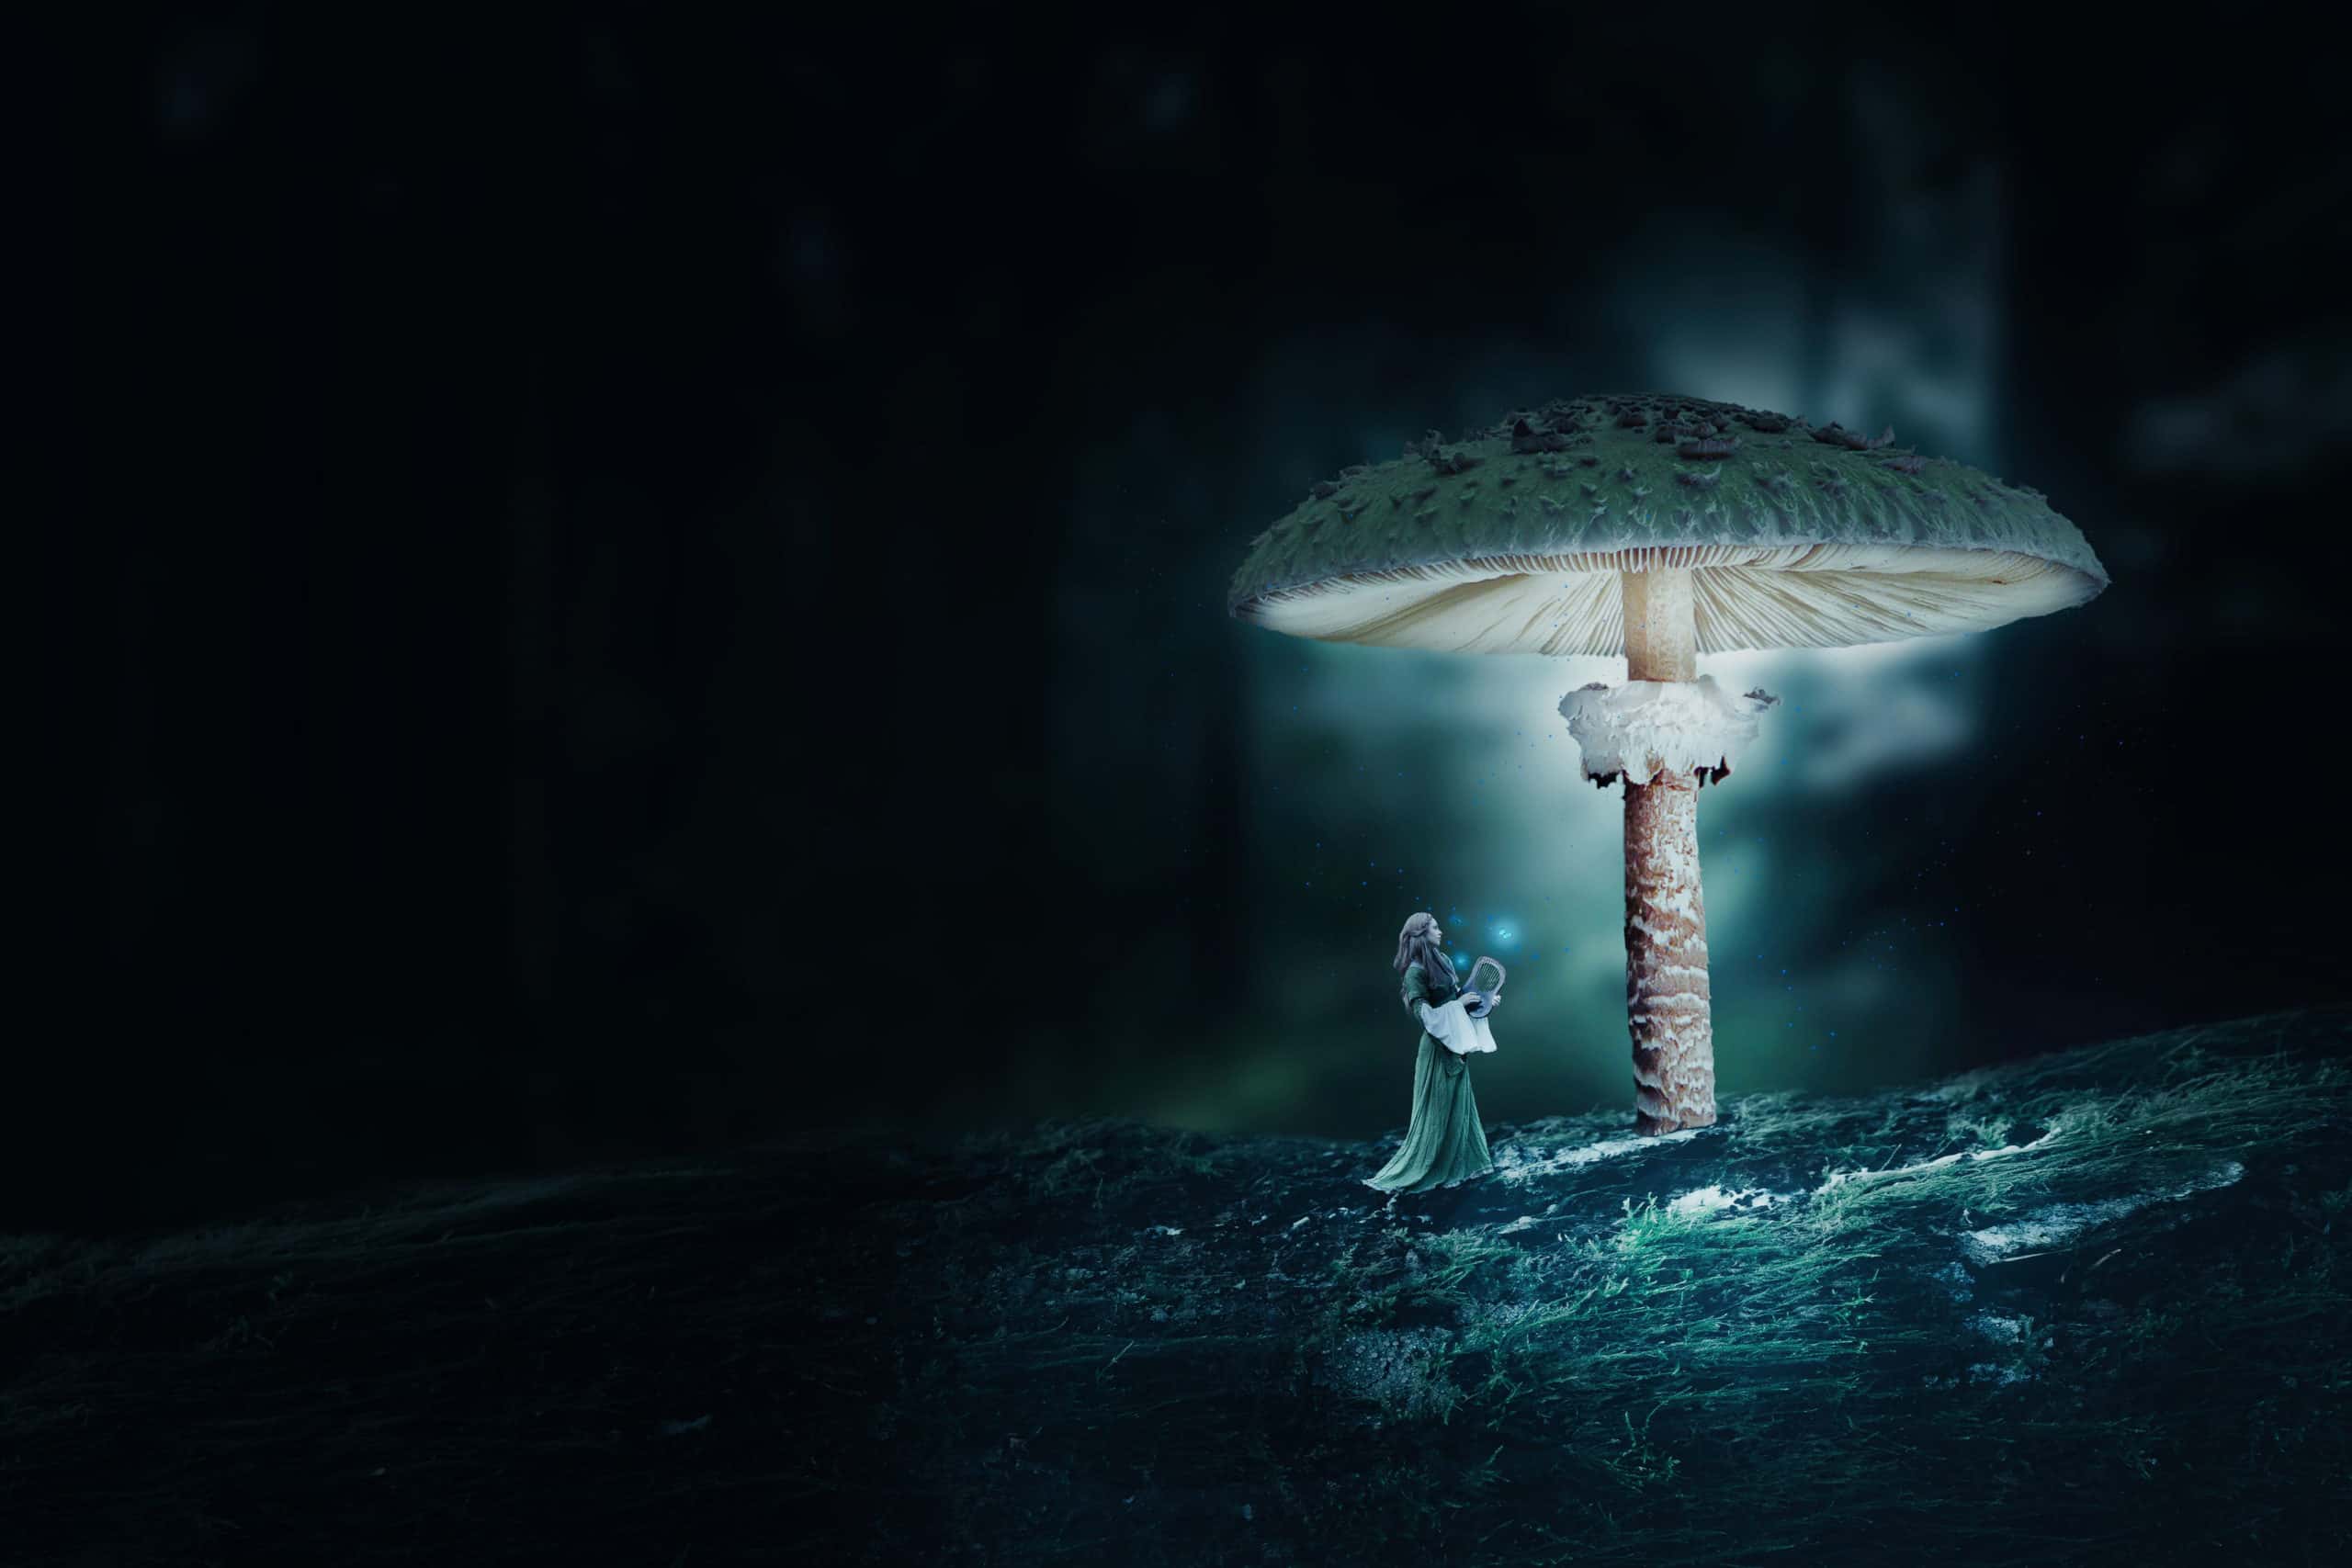

4 comments on “Create a Surreal Mushroom Forest Night Scene in Photoshop”
Nice Work
Thank you! Inspiriing.
You have ten steps and twenty layers to spare, you complicate your life in an incredible way. To publish in Adobe you have to do so much foolishness ???
Good job with effective and easy comment.