
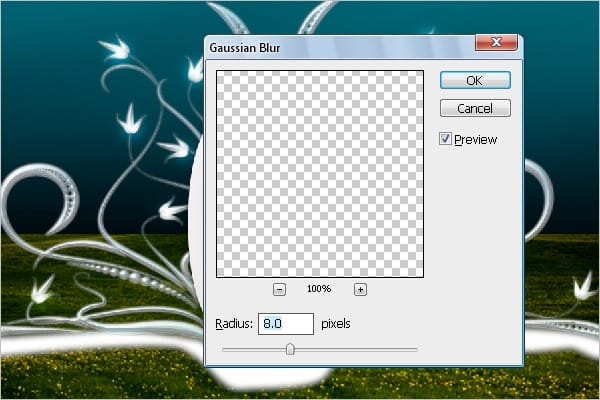
Step 31 – Adding Blur
Make the shape a little bit smoother by adding a glow effect. Select Menu > Filter > Blur > Gaussian Blur > Follow the settings below.
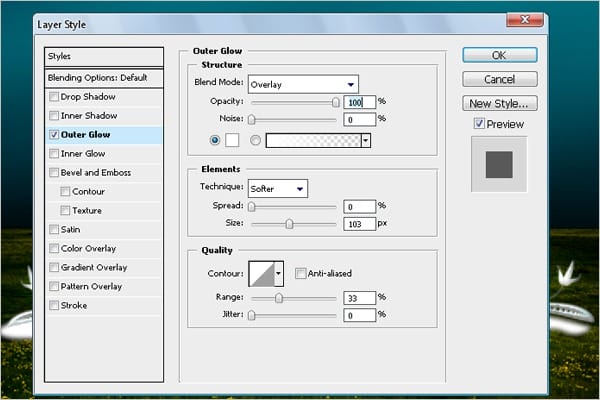
Step 32 – Creating Outer Glow
Add a glow effect to give a glossy feel to the shape. Set the outer glow settings as shown below. Go to Layer Blending mode > Choose Overlay.

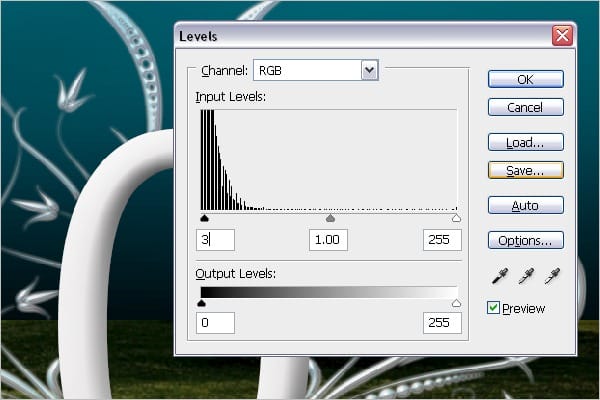
Step 33 – Adding Levels
Add a little bit of level to make the glow stand out more.
Step 34 – Adding Shadow
Add a cool shadow to the text. Select the Ellipse Tool (U) from Tools and create a shape path as shown below. Next, fill it in with black color.


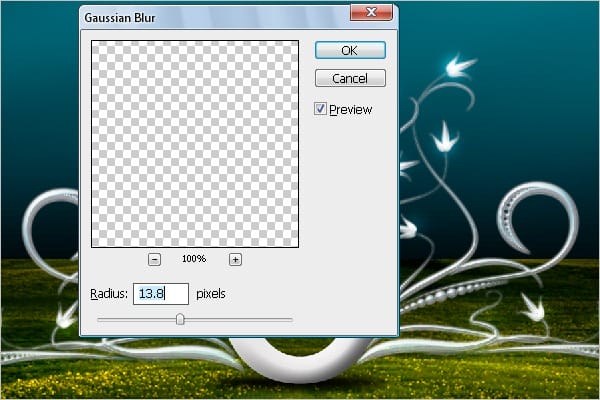
Step 35 – Adding Gaussian Blur
Make the shape smooth so that it flows to all the areas around the text.

Step 36 – Adding Grass
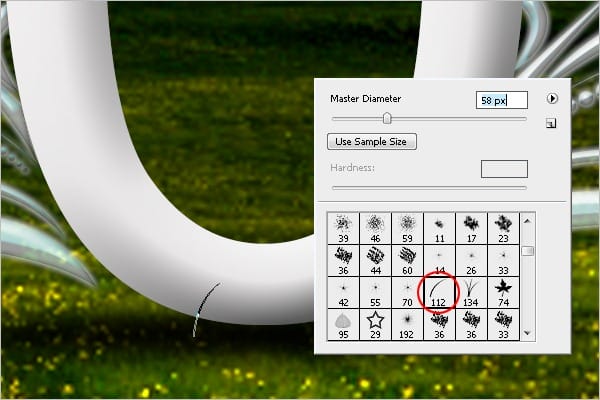
Add some grass above the text to get the feeling that the text is placed on land.
Select the Brush Tool (B) > Right click on the screen and select Dune Grass. Once you’re done with the settings, click on the shadowed area to place the grass.

Step 37 – Adding Clouds
Create clouds to get a real landscape feel. Download the brush from this link: https://getbrushes.com/weather-photoshop-brushes/javierzhx-cloud-brushes.php
Load the brush and select the 917 cloud brush. Create a new layer and place the brush on the image. Make the brush big enough so that it covers half the screen. Duplicate the cloud you just created and place it on the other side, or make a new cloud brush and place it as you wish.

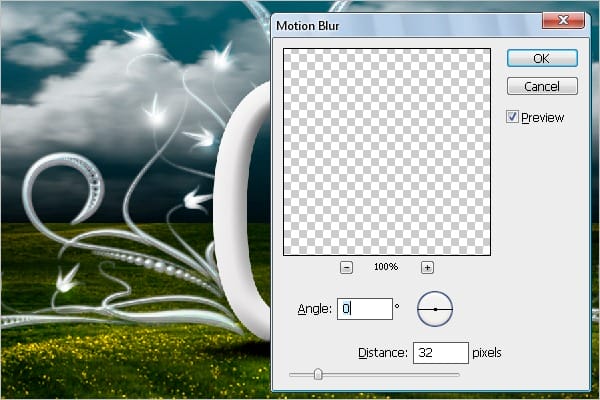
Step 38 – Adding Motion Effect
Add a motion effect to the clouds. Select Menu > Filter > Blur > Motion Blur > Follow the settings below.
Step 39 – Adjustment of Clouds
Adjust the clouds according to the space. Fill in the blank areas with clouds.


Step 40 – Creating a Path
Create a path for the particles to flow along it. Select the pen tool (P) > Create a path like the one below.

Step 41 – Adding Particles
Select the brush settings before filling it with the particles. Select Menu > Window > Brushes Palette > Follow the settings below.
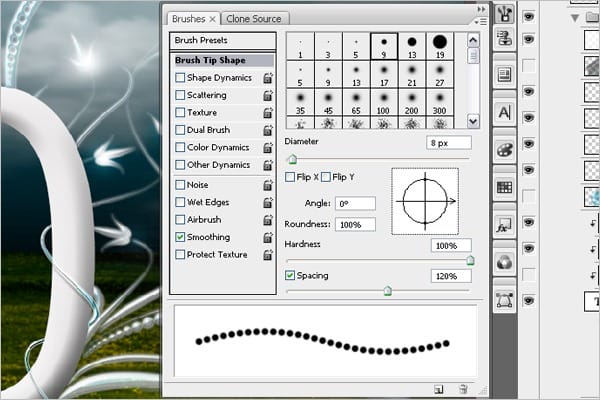

Shape Dynamics

Scattering

Other Dynamics
Step 42 – Filling Particles
Once you are done with the settings, select the pen tool (P) > Right click on the screen and select Stroke Path > Select brush and activate “Simulate Pressure” to give smooth edges.


Step 43 – Multiplying the Particles
Follow the same instructions in Step 42 to create the particles for the entire design.
3 responses to “Elegant Typography on Vista Background”
-
LINK is Broken.
Download Floral Design
http://myphotoshopbrushes.com/brushes/id/244 -
I have to purchase the grass image?
-
Gorgeous but it will not appear good on non symmetrical letters.


Leave a Reply