Turn any photo into a dot grid artwork with these Photoshop actions. You'll get great results with dots that change size. They get larger in brighter areas and smaller in darker areas. Free download available.
Step 17
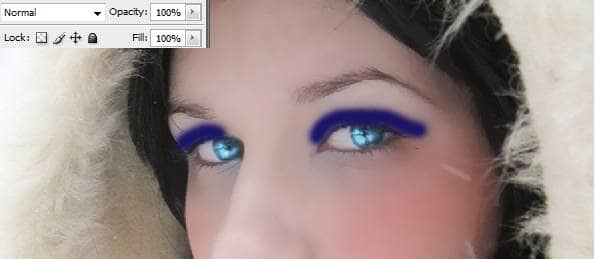
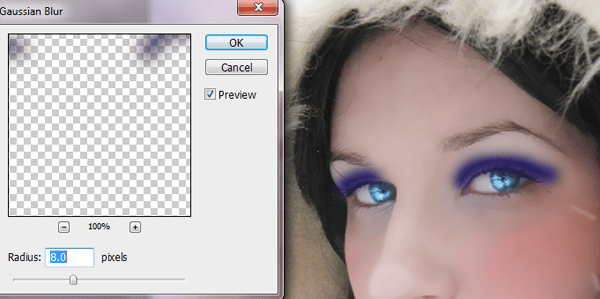
Apply Gaussian blur filter with an 8.0 radius. and then put the layer in multiply. you can choose to make the eyeshadow look darker or softer changing the opacity of the layer as you prefer.
Step 18
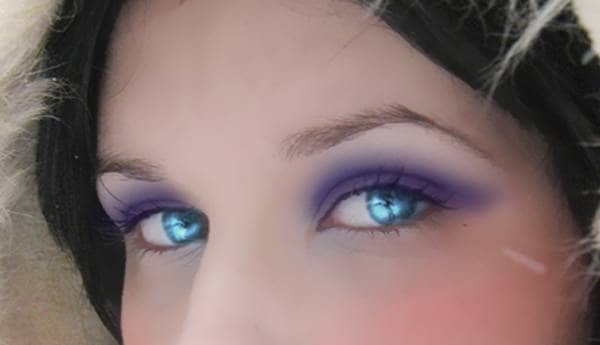
Repeat the process with different tones and colors. Like this:
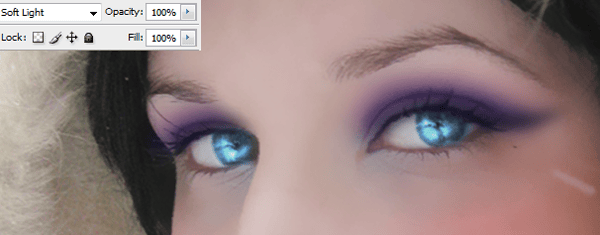
This first image shows the eyeshadows with the Gaussian blur.
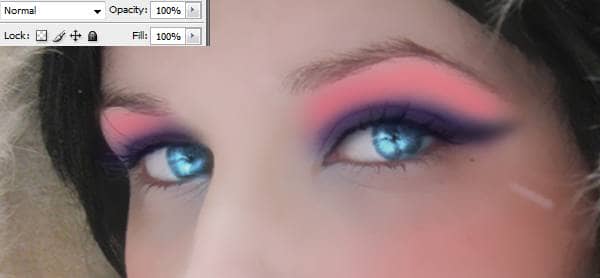
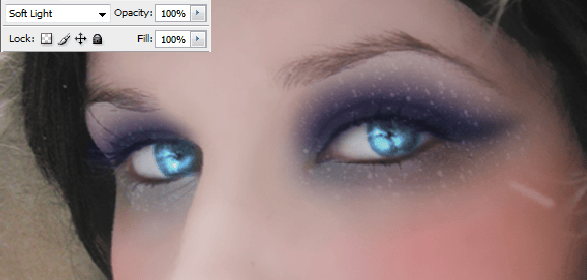
Then in this image you can see that the layer is in soft light mode.
Step 19
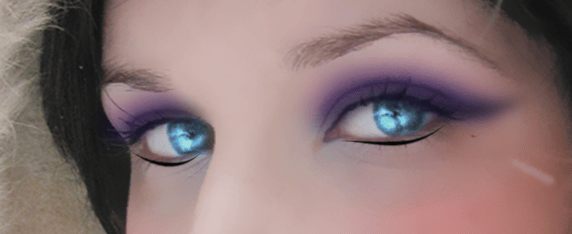
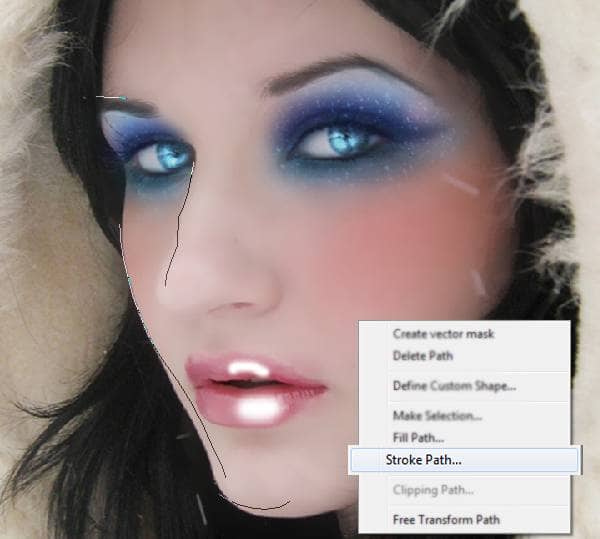
To make the eyeliner you can use pen tool. Make the trace in the models eye like this:
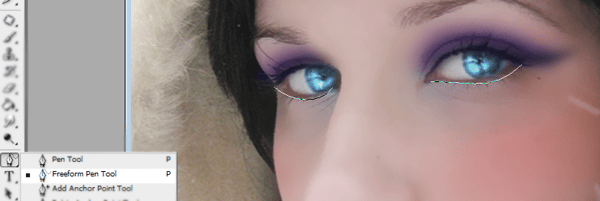
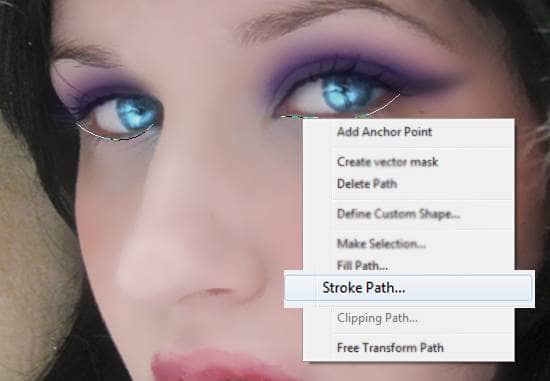
Then select the option stroke path.
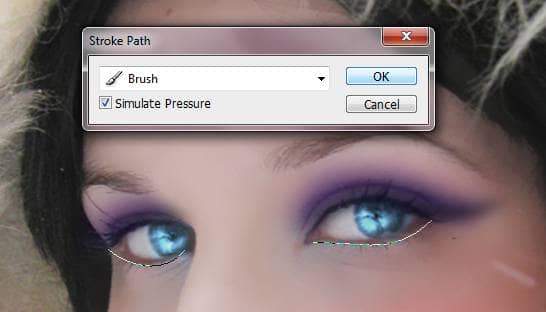
Then select brush pressure.
Step 20
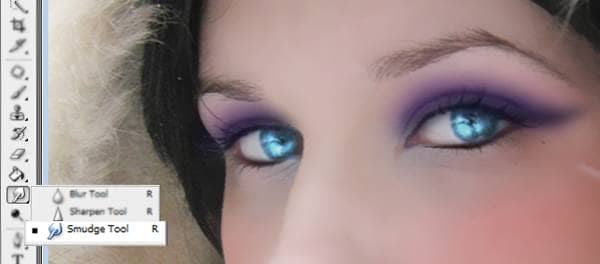
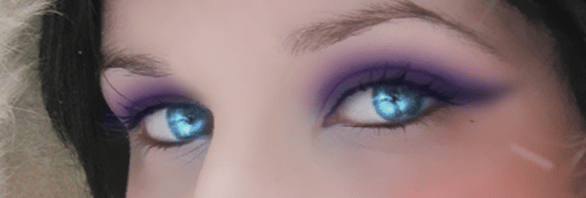
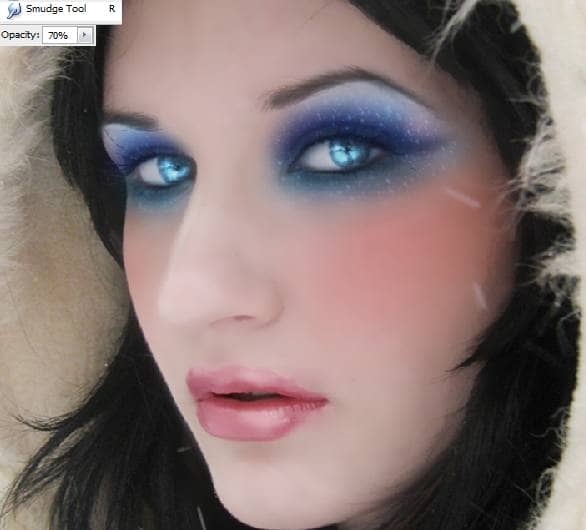
Make the eyeliner softer with the smudge tool. Also, you can reduce the opacity to blend it even more.
Step 21
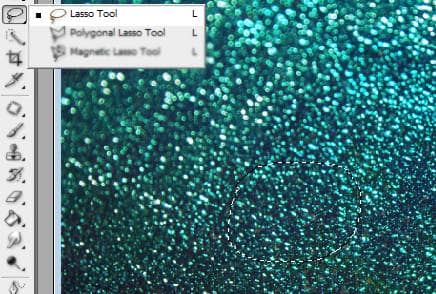
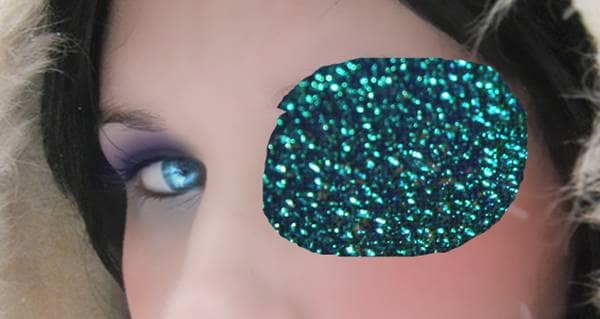
To create the glitter we are going to used another image. I cut a part of the image with the lasso tool and then put that selection over the model.
Step 22
Erase the parts you don't need from the selection, putting the layer in soft light. Then put the layer at 70% of opacity. Repeat this with the other eye. Also you can change the color of the glitter. I desatured this one a little bit.
Step 23
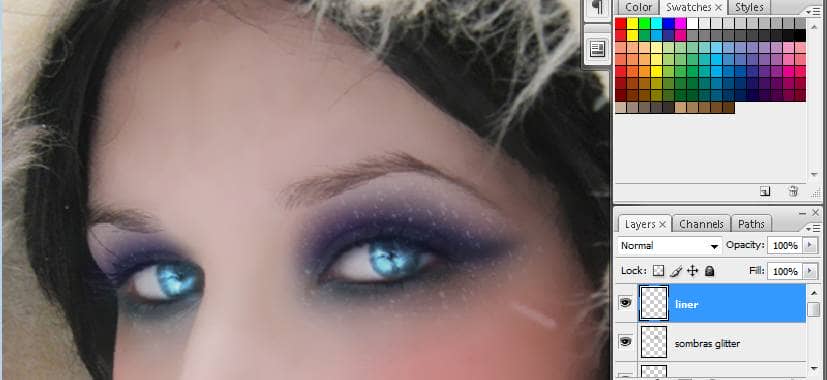
Remember to put some eyeshadow in the lower part of the eye. I used an intense dark blue and add some Gaussian blur. Also, the layer is in normal mode.
Step 24
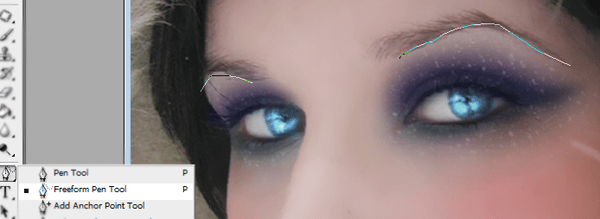
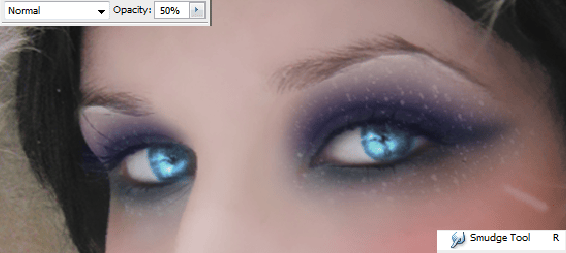
Also to make the eye stand out even more you can add a white line under the eyebrow with the pen tool.
Step 25
Used smudge tool to make the white line softer and then reduce the opacity of the layer to 50%.
Step 26
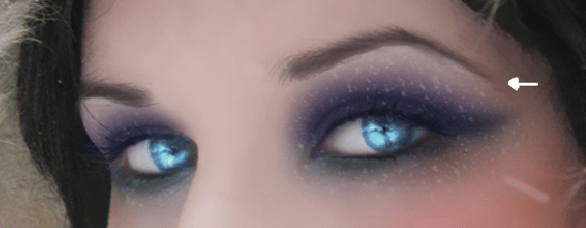
Paint over the eyebrows of the model with a soft brush and reduce the layer opacity to 70% to make the eyebrows darker.
Step 27
To end with the eyeshadows paint with a soft brush using pastel cyan and white
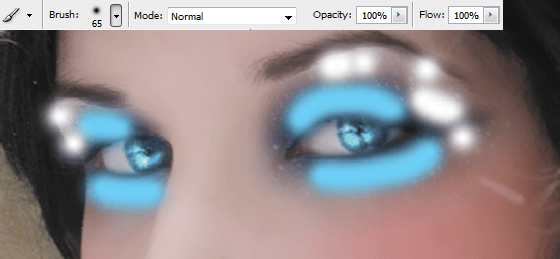
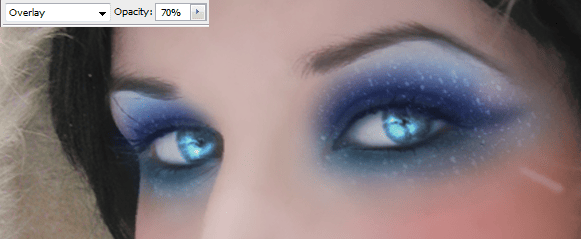
Add some Gaussian blur and put the layer in overlay at 70% to get this result.
Step 28
Create a new layer to make some reflections in the lips and skin with pen tool and soft brushes.
Use the smudge tool to make the reflections softer and reduce opacity and fill to 70%.
Step 29
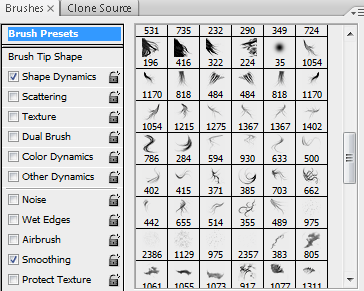
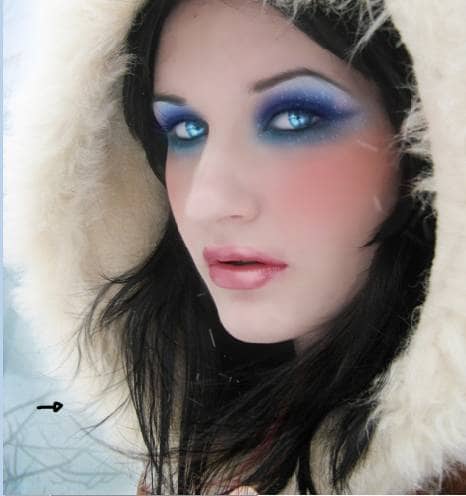
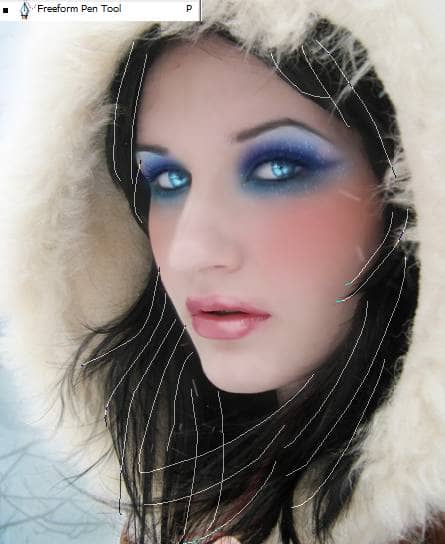
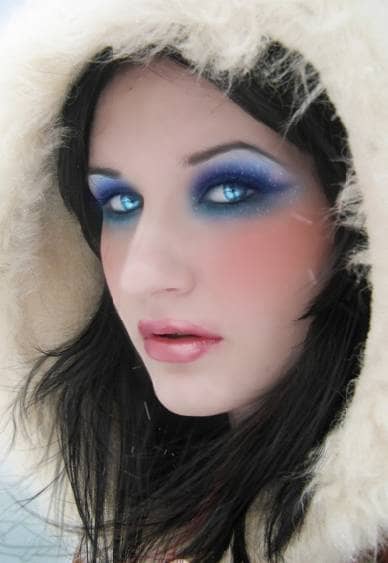
To make the model's hair I used some brushes.
Step 30
Also, I used the pen tool to create more hair.
Step 31
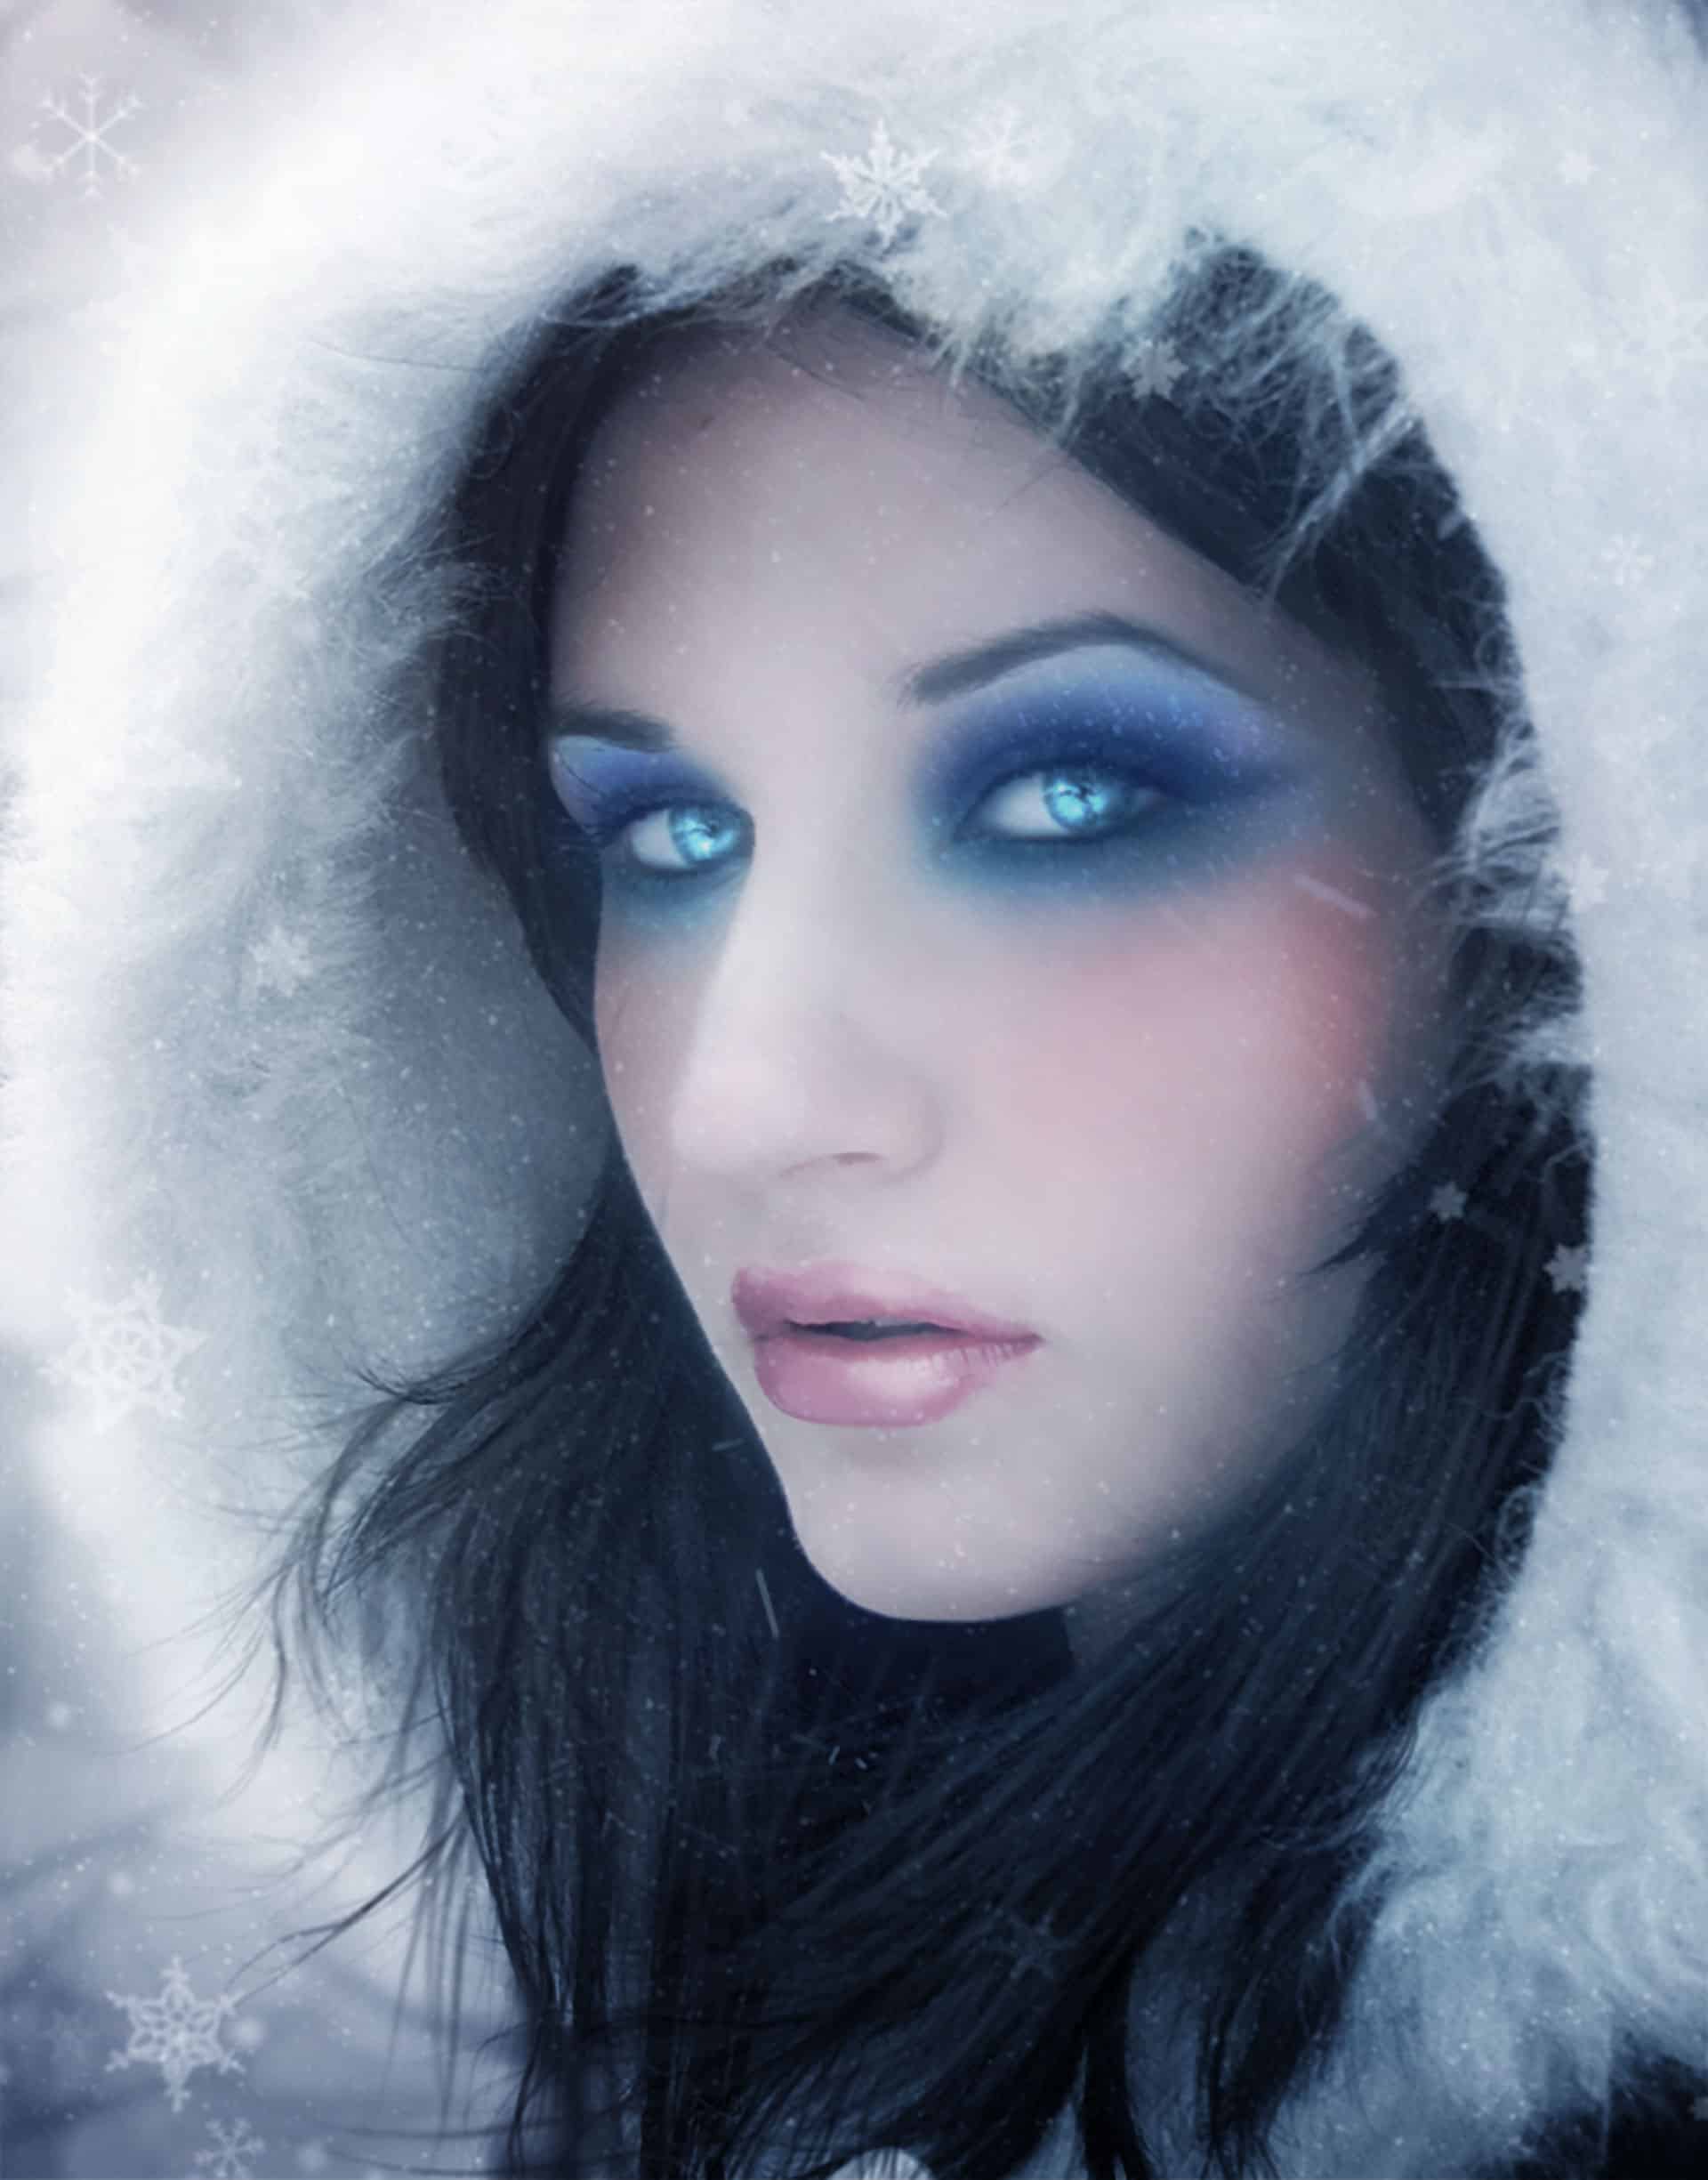
Now we are going to start with the lighting and coloring. Add a new layer and paint it blue, also a little bit of white in the center and black in the edges.

21 comments on “Turn a Regular Headshot Into a Cold Winter Portrait”
great step by step tutorial ..
decent tutorial……... needs more directions
I like the idea of this tutorial, it’s very creative and the result looks great.
Great :) The result is very beautiful !!
you like you like............
I find a lot of your tutorials very very good. This one could have been good but it's lazy. You have left out very important parts if the tutorial is to followed closely..And I do not understand why you would do this??
I only see steps 1-17...where is the rest??
try the next page button
merci pour ce tutoriel
http://www.flickr.com/photos/99472326@N06/9379839646/
You did a wonderful job with this tutorial. It turned out fantastic. I know what I am talking about. Thank you for taking the time and put up tutorials that are so easy to follow.
Thank you
thank yo for the tut it was realy helping one this is my work but a little bit diffrent
this was a wonderful tutorial! I just started using PS, and this tutorial was very simple to follow. I changed a few things up, and mined turned out as a Lady Loki :) I've attached it if you'd like to see...
lovely tutorial, I attempted making a winter portrait myself following your instructions - turned out just great :)
great andrea
I'm glad you like it and find it useful :)
yeah
.
Is there a video that I can see on this particular item?
I do better with your videos... my bad! LOL
[email protected]
where did her pupils go?? lol Is she married to the abominable snowman...or bigfoot? Maybe they like blue eyeshadow..
she looks freaky to me...like an alien or something
I would rather forget anything about winter, LOL. Brrrrrrrr!