
Two possibilities exist: either we are alone in the Universe or we are not. In this Photoshop tutorial, we will learn how to combine multiple stock photos into unreal scenes using Adjustment layers, masking, and brush.
Preview of Final Results

Tutorial Resources
Step 1
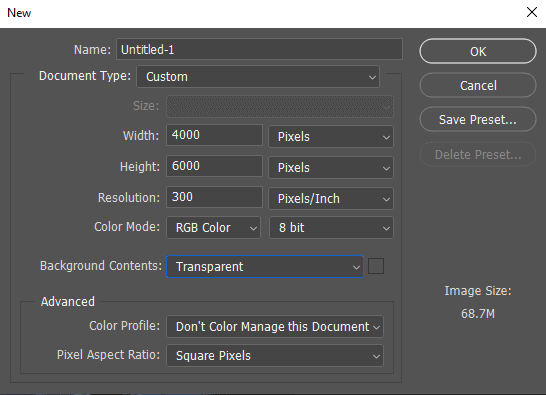
Now, let’s start by creating a new image file, go to the Menu bar and click File > New, and then input the following values on their respective fields
- Preset: Custom
- Width: 4000
- Height: 6000
- Resolution: 300
- Color Mode: RGB Color 8-bit
- Background Contents: Transparent
Step 2
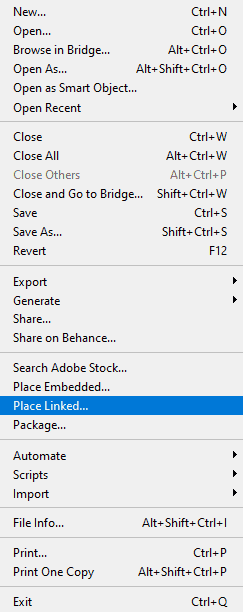
Go to File > Place. Select the Manstock and place it into your document.
Step 3
We will now select and cut the window, First create a layer mask and go to use Pen Tool(P). After we selected window go Right Click > Make Selection. Feather Radius set to 0.5 check Anti Aliased and Operation to New Selection and hit OK. Once we have done that, we now need to remove the background. Foreground set to Default (D) and hold ALT + DELETE.


Step 4
Next we will openEarth. After you open the image, use Rectangular Marquee Tool(M).


Step 5
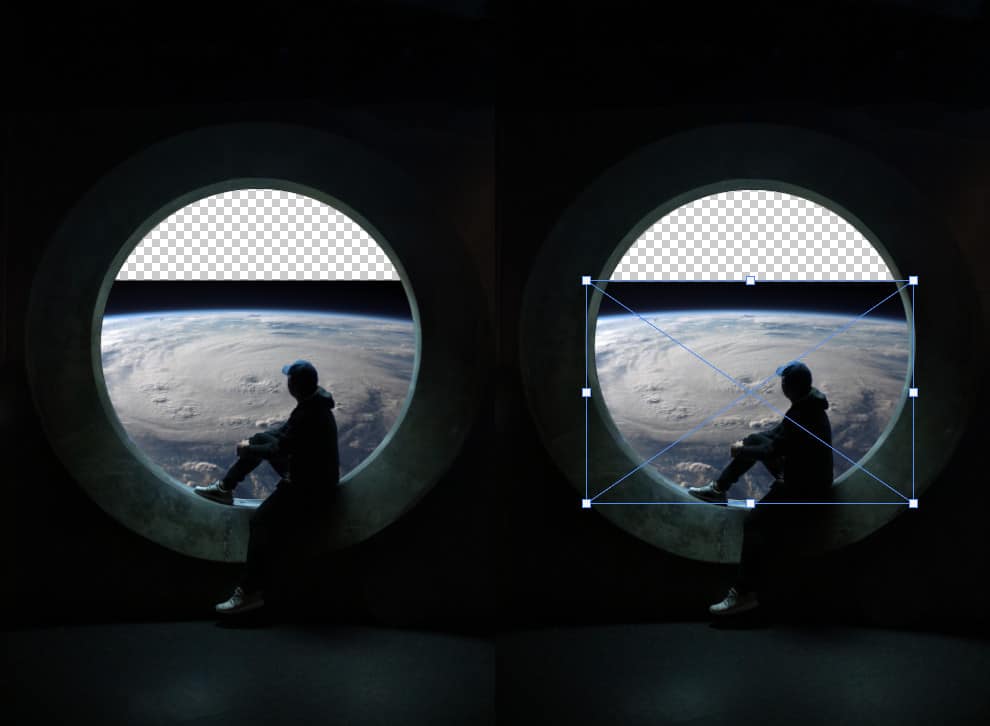
After the selection area has been created, simply copy (Ctrl / Cmd + C) and Paste (Ctrl / Cmd + V) it to our work canvas. Put the Earth down of all the layers we “ve created. Then position the image with the transform tool (Ctrl / Cmd + T). Hold Alt + Shift and resterize like image below.
Step 6
Select Earh layer and add Adjustment Layer “Hue/Saturation”

Step 7
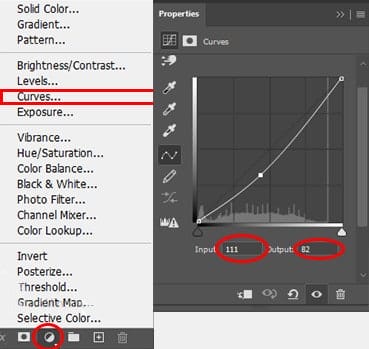
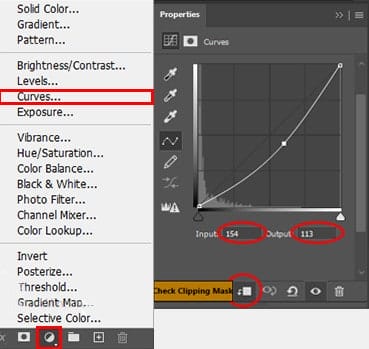
Add another one Adjustment Layer “Curves”
Step 8
Next place a Stars, go to File > Place and reduce the size by holding the left click on one of the 4 cubes and dragging inside then press Enter.

Step 9
Create a layer mask to delete a line between Stars and Earth. Use Round Brush Tool (B), Set Size to 400px and Hardness to 0%, after that create a layer mask with foreground color black. Now that we can paint. Always use a layer mask because if you make a mistake you can correct it, if you use Erase Tool without a layer mask then you cannot correct it.

Step 10
Create new Adjustment Layer “Hue/Saturation”

Step 11
Add Adjustment Layer “Curves”
Step 12
Next, open a MoonFile > Open. Use a Crop Tool (C) And simply swipe from the bottom up then press Ok, as shown in the image below.
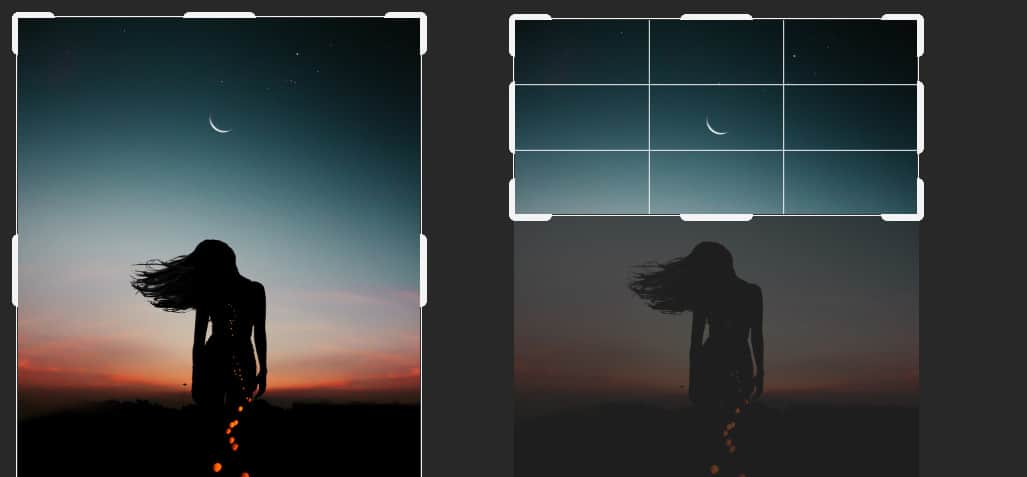
Use the Rectangular Marquee Tool (M) and select it. After the selection area has been created, simply copy (Ctrl / Cmd + C) and Paste (Ctrl / Cmd + V).

Set as shown in the picture below
7 responses to “How to Create a Photo Manipulation Scene from the Other Side – A View of Earth from Space”
-

Can these be used commercially? I want to photoshop my client into this. Thanks!
-
Why there are two earths?
-
problem link osdd :(
-
a problem with link psd :(
-
fixed!
-
-
This is a cool manip! I thank you!
The download link does not appear to be working, by the way.
Thanks!
Su-
Sorry link is fixed!
-
Leave a Reply to AnonymousCancel reply