Make skin look perfect in one-click with these AI-powered Photoshop actions.
Tutorial Resources
- Program: Adobe Photoshop CS2 and newer
- Difficulty: Beginner-Intermediate
- Basic Photoshop Skills
- You need to know how to: create Text, create new layers, use layer styles, change blending modes, change layer opacity, make selections, use blur effects, transform and scale layers, group objects and add gradients
- Font - Big John by Ion Lucin
- Space scene environment- download background image
Step 1
Create a new folder. Name it "ROCK - Create a Space Flare Glowing Text". Now open the folder and create a new folder. Name the new folder "images".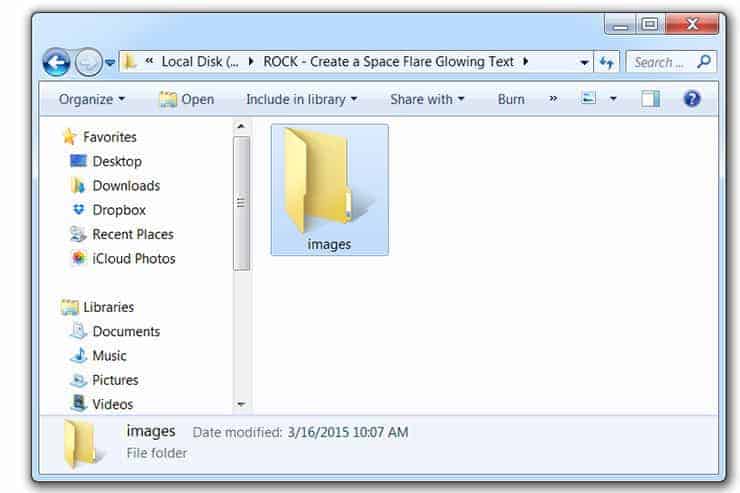
Step 2
Download the space image from the link in the description and place it in the images folder.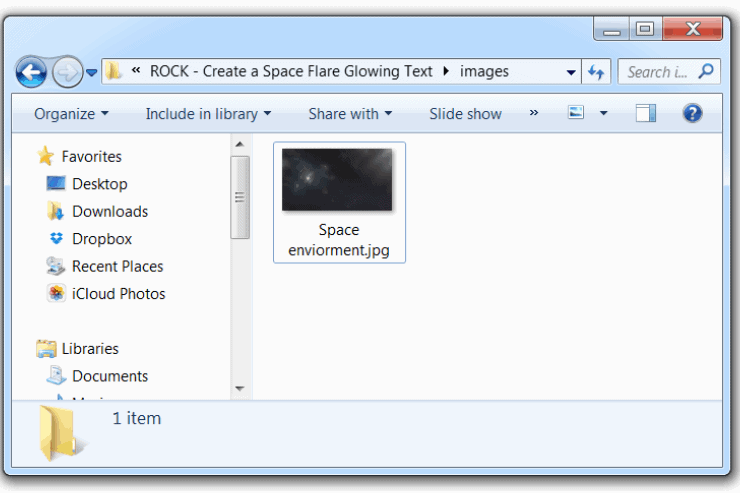
Step 3
Open Photoshop. Go to File > New to create a new file. Set the settings as in the image below. Name the File - ROCK - Create a Space Flare Glowing Text. Then click OK.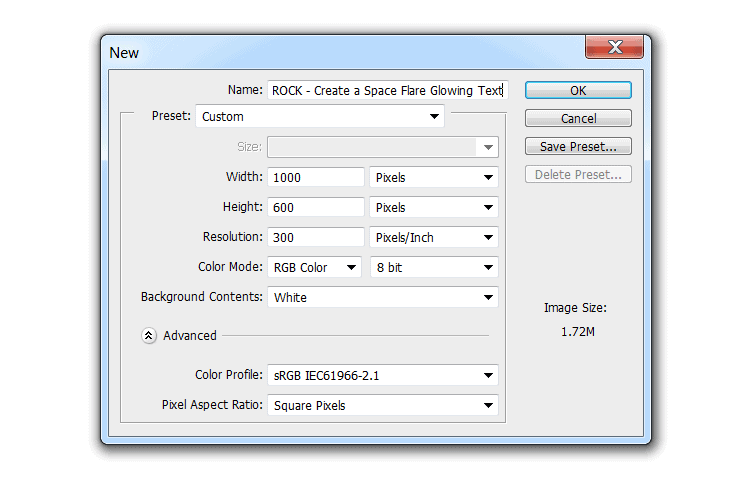
Step 4
Go to File > Save As. Make sure to save the file in the " ROCK - Create a Space Flare Glowing Text " folder.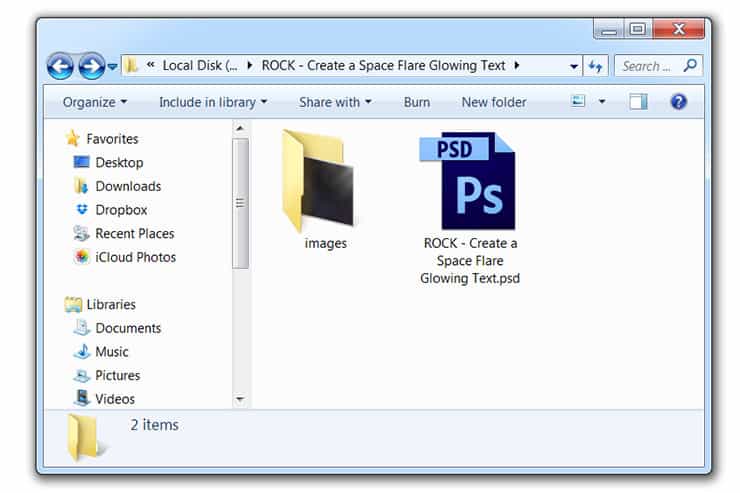
Step 5
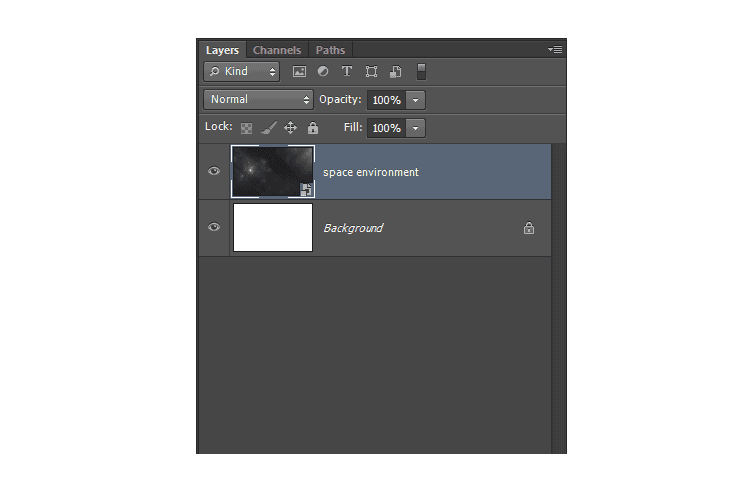
Make sure you are in Photoshop. Go to File > Place. Go in the images folder, select the space environment jpg and click Place. This will place the image on the canvas.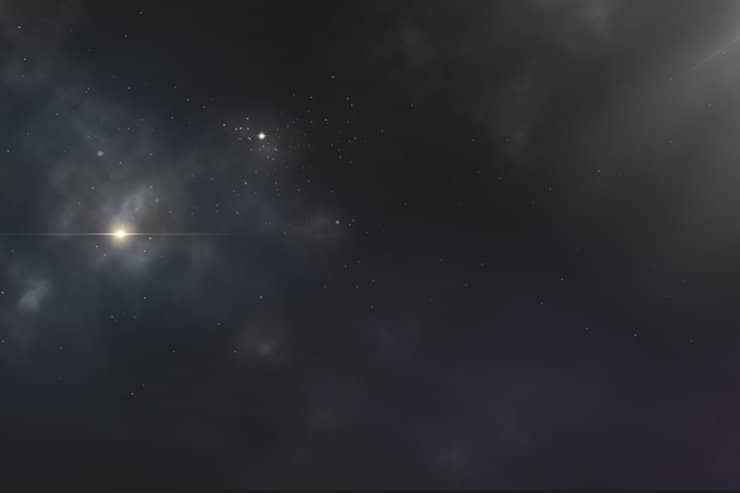
Step 6
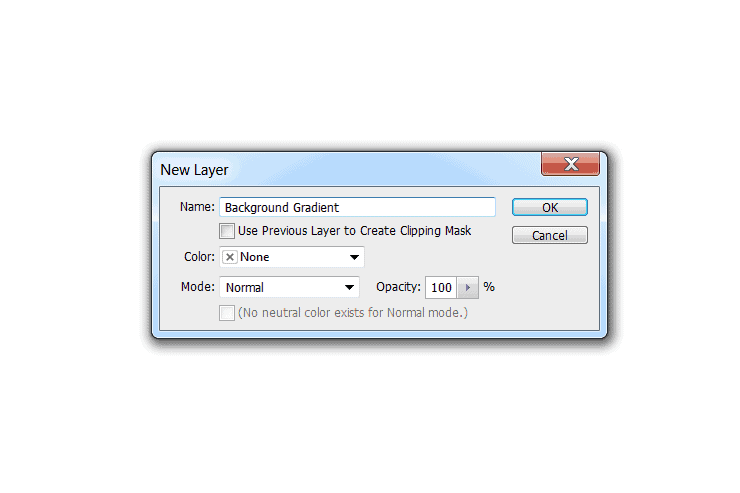
Now create a new layer. Go to Layer > New > Layer.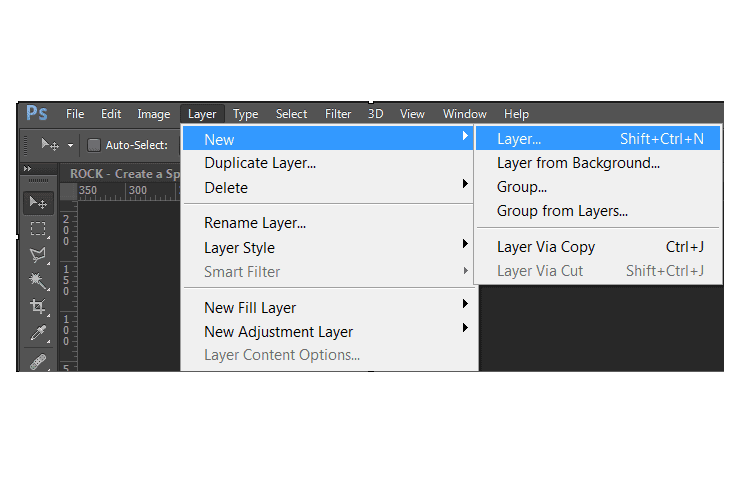
Step 7
Press the G key on your keyboard to activate the Gradient Tool. Open the Gradient Editor and set the colors of the gradient as in the image below. Just for the record, the color on the left is (063964) and on the right is (2cc1e6).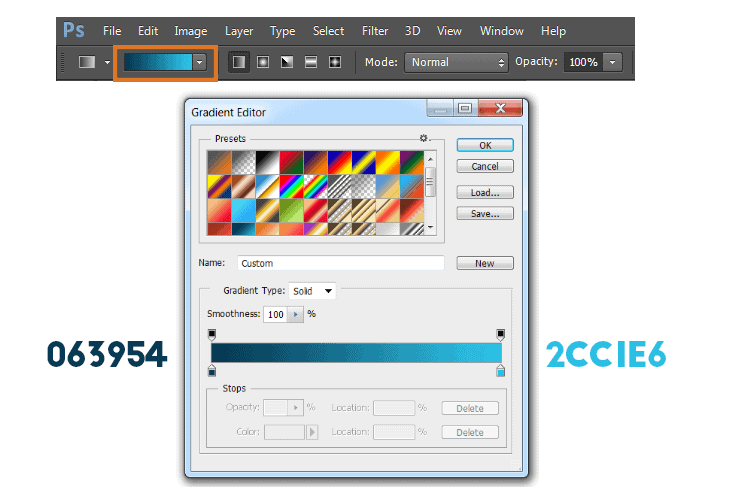
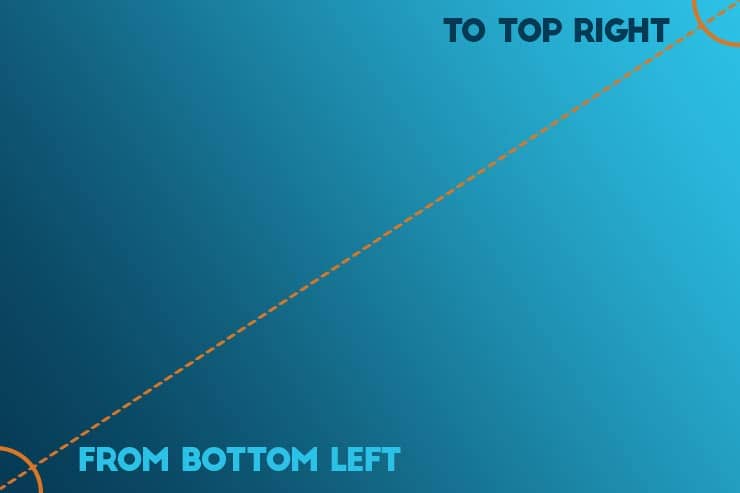
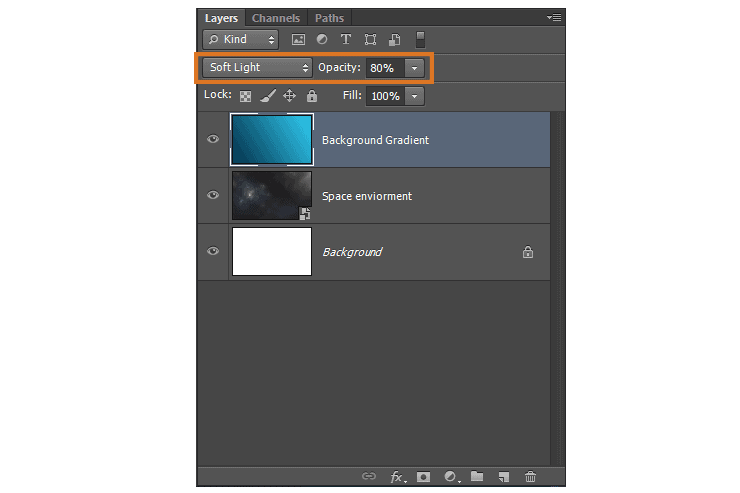
Step 8
Create a new layer. Go to Layer > New > Layer ( or press CTRL+ SHIFT+N ). Name it H1 and press OK. Now press the M key on your keyboard to activate the Rectangular Marquee Tool. Make a rectangle that has 300px in width and 30px in height. Press the G key on your keyboard to activate the Gradient tool. Open the gradient editor and create a gradient as it is shown in the image below. Now drag the gradient to fill the shape.In the end, press CTRL+D to deselect the shape.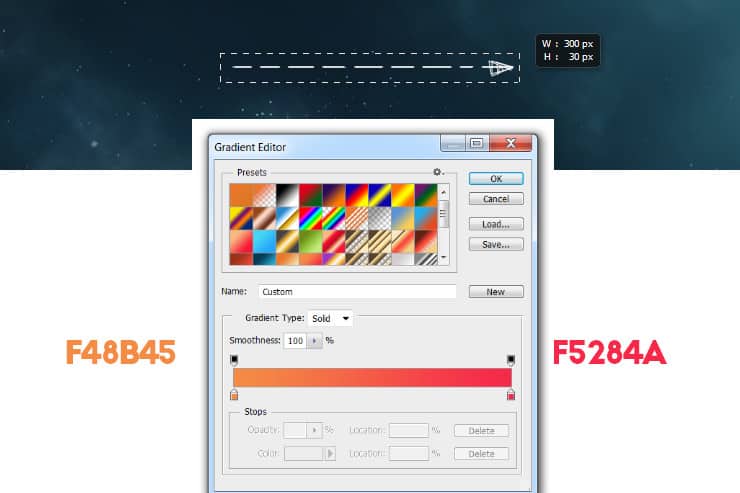


10 comments on “Create a Space Flate Text Effect in Photoshop”
the images are broken all time when I open this page
Fixed! Thanks
How to download background image ?
Thank you for the great tutorial. I made the front of my bdaycard :D
http://prntscr.com/88h4fb
Not bad,not bad at all.
verry good tutorial! Well done!
It's nice!
how to create this text???
Simply follow the tutorial. If you are stuck at some of the steps just let me know which one is it and ill try to help you
You are so lame, read the instructions instead of commenting first.