Create glowing 3D text and beautiful effects using only non-destructive Photoshop techniques. This tutorial will show you how to create 3D text, give it a futuristic blue glow, and finish it off with a modern bokeh and grid background. There are also a few really cool Photoshop tricks scattered in this tutorial. To follow this tutorial, you’ll need Photoshop CS5 Extended (Not the regular version).
What You’ll be Making
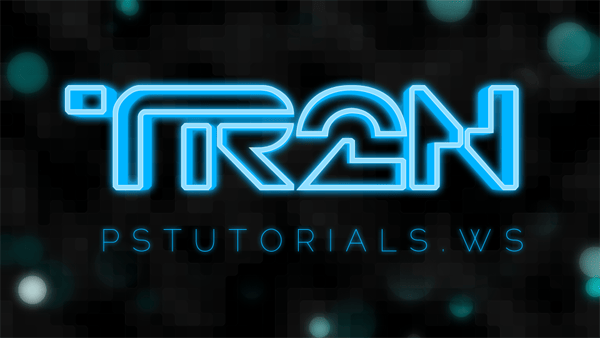


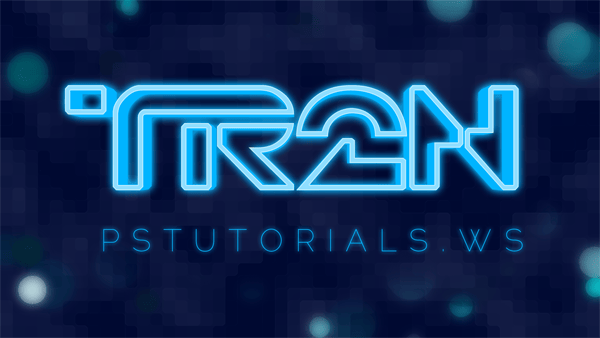
Download the PSD
TRON-Inspired Text.zip | 5.98 MB
TRON-Inspired Text Photoshop Tutorial
Tutorial Resources
Before you begin this Photoshop tutorial, make sure you have these fonts installed. You’ll need to have them installed before running Photoshop or else you won’t be able to use it. You also need the extended version of Photoshop CS5 (not the regular version).
- TR2N Font – Jeff Bell
- Raleway Thin – Matt McInerney
You can substitute the Raleway Thin font with Neue Helvetica 35 Thin if you have it.
Step 1
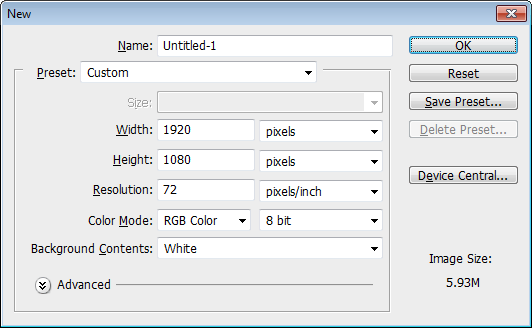
Start by creating a new 1920×1080 pixels document. To create a new document, go to File > New.
Step 2
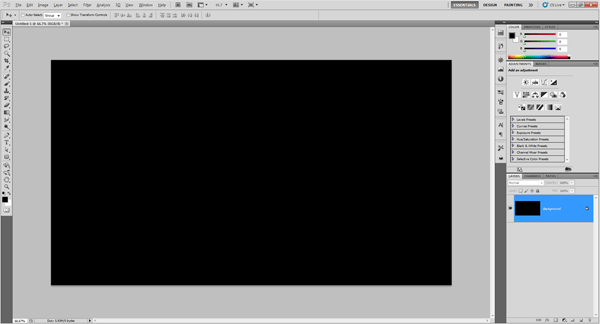
Make the background black. You can do this quickly by pressing Ctrl/Cmd+I or going to Image > Adjustments > Invert to invert the color.
Step 3
Type in the text you like to use with the TR2N font with a font size of 480pt. It’s best to use something around 4 characters. I’ll be writing TR2N instead of TRON to give credit to the author Jeff Bell for this beautiful font.
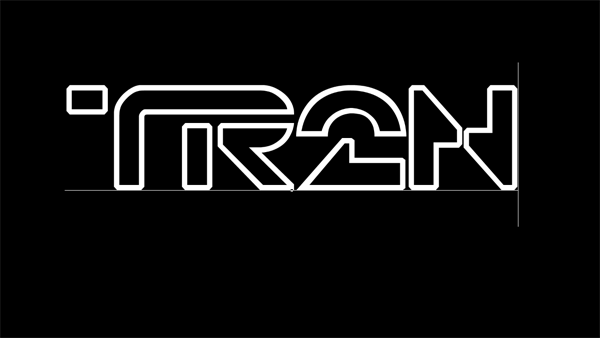
Step 4
Duplicate the text layer then rename it to TR2N 3D. Make sure this layer is positioned as the top layer.
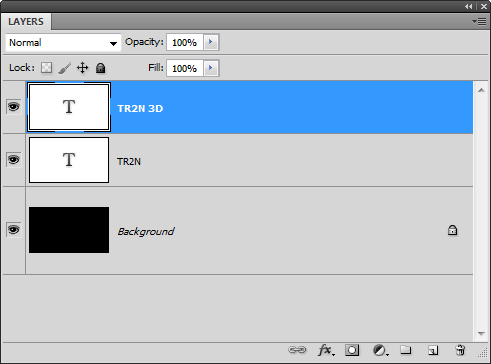
Step 5
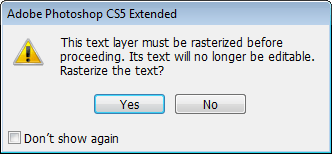
Make sure you have the TR2N 3D text layer selected then go to 3D > Repoussé > Text Layer. You’ll get a popup that asks if you want to rasterize the text – just click yes. If you don’t see the 3D menu, you might not be using Photoshop CS5 extended. There are two versions of Photoshop and the 3D tools are only available in Photoshop CS5 Extended.
In the Repoussé tool, reduce the Depth value so that the thickness of your 3D text looks similar to ours. Don’t click OK yet.
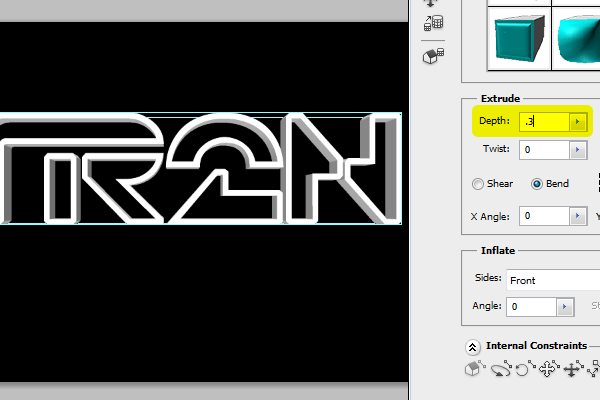
Step 6
In the Materials area, click on the drop down menu then choose the sphere with no texture. This will remove all the textures from your text. Don’t click OK yet.
14 responses to “How to Create Glowing TRON-Inspired 3D Text in Photoshop Extended”
-
thank you
-
The download link is broken. (404 Not Found). Please reupload it! :)
-
um can someone please help me. MY font size at 480pt is so tiny that i can barely see it. How do I fix it?
-
Thanks for this
-
can you post a tutorial for cs6? I have a hard time applying the 3d instructions
-
I feel your pain as I type this :\
-
-
Thanks for this tutorial! Very well done; explains everything clearly and has the screencaps too.
-
i dont find Repoussé tool
help me
i work by photoshop cc-
me too
-
-
Thanks :) easy to follow
-
thanks
-
For some reason, when I try to do the colorize on the Bokeh, it doesn’t work at all. I also made the layer mask and tried to erase some of the dots but that is not working either. I am using Photoshop CS5 Extended x64
-
very nice very nice very nice!
i really love your tutorial!! -
Very good tutorial. Very good descriptions, pictures and techniques. I am a PS amateur and I never had the feeling I didn’t understand or didn’t know what to do. Thank you for sharing this.


Leave a Reply