Make skin look perfect in one-click with these AI-powered Photoshop actions.
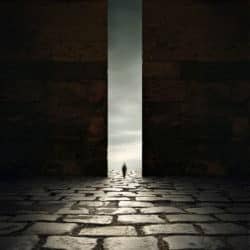
In this Photo-manipulation tutorial, we will learn how to create a dark photo manipulation scene with an eerie yet magical atmosphere. We will tackle basic techniques to create an ancient-looking room, using various stock photographs and applying adjustment layers and creating shadows using the Brush tool to blend the images seamlessly. We will also learn how to create a ghostlike creature from only one stock image using the Motion Blur tool and finally, how to create a vignette using a new layer, which you could also use in your future projects.
Preview of Final Results
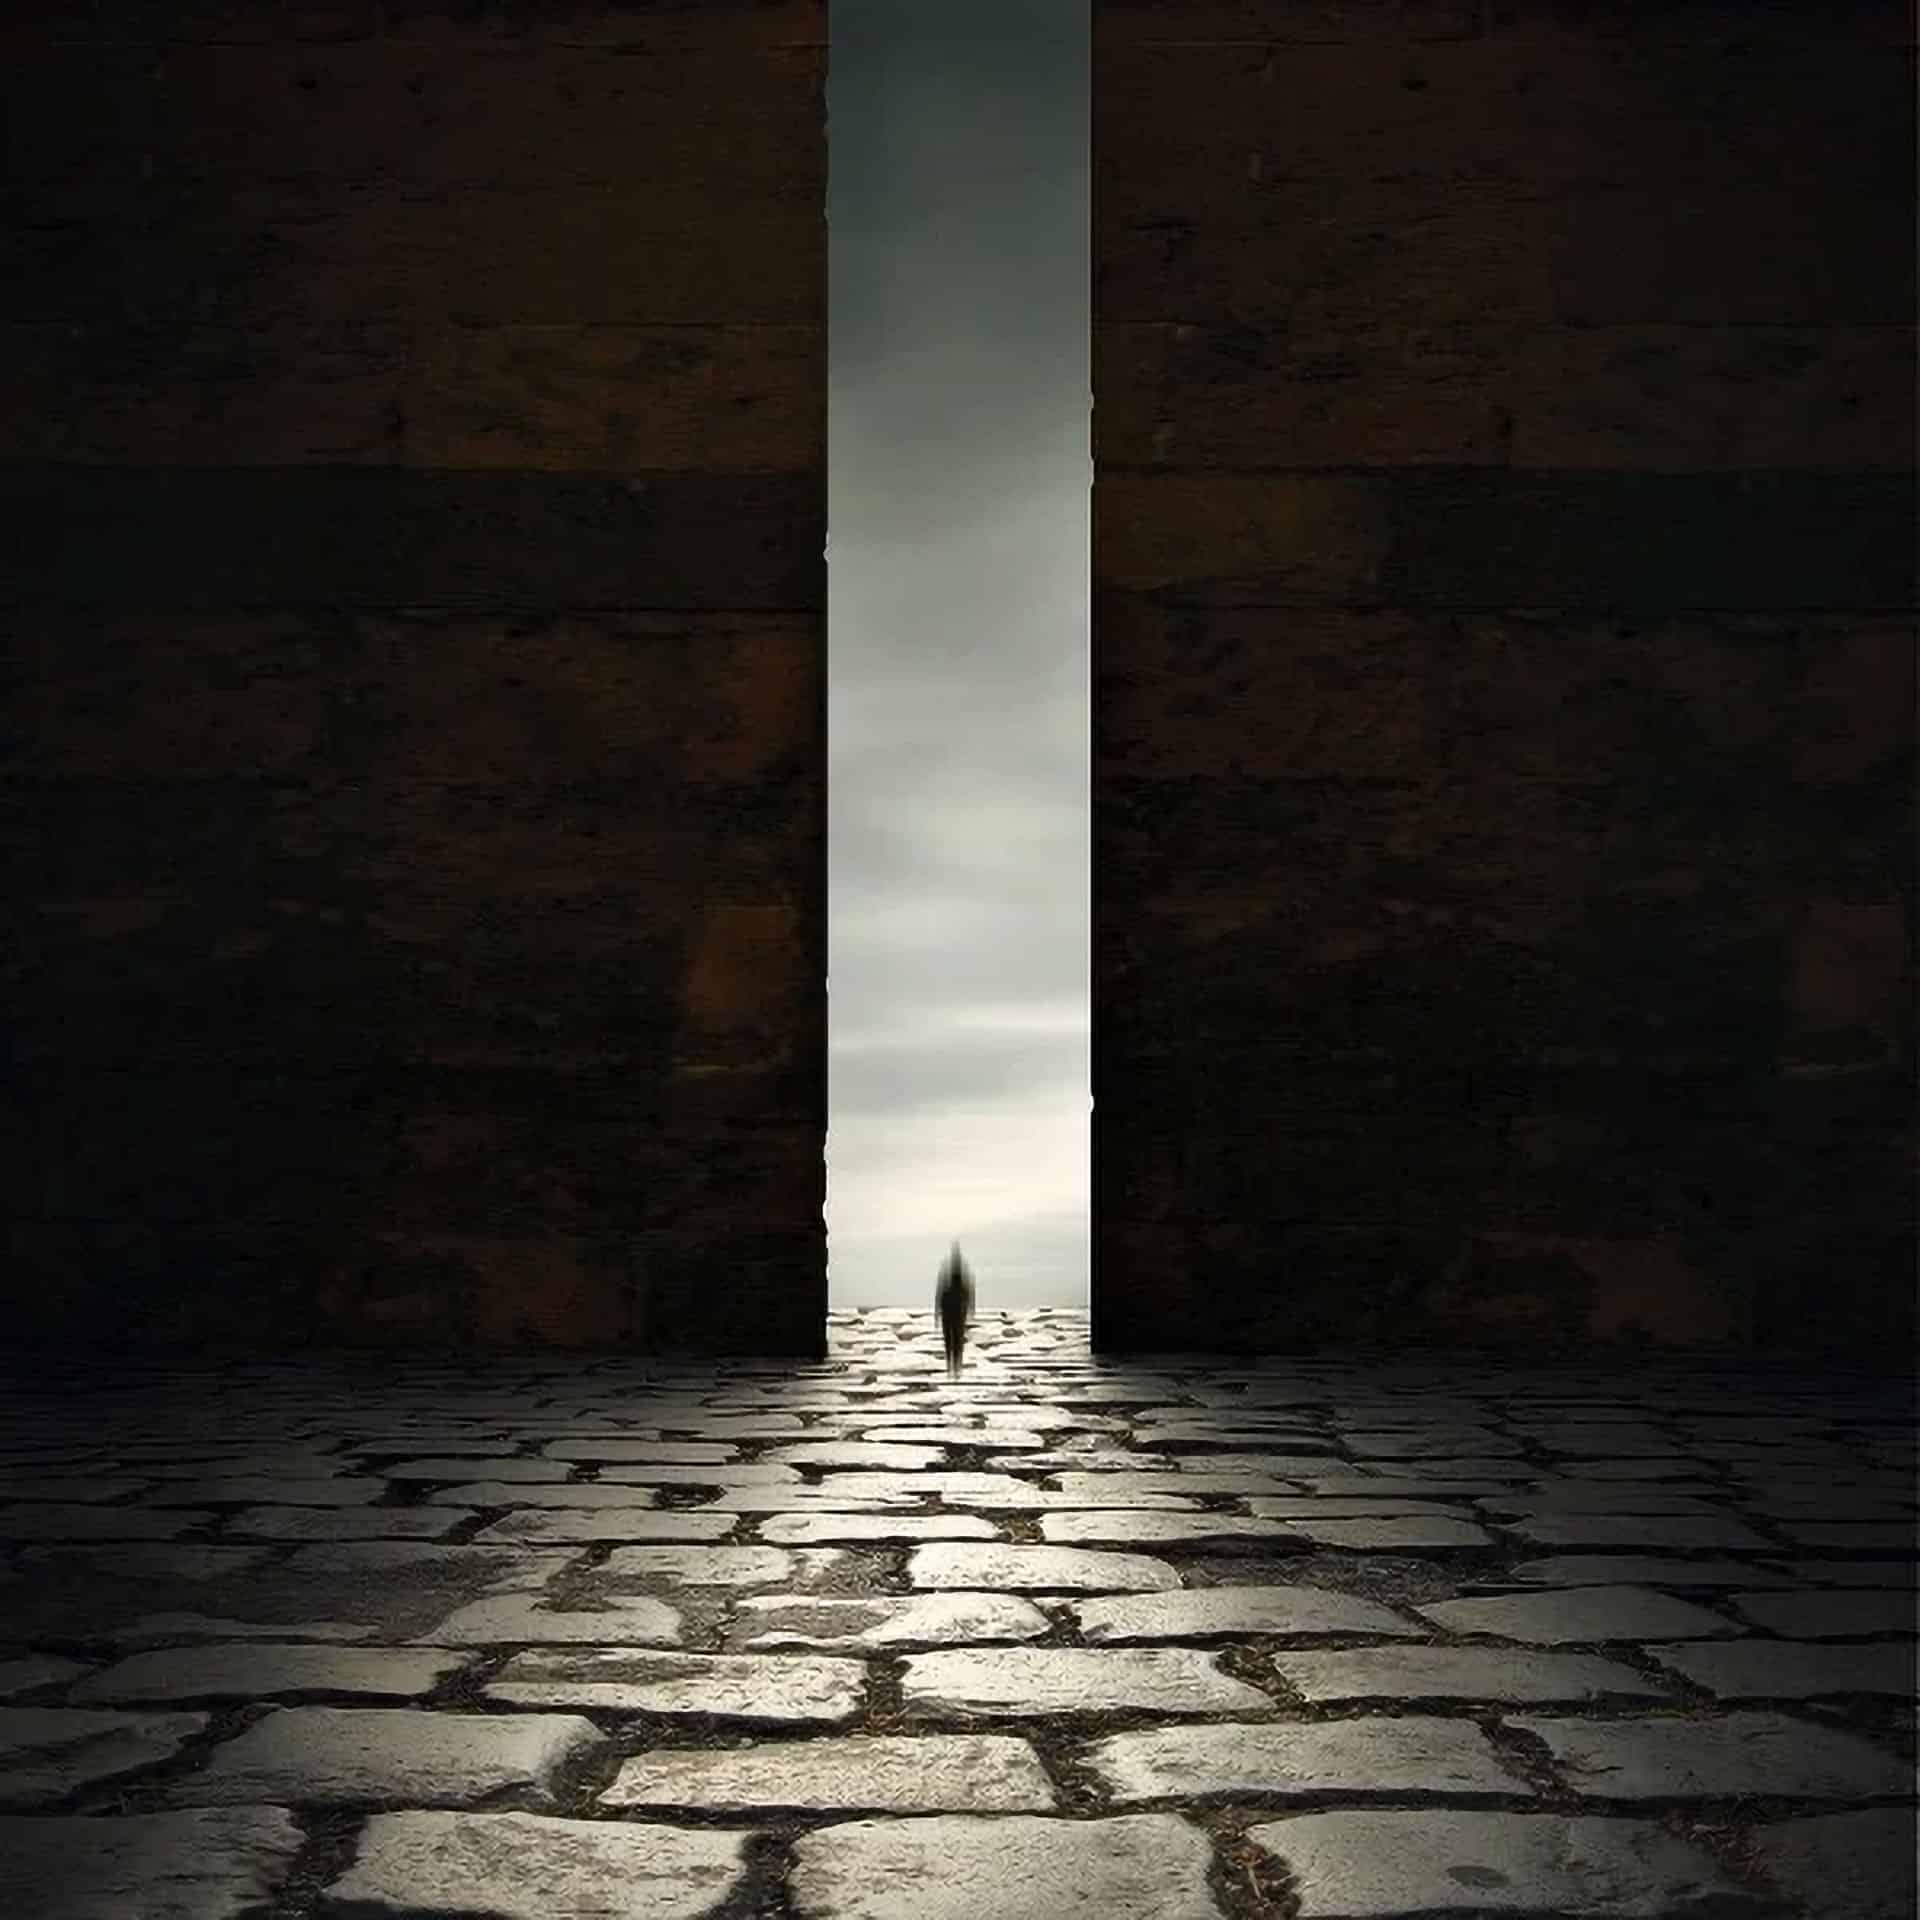
Dark and Eerie Photo Manipulation Scene Photoshop Tutorial
Tutorial Details
- Program: Adobe Photoshop CS2
- Version: 9
- Difficulty: Easy
- Estimated Completion Time: 1 to 1.5 hours
Resources
- Walking on ice 1by Arctic-Stock (Creative Commons License)
- Stone floor – stock xviiby jesuisautre (Creative Commons License)
- Gate 1by Elandria
Stormy skyby Michael Vincent Manalo (Creative Commons License)(Alternative)
Step 1 - Create a new image
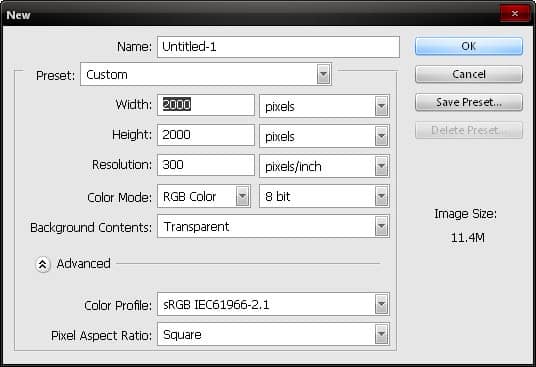
To start, we will be creating a new image file, go to the Menu bar and click on File > New and input the following settings when the New box appears:
- Width: 2000 pixels
- Height: 2000 pixels
- Resolution: 300 dpi
- Color Mode: RGB Color; 8bit
- Background Contents: Transparent
Step 2 - Create the walls and the floor and their shadows
In this step, we would be creating the floor and the walls of our background. To begin, let’s open the Stone floor – stock xviistock. We would need to activate the Marquee tool (M) to select the region we would need and that is the stone floor.
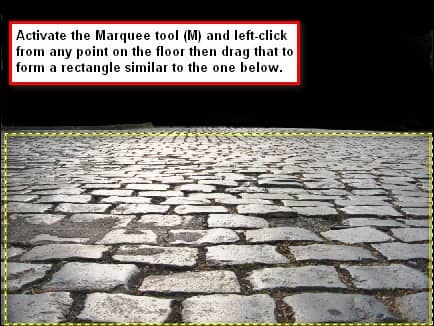
Once you’re done, activate the Move tool (V) which would add a small arrow-cross to your pointer and then drag the selected area to our 2000x2000 canvas. Rename the layer to “stone floor”. To rename a layer, just double click on “layer 1” (for this image) and a text box would appear and you may now rename the layer.
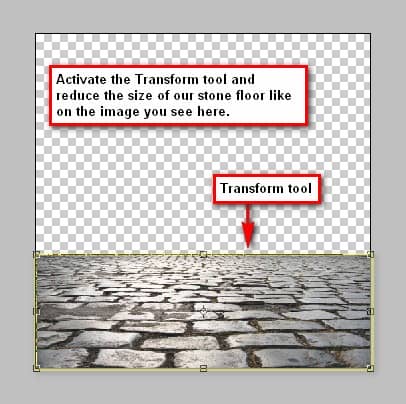
You’d notice that the selected area is larger than the canvas, so we would need to reduce its size, to do that, activate the Transform tool (Ctrl/Cmd + T) and then drag the small boxes inward to reduce the image. See image below:
Now let’s add the walls; open the Gate 1 stock image. We won’t exactly be using the gate of this image, instead, we are going to use its walls and move it to our canvas. To do that, activate the Polygonal Lasso tool (L).
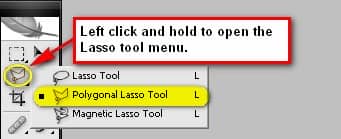
To use the Polygonal Lasso Tool (L) on the gate stock image, follow the instructions found on the image below:
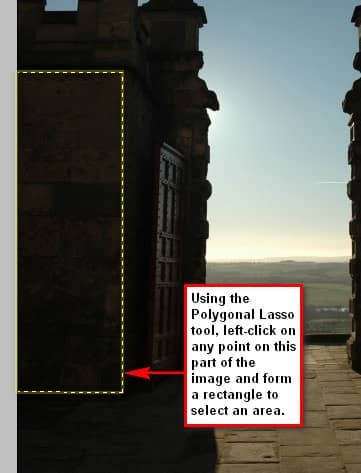
After you’ve done that, move the selected area using the Move tool (V) to our canvas and rename it to “Wall 1”. You’d notice that the selected area that you have moved is rather small compared to the stone floor image, so we would have to transform it. Activate the Transform tool (Ctrl/Cmd + T) and resize the image.

5 comments on “Dark and Eerie Photo Manipulation Scene”
Many thanks, I enjoy your tutorials, you write very clearly so I am able to understand what I should do. I am learning a great deal!
This is so cool! Thank you!
BTW, the 'gate' is here: https://www.deviantart.com/elandria/art/Darklight-147231470
Su
Thank you Su! We've updated the link in the tutorial.
awesome tutorial
this is my desing
https://www.dropbox.com/s/rglbypxa94a4atk/Untitled52-1.png
thx alot
good tutorial