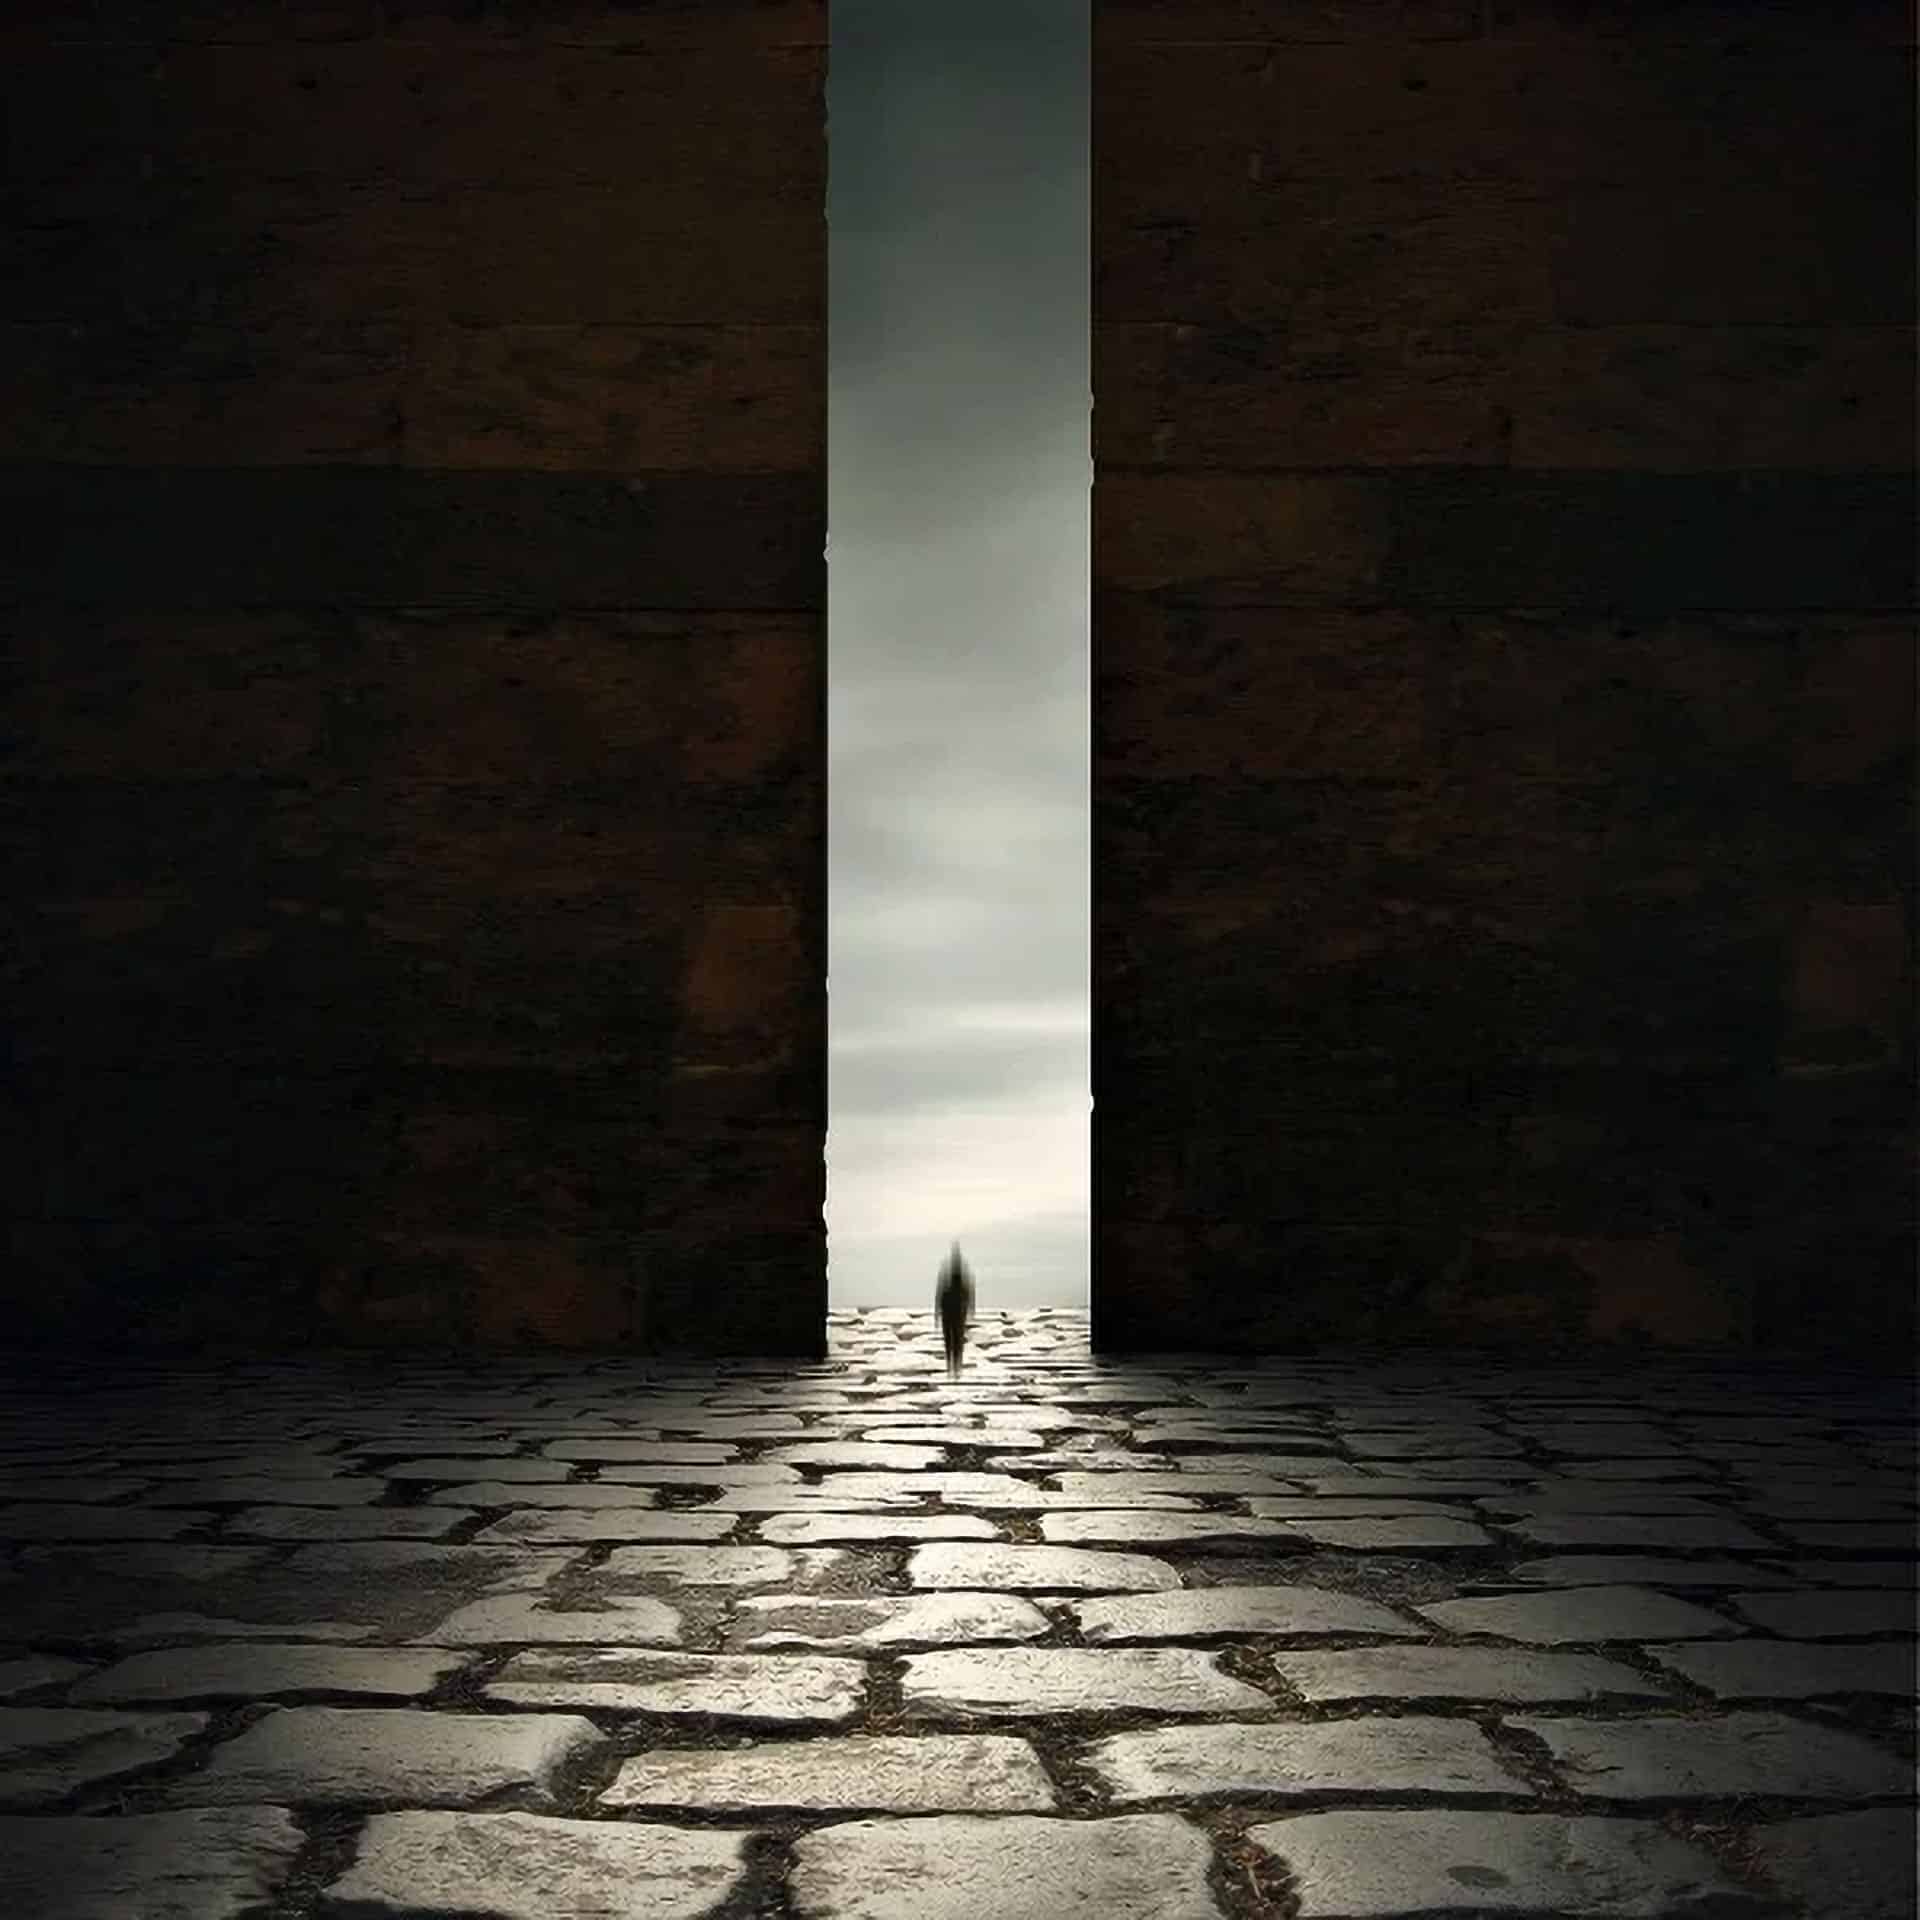
Step 6 – Retouch the image
In this step, we would be changing the overall color tone of our image, correcting the Brightness/Contrast, adjusting the colors of the wall to make it blend in seamlessly with the rest of the image.
To start, let’s retouch the walls, but first we would have to merge them. Click on both layers “wall 1” and “wall 2” and right click on any of them and click Merge Layers from the contextual menu.
With the two layers merged, we can now change their color. From the Menu bar, click on Image > Adjustments > Color Balance and input the following settings, respectively:
Midtones:
- Color Levels: 19, 0, -28
- Preserve Luminosity: Checked
- Shadows:
- Color Levels: 0, 0, -3
- Preserve Luminosity: Checked
Next, let’s create an adjustment layer on top of all our layers. To do that, click on the Create New Fill layer/ Adjustment layer button which is found on the Layer window, situated to the left of the Create New Group button.

Now let’s create a Solid Color adjustment layer from the Create New Fill layer/ Adjustment layer menu. When the Solid color (Color Picker) box opens, input the following value on the “#” box:
- #: 010014
Change its Blending Mode to Exclusion and its Opacity to 40%.
After that, create a new Solid Color adjustment layer and this time input this value on the “#” box:
- #: 61461f
Set this layer’s Blending mode to Overlay and its Opacity to 20%.
Next, create a Photo Filter adjustment layer, still from the Create New Fill layer/ Adjustment layer contextual menu. When the Photo Filter box opens, use the following values:
- Filter: Cooling Filter (82)
- Density: 25%
- Preserve Luminosity: Checked
After you press OK, change the Blending mode to Darken and the Opacity to 50%.
Next, let’s create a Brightness/Contrast adjustment layer. Input the following values when the box opens:
- Brightness: 5
- Contrast: 5
Next, let’s create a Color Balance adjustment layer, when the box opens, let’s input the following values:
- Midtones:
- -5, 0, -7
- Preserve Luminosity: Checked
Now, we will need to adjust the color of the sky, because it is too green for our image, it doesn’t seem to fit well. To change its color, we will have to create a Selective Color adjustment layer. From the Create New Fill layer/ Adjustment layer button pick Selective Color and input the following values:
- Colors: Cyans
- Cyan: -40
- Magenta: 0
- Yellow: -10
- Black: +50
- Method: Absolute
Next, let’s add another Photo Filter adjustment layer. When the box opens, use the following:
5 responses to “Dark and Eerie Photo Manipulation Scene”
-
Many thanks, I enjoy your tutorials, you write very clearly so I am able to understand what I should do. I am learning a great deal!
-
This is so cool! Thank you!
BTW, the ‘gate’ is here: https://www.deviantart.com/elandria/art/Darklight-147231470
Su-
Thank you Su! We’ve updated the link in the tutorial.
-
-
awesome tutorial
this is my desing
https://www.dropbox.com/s/rglbypxa94a4atk/Untitled52-1.pngthx alot
-
good tutorial


Leave a Reply