Now that that’s done, let’s create the second wall. Click on the “Wall 1” layer and then press Ctrl/Cmd + Shift + J to duplicate the image. Once it has been duplicated, activate the Transform tool (Ctrl/Cmd + T) and then right-click on the image to bring up the transform tool’s contextual menu. When the menu opens, click on Flip Horizontal. After flipping “wall 1”, activate the Move tool (V) and press the direction key: Right to move it to the right to make it appear as the other wall. Rename this new layer to “wall 2”.

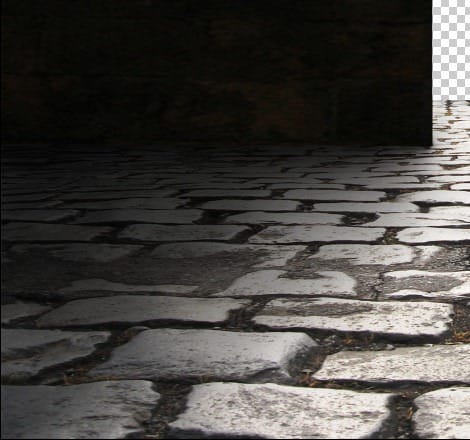
At present, the image should be similar to the image below:

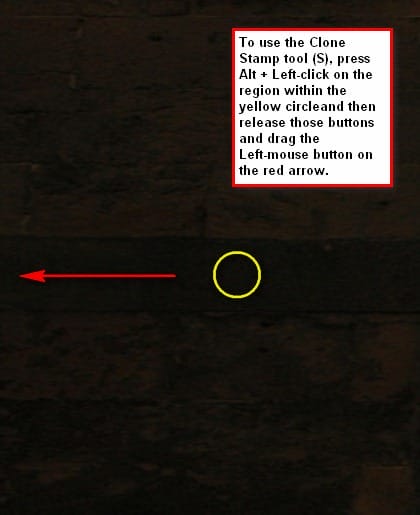
To make the walls unique and not identical to each other, we would have to clone some parts of the image to make it look like a different wall. Click on “wall 1” and activate the Clone Stamp tool (S) and input the following values:
- Brush size: 175 px
- Hardness: 0%
- Opacity: 15%
- Flow: 100%

Note: To change the Hardness setting, click on the drop-down menu beside the Brush size and a menu would appear and you would see the Brush Hardness tab. You may also press B and then right-click on the image to bring up the Brush menu.
Because the light is coming from the outside, we would need to add shadows, without these shadows of the walls, it is impossible to form any depth on our image and the result would be a flat picture. So we would have to add shadows on the floor to make it appear realistic. Create a new layer by pressing Ctrl/Cmd + Shift + N or you may click on the paper like button in between the folder button (New Group) and the Trash can button (Delete layer) on the Layer window. Once the new layer has been created, rename that layer to “shadow 1”. Note that the succeeding layers on this step should be below the layers “wall 1” and “wall 2”.

Now, activate the Brush tool (B) and input the following values:
- Brush size: 125 px
- Hardness: 0%
- Opacity: 15%
- Flow: 100%

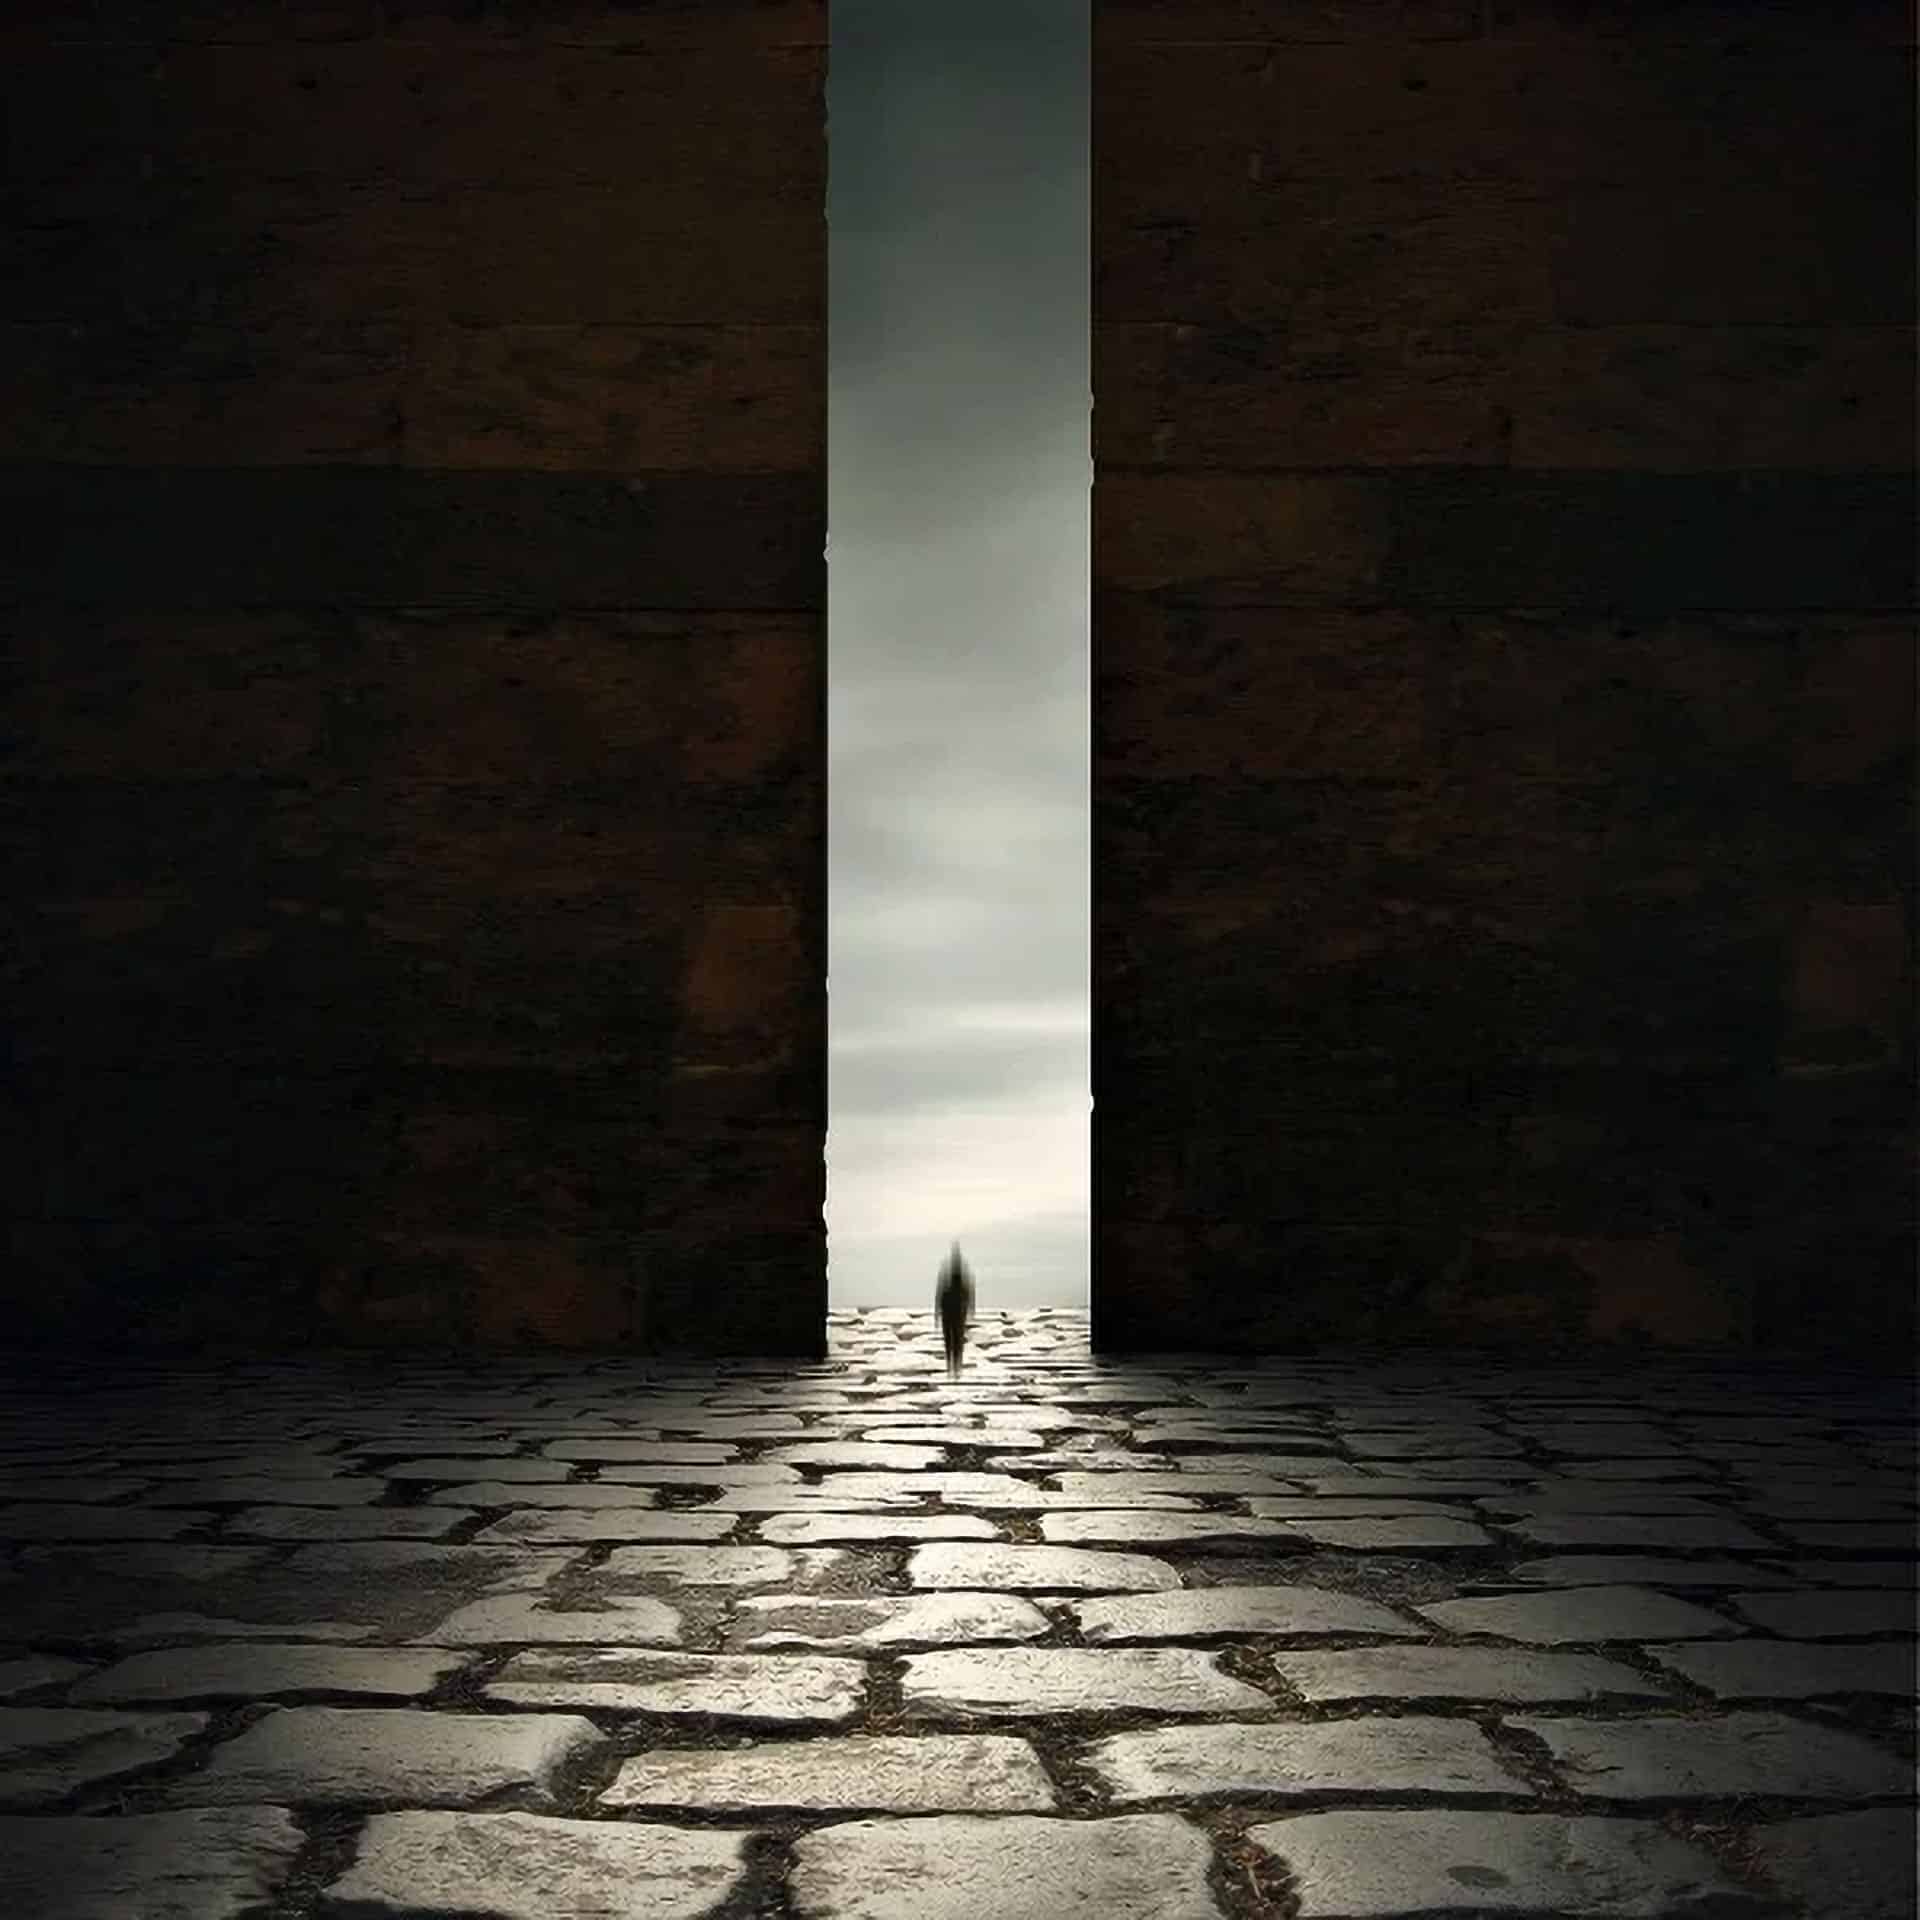
It should be similar to this image:

For the shadow of “wall 2”, just duplicate “shadow 1”, then activate the Transform tool (Ctrl/Cmd + T) and then right click on the image and pick Flip Horizontal from the contextual menu and then position it under “wall 2” using the Move tool (V). Rename this new layer now to “shadow 2”.
5 responses to “Dark and Eerie Photo Manipulation Scene”
-
Many thanks, I enjoy your tutorials, you write very clearly so I am able to understand what I should do. I am learning a great deal!
-
This is so cool! Thank you!
BTW, the ‘gate’ is here: https://www.deviantart.com/elandria/art/Darklight-147231470
Su-
Thank you Su! We’ve updated the link in the tutorial.
-
-
awesome tutorial
this is my desing
https://www.dropbox.com/s/rglbypxa94a4atk/Untitled52-1.pngthx alot
-
good tutorial


Leave a Reply