- Angle: 180’
- Distance: 100 pixels

Now that we’re finished with this step, let’s group the layers that we have made. Rename that group to “sky and its dark area”.
Step 4 – Add the shadowy-figure
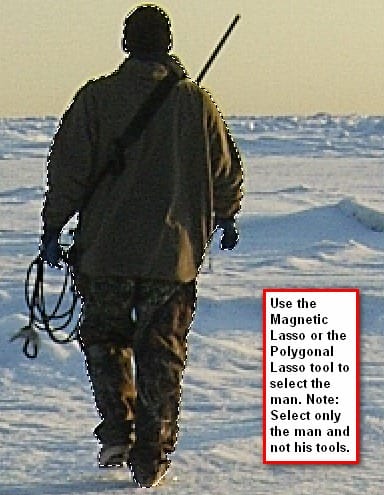
In this step, we would be adding our subject, the dark figure. Open “Walking on ice 1” stock; we would need to remove the man from his background and move him to our canvas. So, activate the Polygonal Lasso tool (L) or the Magnetic Lasso tool (L).
Note: The Magnetic Lasso Tool can also be activated by left-clicking and holding the Lasso tool for a few seconds to bring up the Lasso tool menu on the Tools window.

When you’ve successfully selected the man, drag him to our canvas using the Move tool (V) and rename that layer to “man”. Make sure to put the man outside on top of all layers and groups.
We would need to reduce his size, so activate the Transform tool and scale him down by bringing up the contextual menu and picking on “Scale”.

Now we will turn him into a shadowy-figure. Click on “man” and from the Menu bar go to Filter > Blur > Motion >blur and input the following settings:
- Angle: 90′
- Distance: 40 px

Step 5 – Add a Vignette
What we are going to do here is we would be adding a vignette to give emphasis on the center of our image to where our subject is positioned.
To start off, go to the Menu bar and click on File > New and use the same settings we used to create our canvas. (Refer to Step 1).
But take note, the background contents should be: WHITE
Once it has been created, go to Filter > Distort > Lens Correction. Find the tab Vignette and use these settings:
- Vignette amount: -100
- Midpoint: +50

Now that that’s done drag the vignette to our canvas using the Move tool (V) and put it on top of all the layers that we’ve created, and then set its Blending mode to Multiply and its Opacity to 75%.
Note: The Blending mode can be found in the Layer window, the Opacity tab is just beside it. You may also access the Blending mode by double clicking on the layer that you want the Blending mode changed.


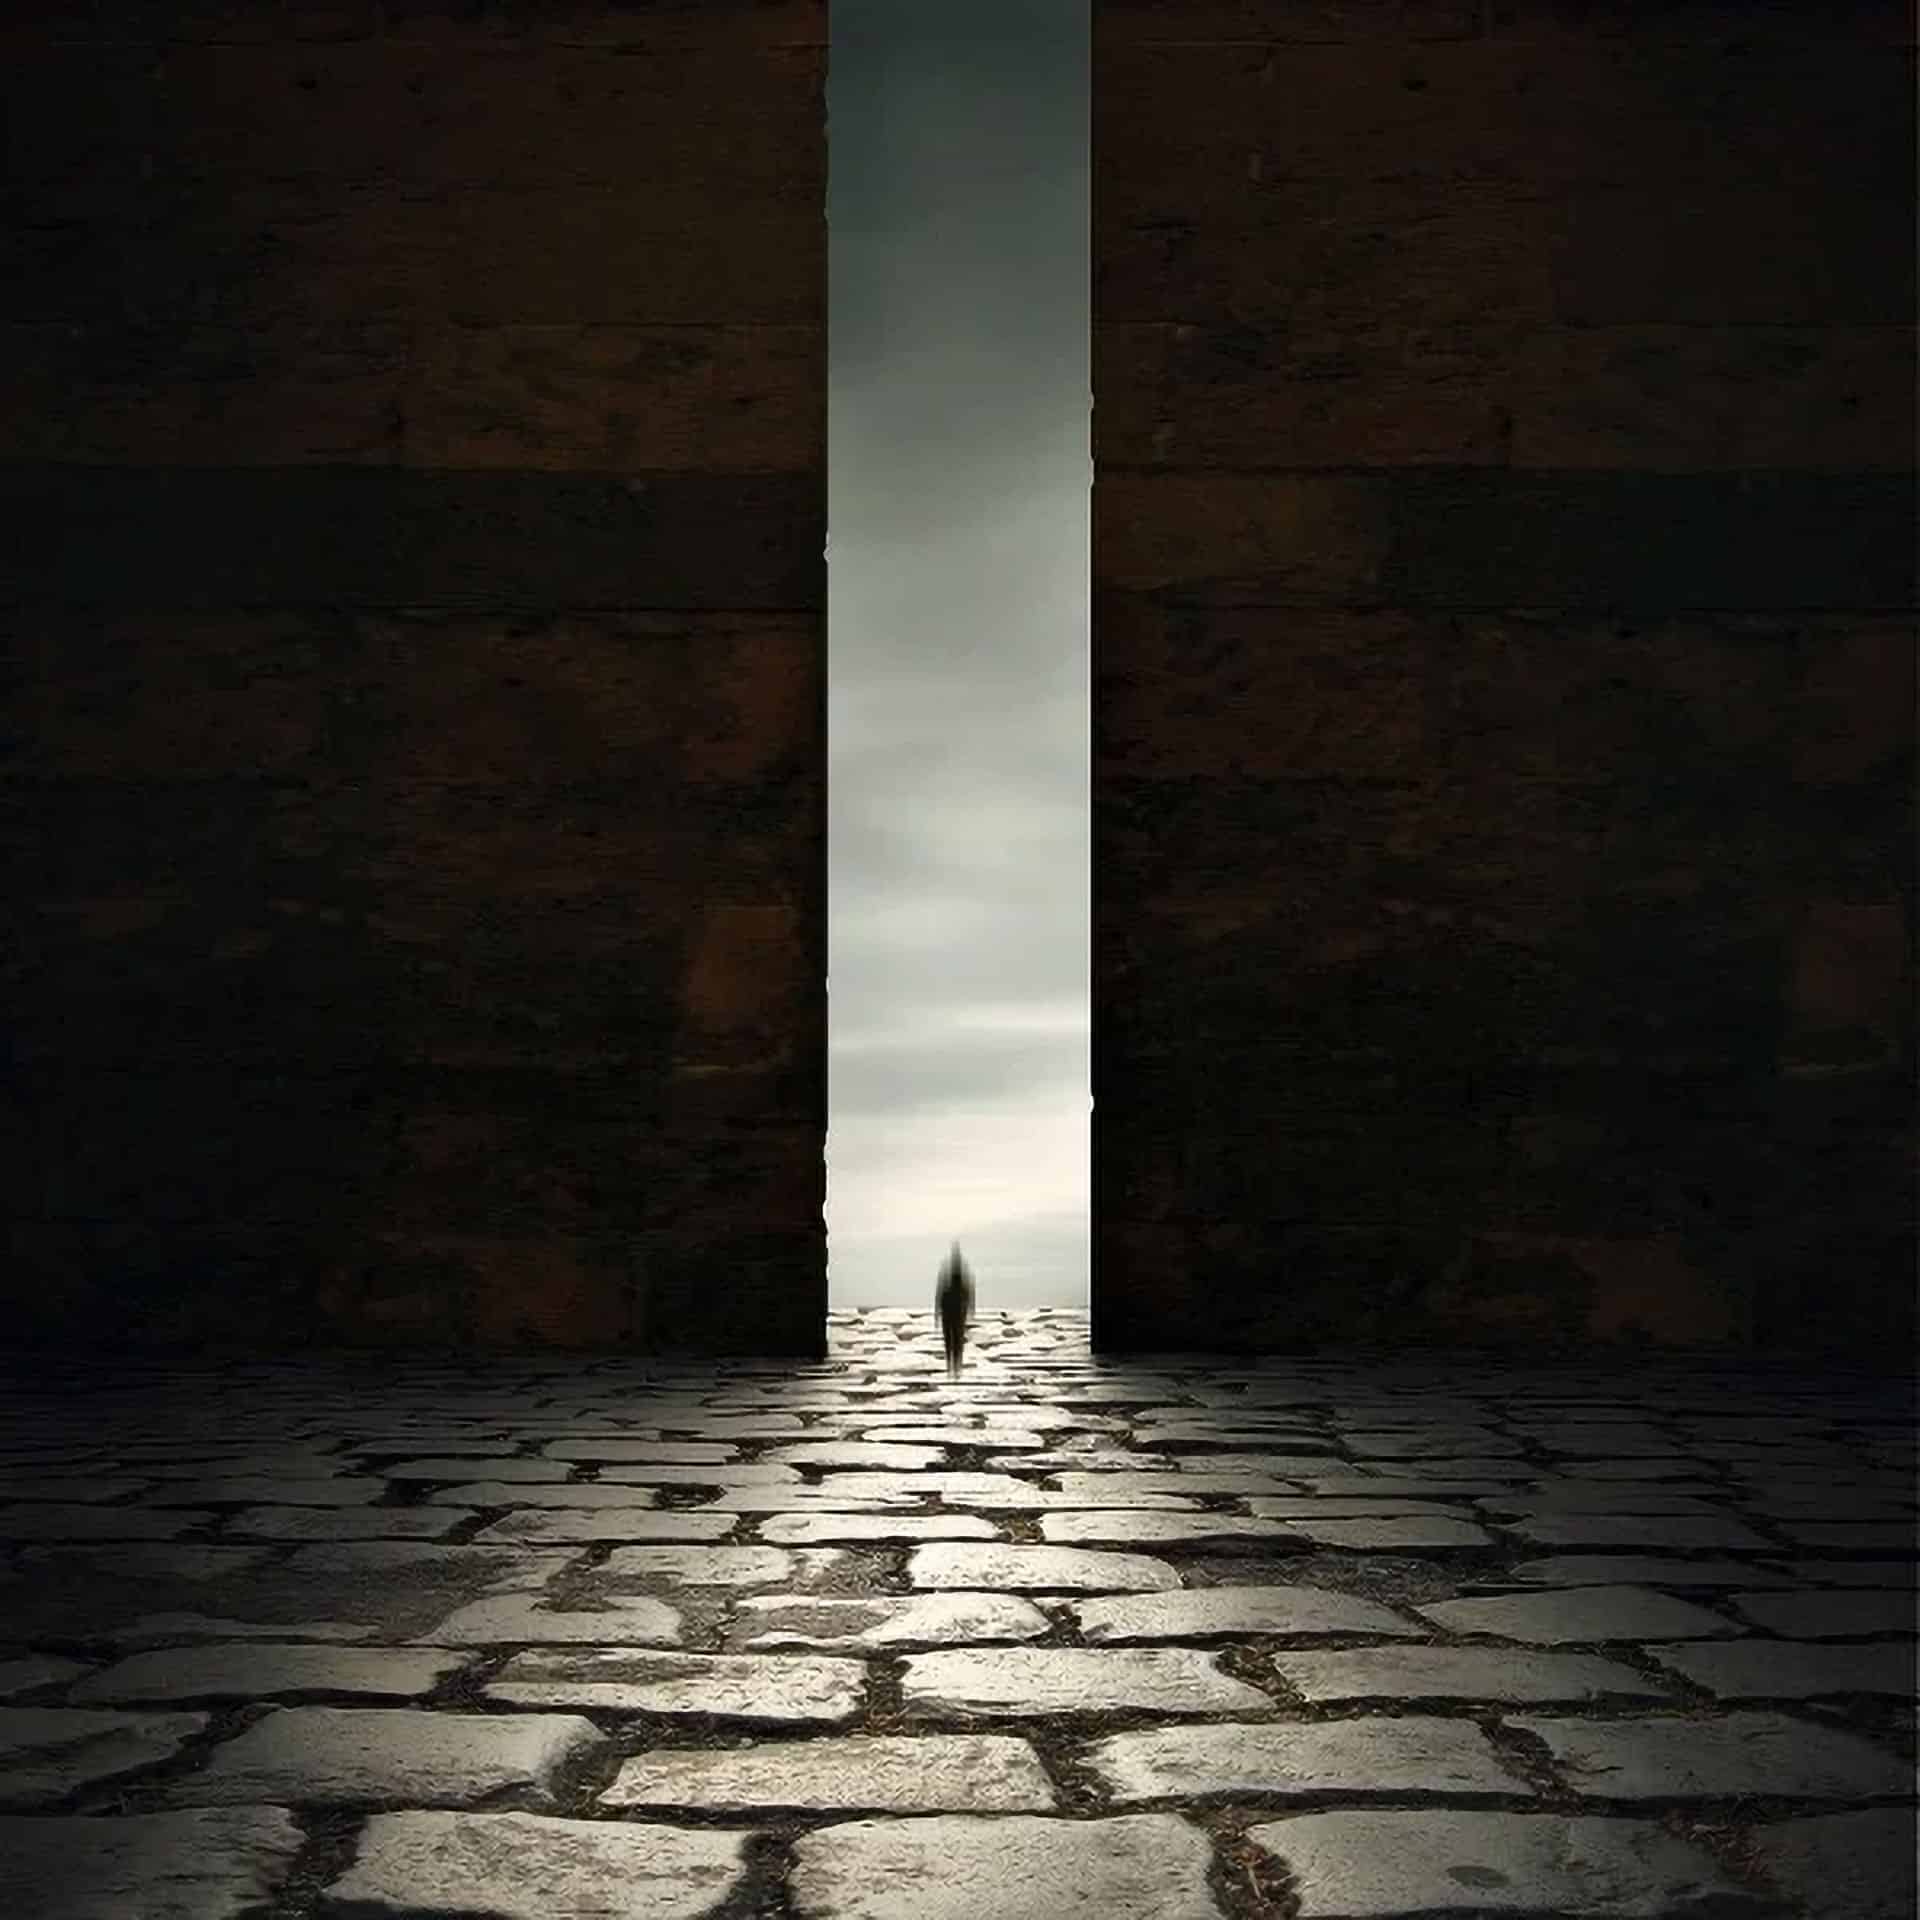
The image with the vignette should be similar to the image below:

You may also want to use this Vignette layer in future projects. How? You just have to create a new file, drag the Vignette using the Move tool to that canvas and save it as a PSD file. (Saving as a PSD file is explained on Step 7 of this tutorial).
5 responses to “Dark and Eerie Photo Manipulation Scene”
-
Many thanks, I enjoy your tutorials, you write very clearly so I am able to understand what I should do. I am learning a great deal!
-
This is so cool! Thank you!
BTW, the ‘gate’ is here: https://www.deviantart.com/elandria/art/Darklight-147231470
Su-
Thank you Su! We’ve updated the link in the tutorial.
-
-
awesome tutorial
this is my desing
https://www.dropbox.com/s/rglbypxa94a4atk/Untitled52-1.pngthx alot
-
good tutorial


Leave a Reply