Download Lightroom presets and LUTs, absolutely free. Use the presets to add creativity and style to your photos.
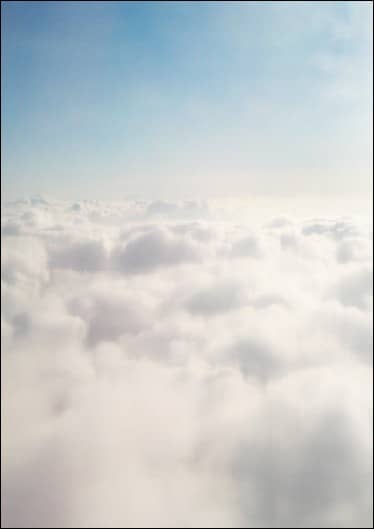
Next, let’s adjust the colors of the “clouds” layer. With the “clouds” layer selected, go to Image > Adjustments > Color Balance. Once you have the Color Balance menu open, input the following:
- Color Levels: -24, +16, +63
- Tone Balance: Midtones
- Preserve Luminosity: Check
The result should be similar to the following:

Next, let’s give it brighten it up more and reduce the saturation a little. With the “clouds” layer selected, go to Image > Adjustments > Hue/Saturation and input the following:
Hue/Saturation:
- Hue: 0
- Saturation: -15
- Lightness: +20
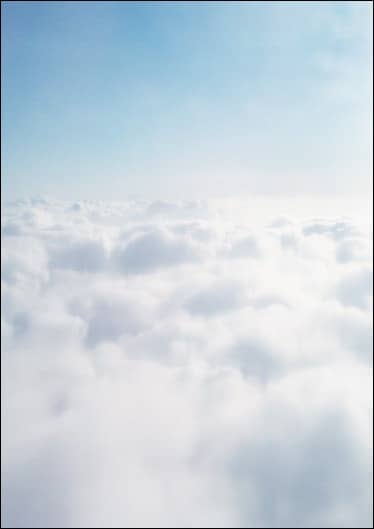
The result:
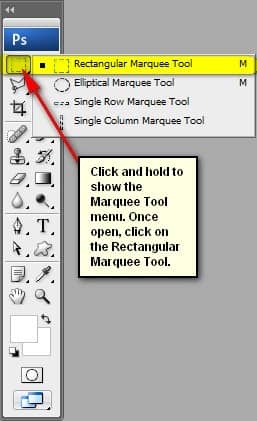
Now that we’re done with the “clouds” layer, let’s now change that layer’s sky. Let’s make the sky more eye-catching for our viewers. To start, open “landscape 56” by night-fate-stock. Once open, activate the Rectangular Marquee Tool by pressing M on your keyboard.
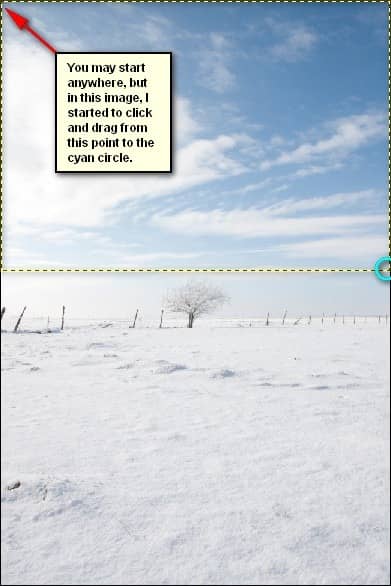
Use the Rectangular Marquee Tool (M) to create a selection area over the sky of “landscape 56”. See image below:
Now that you’ve created a selection area, activate the Move tool (V) and drag it to our canvas. Once on the canvas, rename this layer to “sky”. Next, position it as shown on the image below:
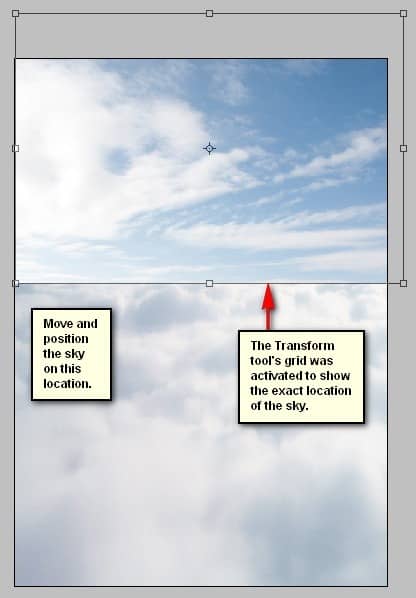
Next, we will need to flip the “sky” layer to blend in with the clouds. To do that, activate the Transform tool (Ctrl/Cmd + T) and right click on our canvas to show the Transform tool’s contextual menu. When the menu shows, click on “Flip Horizontal”.
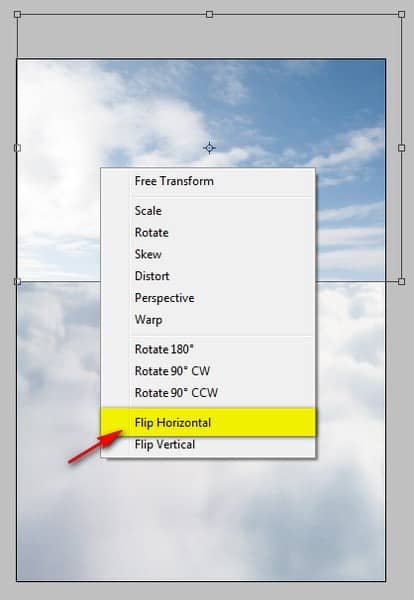
After flipping it horizontally, the result should be similar to this:
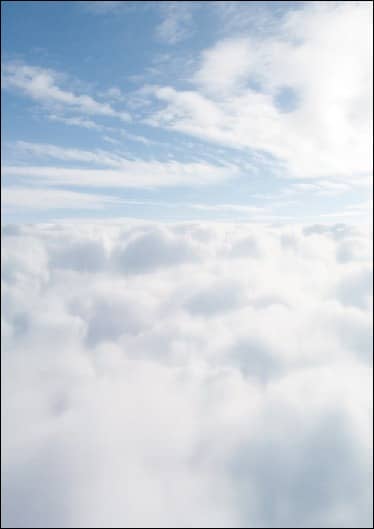
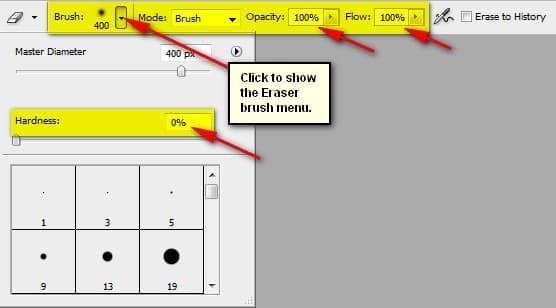
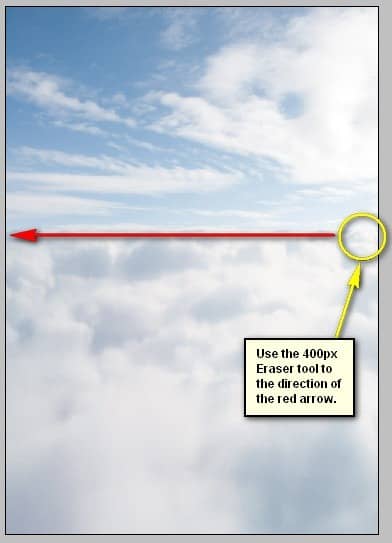
Now, we will make it blend seamlessly with the “clouds” layer. To do that, we will need the help of the Eraser tool (E). Before erasing, make sure to adjust its settings to the following:
- Brush size: 400px
- Hardness: 0%
- Opacity: 100%
- Flow: 100%
Now, let’s erase!
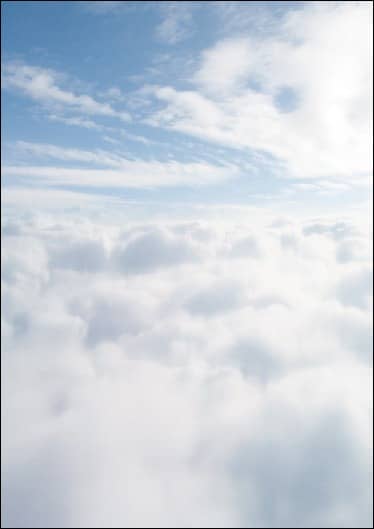
The result:
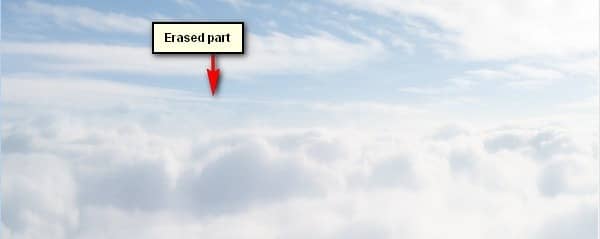
In detail:
After that, we would need to paint-in a horizon to give a sense of depth in our sky. To do that, let’s create a new layer by pressing Ctrl/Cmd + Shift + N. When the menu opens, input “Horizon” on the name box.
Next, activate the Brush tool by pressing B on the keyboard. Once open, make sure that the brushes are the default Photoshop brushes. See image below:
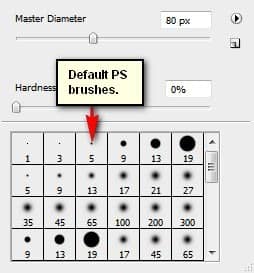
To make sure that you’re using that, simply right click the canvas while a layer is selected and while the Brush tool (B) is activated and then click on the button highlighted below:

