
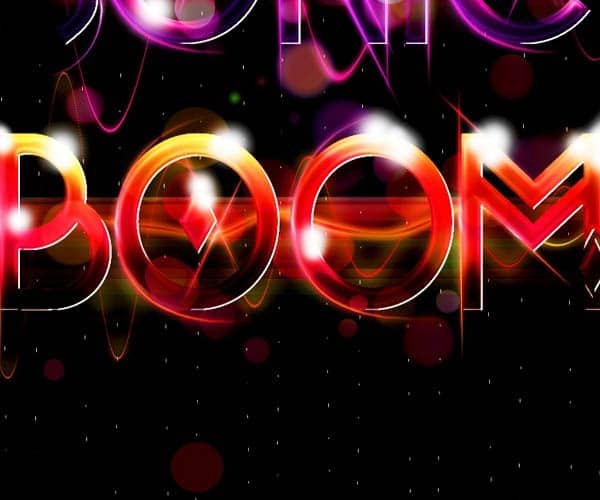
Step 10
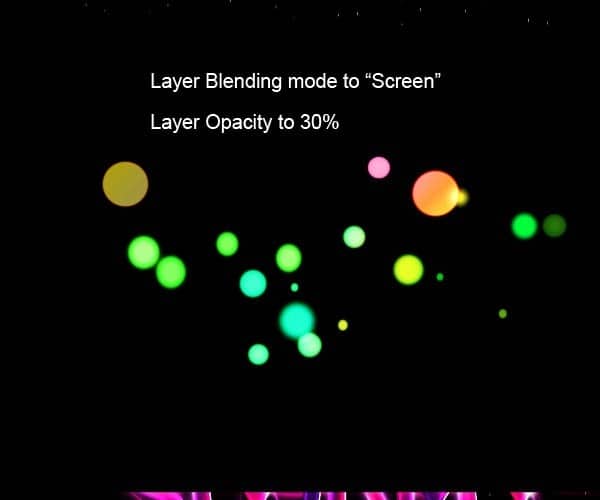
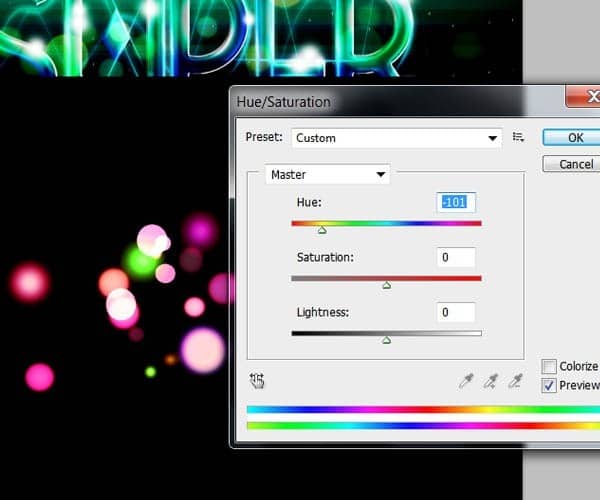
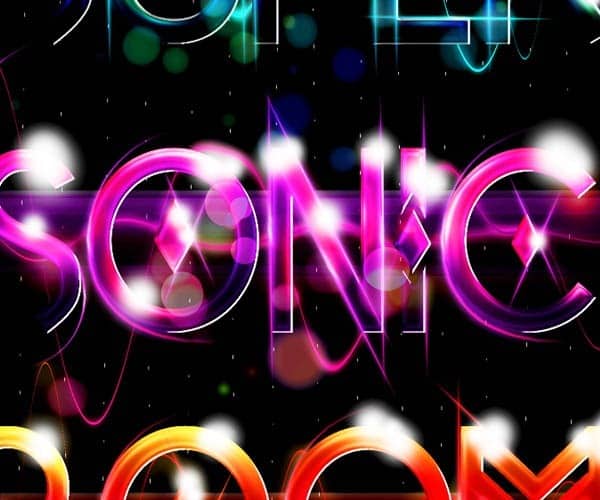
For the final step we are going to create some Adjustment layers to enhance the look of the composition. Go to menu Layer>New Adjustment layer>Hue/Saturation and increase the Saturation to make the colors look more alive.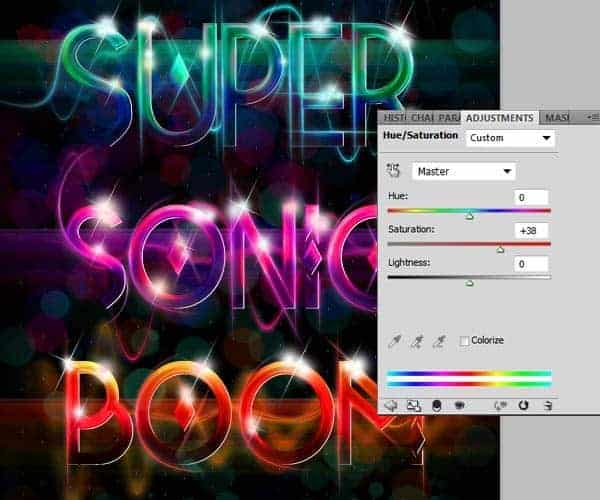
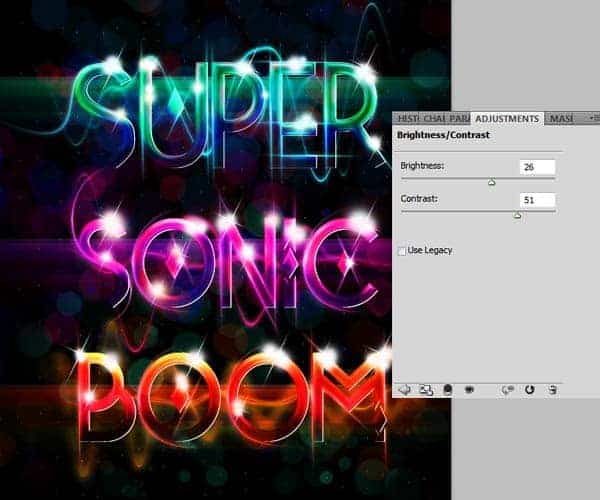
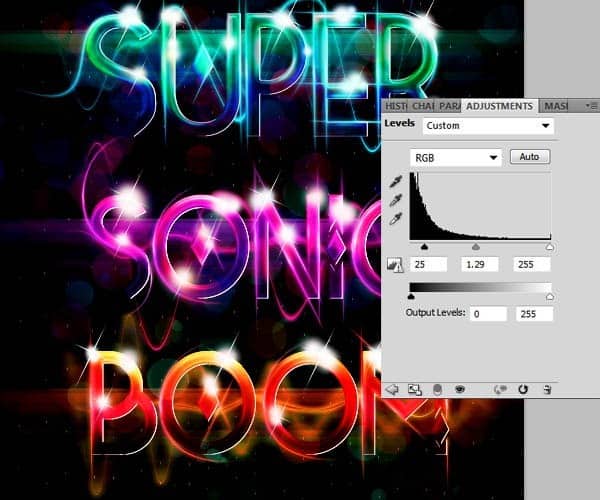
Final Results
![final_results[1]](https://cdn.photoshoptutorials.ws/wp-content/uploads/2012/09/final_results1.jpg?strip=all&webp=82&avif=82&w=1920 "final_results[1]")
Download the PSD
DownloadTutorial by Edmar Cisneros
 This is how we end this tutorial. I hope you liked it and please experiment using different typefaces and color combinations on your compositions. Try different settings for the bevel and emboss setting to get different textures on the letters.- Edmar Cisneros
One response to “How to Create an Abstract Eagle Photo Manipulation with Adobe Photoshop”
-

Brilliant .i need more written lessons of abode photoshop like this and also video

Leave a Reply