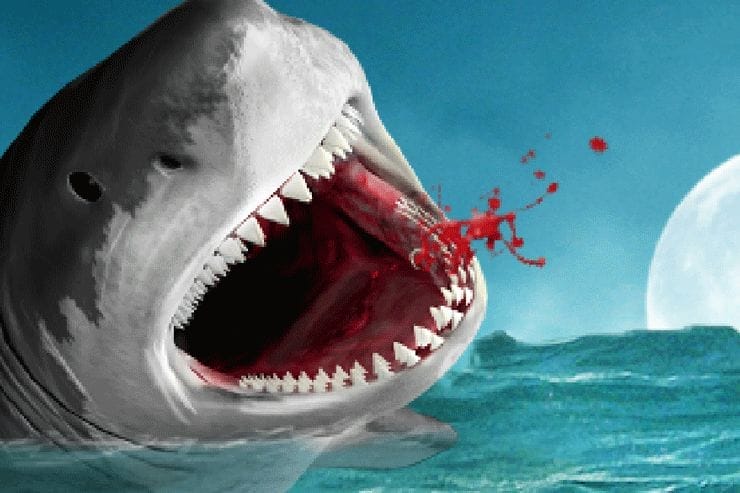
Step 30
Create a new layer. Choose a chalk brush. With a white color draw some little waves crashing into the body of the shark like I did in the image below.

Step 31
On a new layer create some bubbles in the underwater portion of the shark.

Step 32
On a new layer with a yellowish color draw something like a hook in the mouth of the shark.

Step 33
Import the blood brush. Create a new layer and with a red color create a red splash near the mouth of the shark. You don�t have to use the same brush I use or the same splash, most blood splashes out there will do. Use a layer mask to hide unwanted parts of the red splash.

Step 34
Create a new layer and clip it to the splash layer. With a soft white brush draw some highlights on the splash.

Step 35
On a new layer create another red splash using the blood splatter brush. Group the blood layers together.

Step 36
On a new layer create some blood marks on the side of the shark using either the blood brush or the standard chalk brush.

Step 37
Make another layer and draw some blood hanging from a tooth of the shark. Make another clipped layer to the hanging blood layer and create some shadows and highlights to make the blood look more real.

Step 38
On a new layer create some blood flying from the mouth of the shark using the blood brush.

Step 39
Add some shading (highlights and shadows) to the blood layer you just created. I used a couple of layers to draw with white and black and a curves layer, all clipped to the blood layer.

Step 40
On a new layer cover with red the surface of the shark�s eye. Use a dark red.

Step 41
Now on another layer create with a brighter red the iris.

Step 42
At this step I feel that I can add more wounds to make the scene more realistic. Create a new layer and with the blood brush or the standard chalk brush create some red marks on the sharks nose. Double click the layer to enter blending mode and use the settings shown below.

Step 43
On a new layer draw by hand with a black and white brush some more shading for the wounds on the nose.

Step 44
Now let�s make some underwater wounds. On a new layer create some wounds near the tail of the shark with a dark red. Lower the opacity of the layer to 64%.
8 responses to “Amazing Surreal Shark Photoshop Tutorial You Have to Try”
-
wow amazing, thx for tutorial.. :D
-
great
-
Excuse my language, but, this looks bloody terrifying! Thank you for sharing!
-
excuse my language, but this is insane
-
-
thank you for uploading and creating this tutorial man–much appreciated!
-
nice
-
Wow Great work
-
Nice work


Leave a Reply