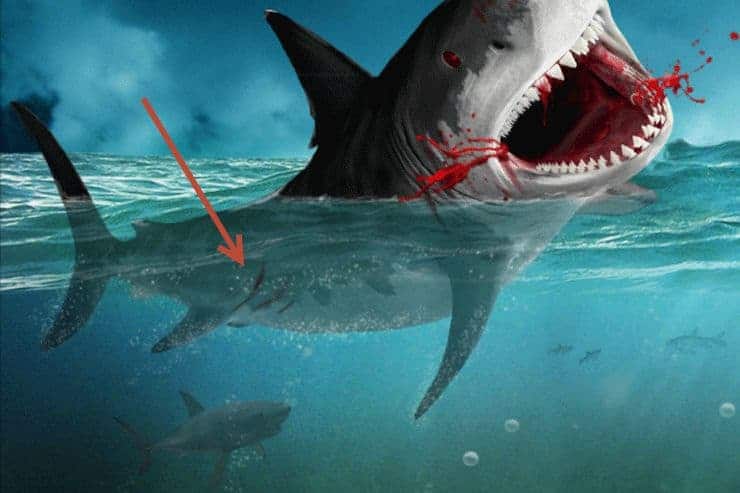
Step 45
With a round soft brush at 10% Opacity draw some red blood dispersing in the water near the wounds. Group all the layers associated with the shark and name the group “Shark” to keep the document tidy.

Step 46
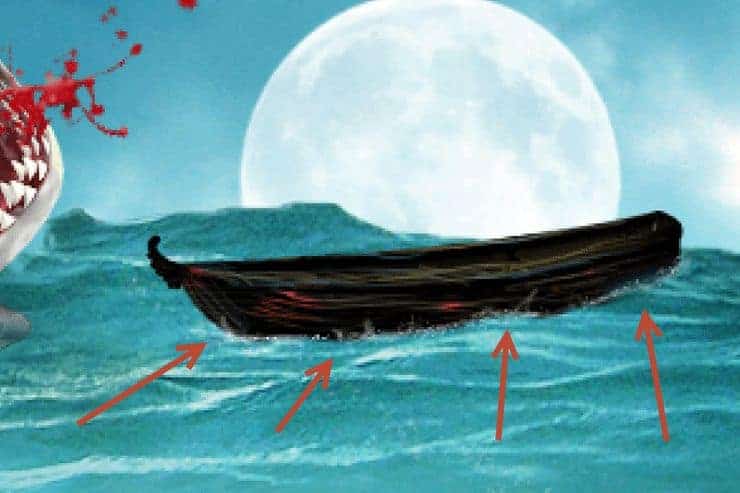
Open the image “Boat”. Copy and paste the boat into our working document. Convert the boat to a smart object. Resize the boat as shown below.
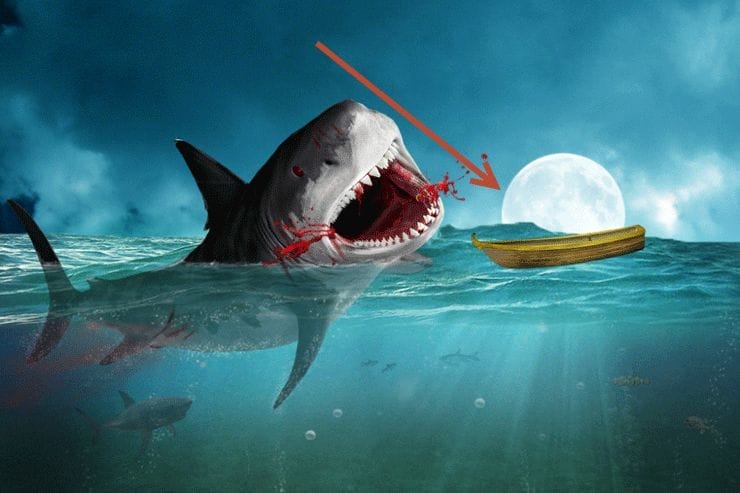
Step 47
Add a layer mask to the boat layer. Mask away the bottom of the boat so that it looks submerged in the water.
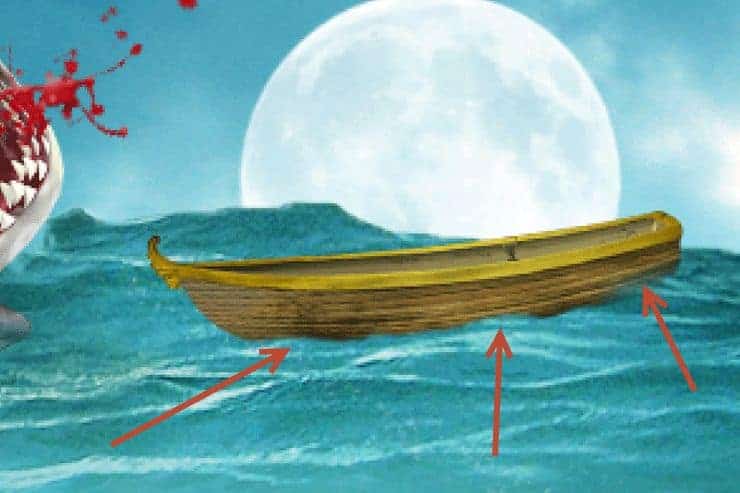
Step 48
Create a clipped Hue/Saturation Adjustment layer. Drag the saturation slider to -66.

Step 49
Create a clipped Curves Adjustment layer. Drag the curve down to darken. In the layer mask use a soft white brush at 50% opacity and 2-3px size to create some lines along the lines of the boat.

Step 50
Create a new layer and clip it to the boat layer. Sample a blue color from the water and with a soft brush at 2-3 px create some blue lines along the boat. This step is just to have some color variation in the boat.

Step 51
Create new layer and clip it to the boat. With the chalk brush draw some blood spots on the boat surface.
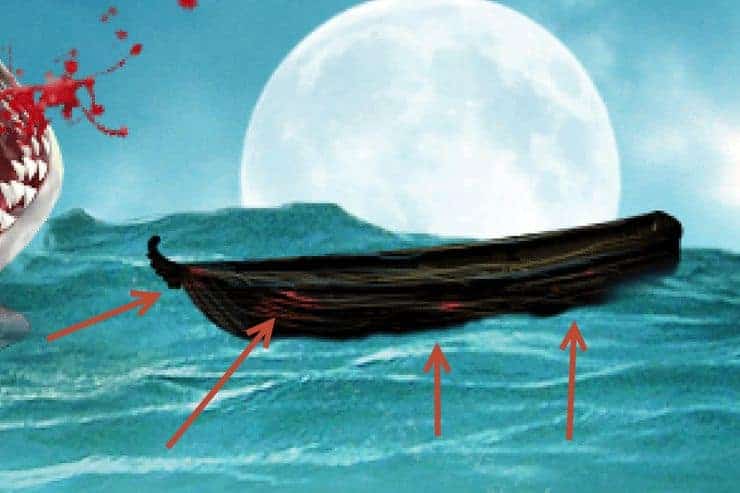
Step 52
Create a new layer. With the chalk brush at 40-50% Opacity draw some small waves splashing into the boat.
Step 53
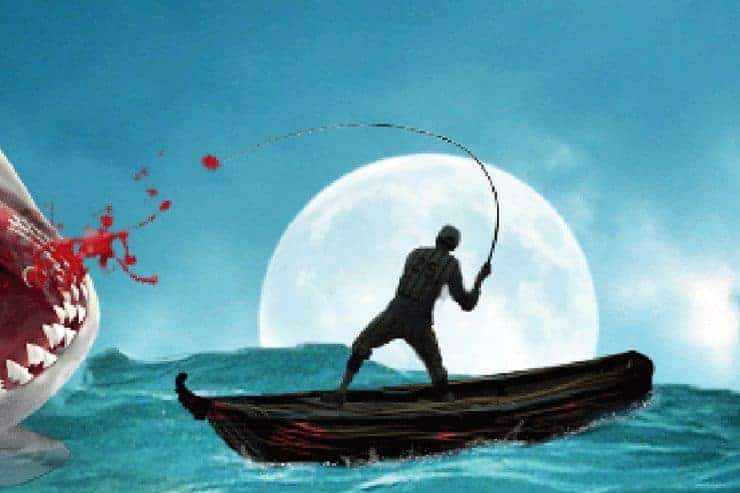
Open the file “Fisherman”. Make a selection of the fisherman (with the pen tool). Copy and paste the fisherman into our working document. Convert it to a smart object. If needed create a layer mask to hide additional parts of the fisherman.
Step 54
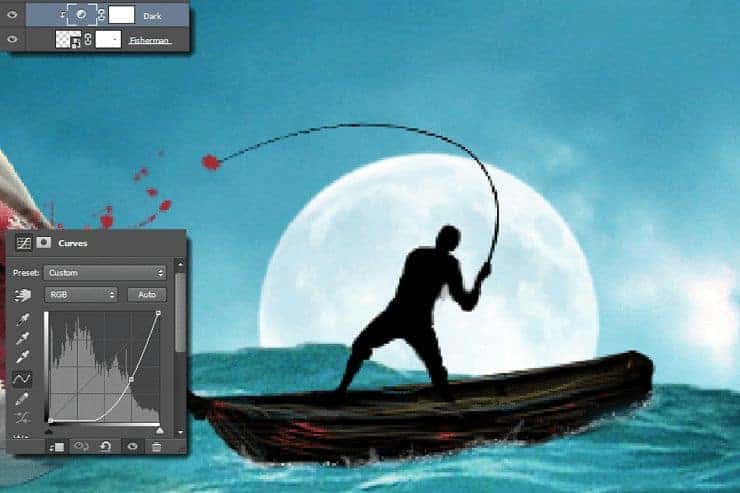
Create a clipped Curves adjustment layer. Drag the curve down to darken the fisherman until he is just a silhouette.
Step 55
Create a new layer and clip it to the fisherman. Sample a light blue color from the sky or sea and paint some light on the left side of the fisherman as shown below. No need for great precision, just the general feeling of light hitting the left side of the fisherman.

Step 56
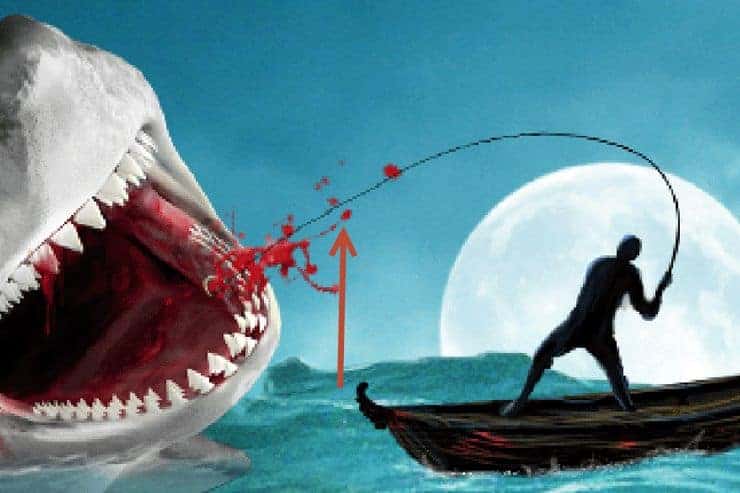
You may notice that the fishing line is not complete. Create a new layer and with a black chalk brush at 1px size complete the line to the shark�s mouth.
Step 57
The fisherman while fighting the beast should have some blood on himself. Create a new layer and with the chalk brush draw a couple of red spots on the fisherman. Group all the layers related to the fisherman and name the group “Fisherman”.
8 responses to “Amazing Surreal Shark Photoshop Tutorial You Have to Try”
-
wow amazing, thx for tutorial.. :D
-
great
-
Excuse my language, but, this looks bloody terrifying! Thank you for sharing!
-
excuse my language, but this is insane
-
-
thank you for uploading and creating this tutorial man–much appreciated!
-
nice
-
Wow Great work
-
Nice work


Leave a Reply