
Now repeat the same process from step 7, create a layer mask, and with a soft round brush tool delete some parts on the image.


Step 10
Add Adjustment Layer “Color Balance”

Step 11
Add Adjustment Layer “Curves”

Step 12
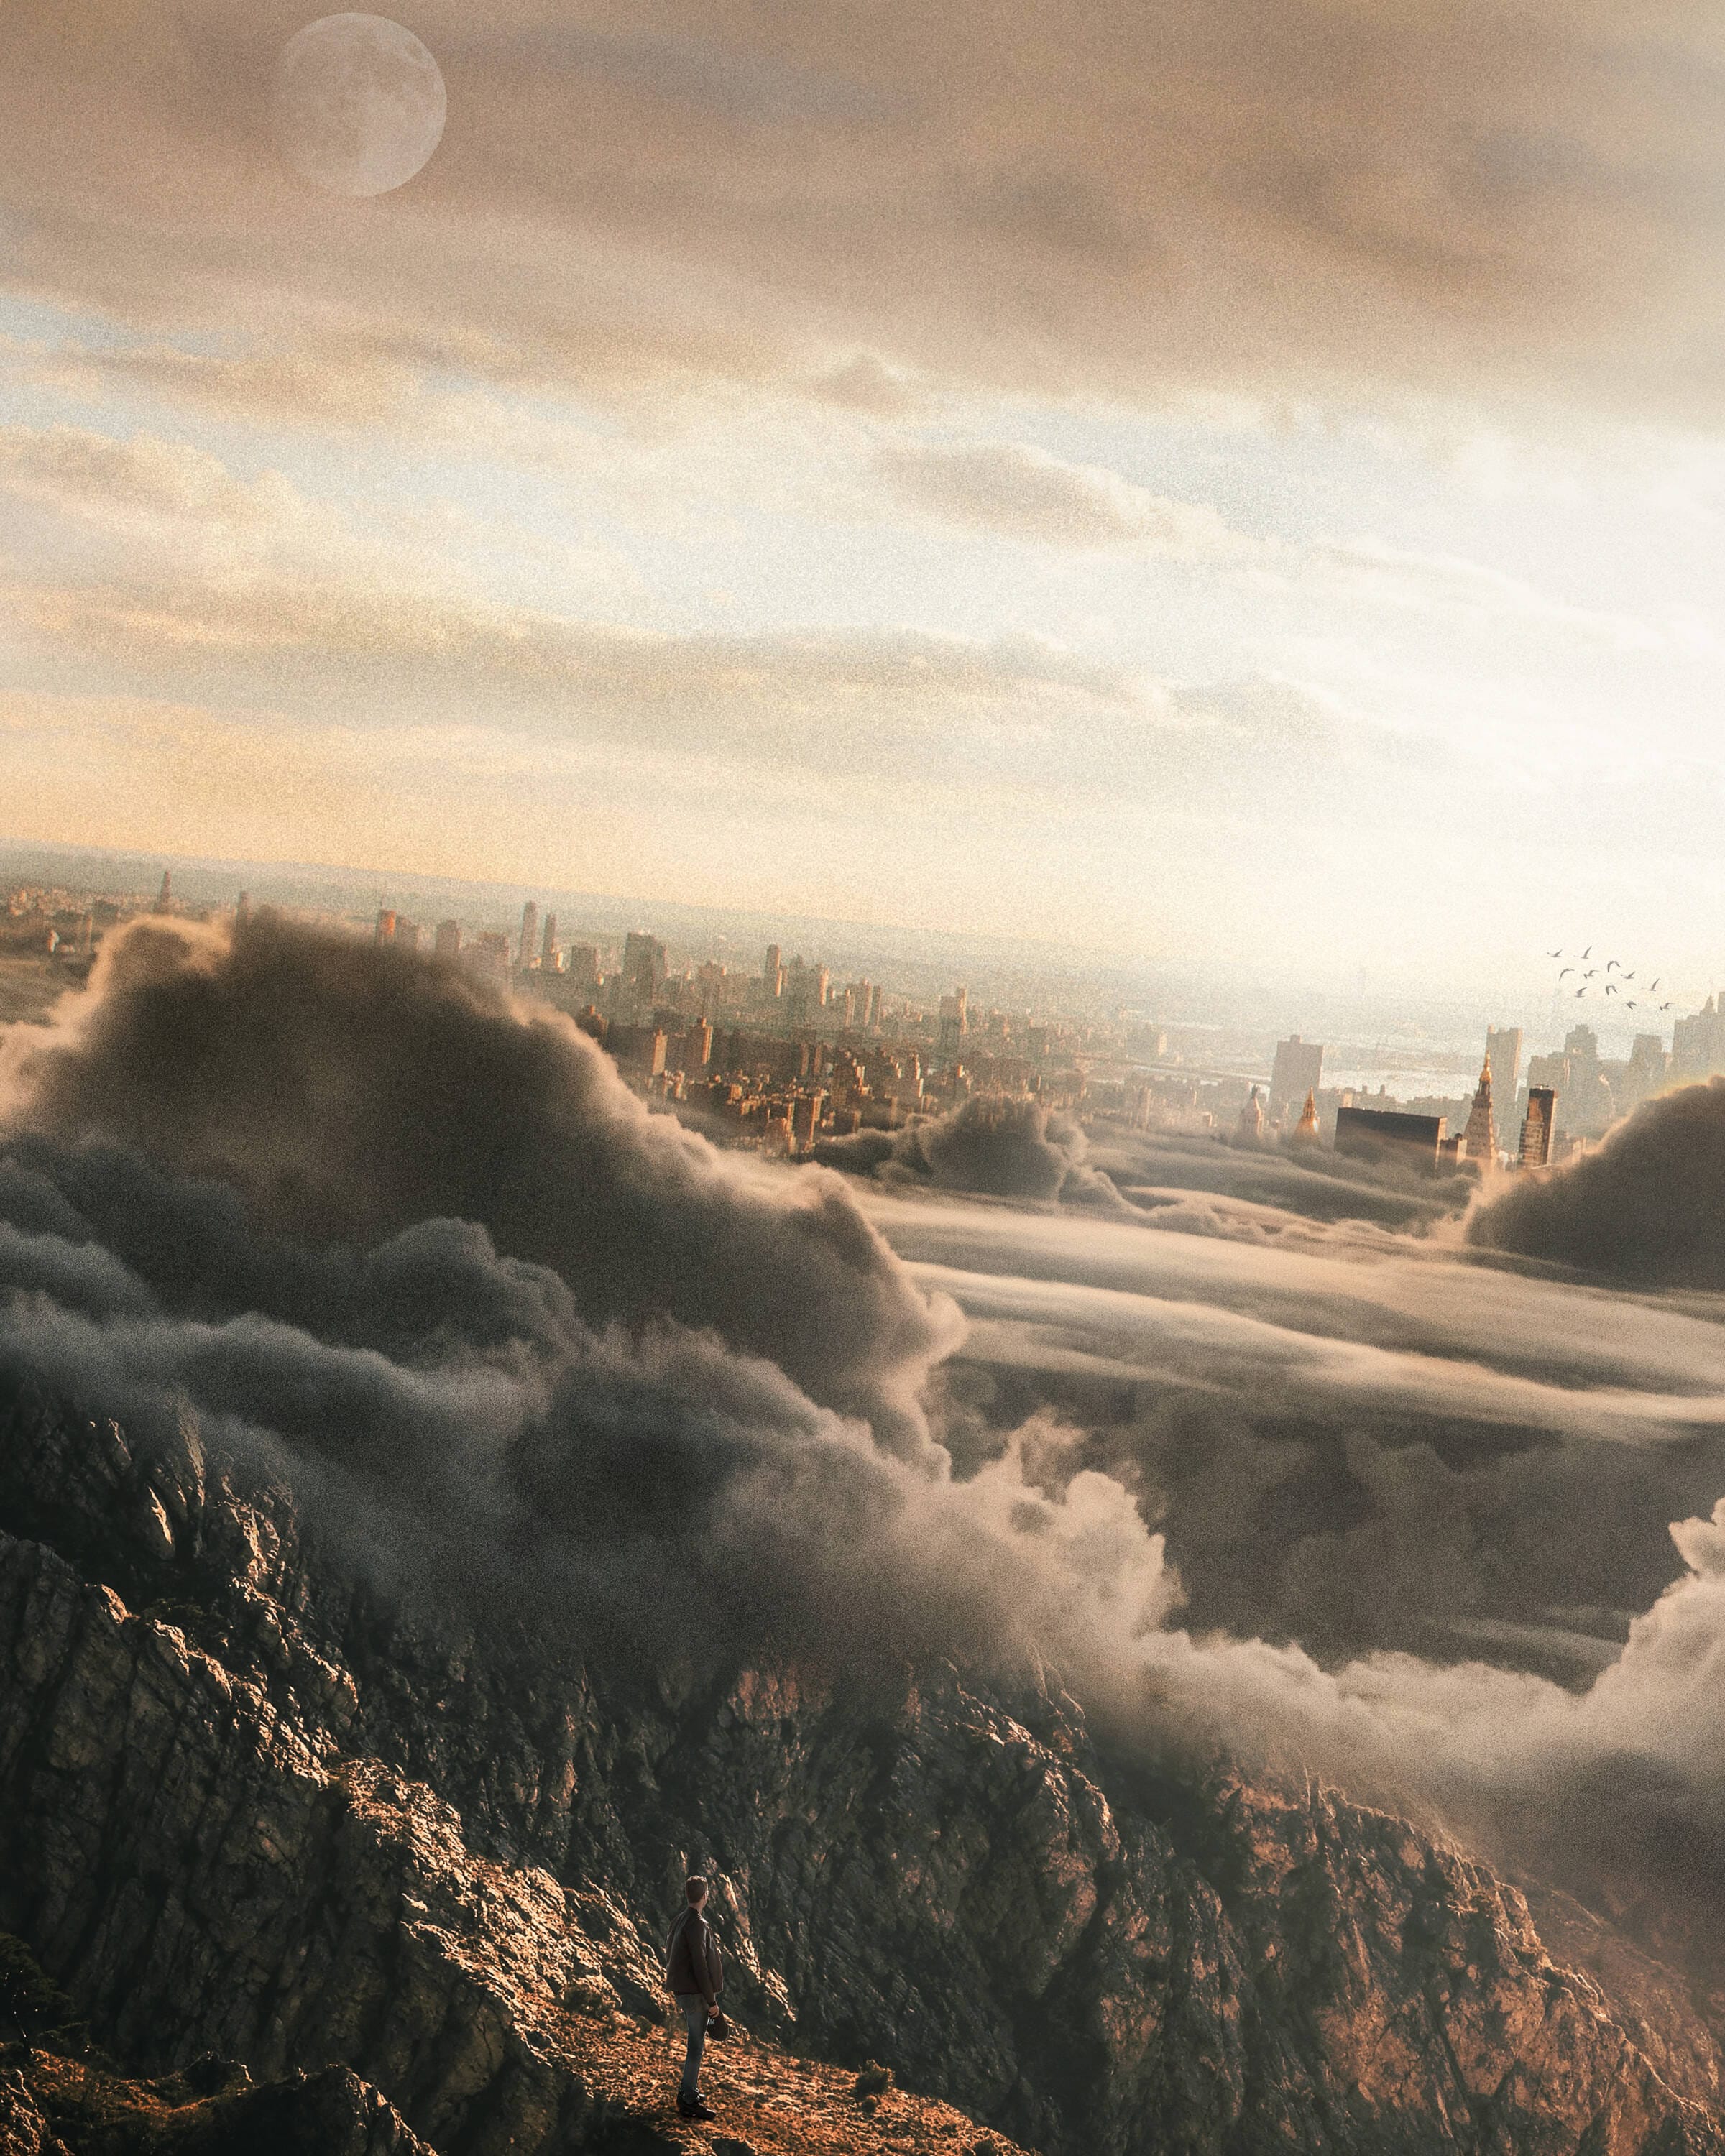
Open another photo Go to File > Open and select Man. After you open the image, use Quick Selection Tool(W) and select fish. After the selection area has been created, simply copy (Ctrl / Cmd + C) and Paste (Ctrl / Cmd + V) it to our work canvas. Then position the image with the transform tool (Ctrl / Cmd + T). Hold Alt + Shift and resterize like image below. In Photoshop CC only hold Alt to resterize al sides together.


Step 13
Add Adjustment Layer “Curves”

Step 14
Add Adjustment Layer “Curves” and press Ctrl/Cmd + I to invert. Then use Brush Tool(B) Soft Round with foreground color white and paint Highlight parts.


Step 15
Add Adjustment Layer “Color Balance”

Step 16
Select Man layer and create below a new layer for shadow. Use Soft Round Brush Tool with the foreground color black and paint the shadow. The flow of brush set to 10% and the blend mode change to Multiply with Opacity of 36%


Step 17
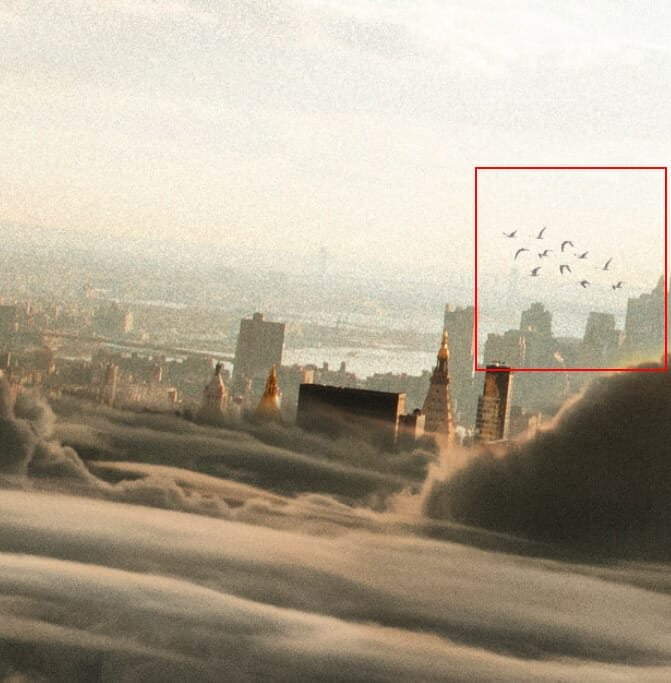
Go to File > Open and select Birds, then hold Ctrl/Cmd and click on the layer and after the selection area has been created, simply copy (Ctrl / Cmd + C) and Paste (Ctrl / Cmd + V) it to our work canvas. Then position the image with the transform tool (Ctrl / Cmd + T). Hold Alt + Shift and resterize like the image below. In Photoshop CC only hold Alt to resterize al sides together.

Step 18
Next, place Moon Go to File > Place and select Moon. Then place it to our work canvas and position the image with the transform tool (Ctrl / Cmd + T). Hold Alt + Shift and rasterize like the image below. In Photoshop CC only hold Alt to rasterize all sides together.
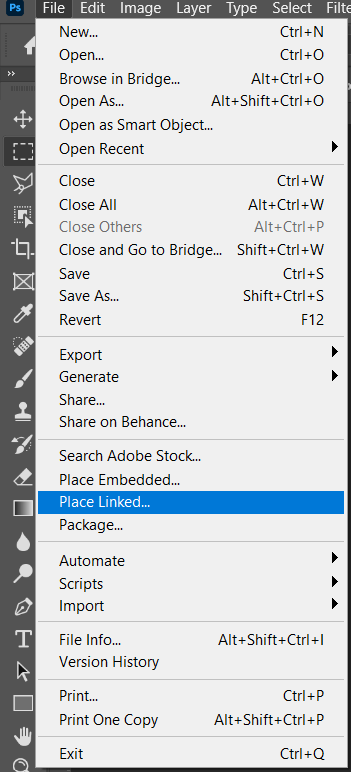

Blend mode change to Screen and Fill to 35%.

Step 19
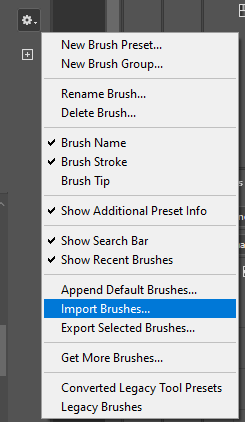
Next, we will add Ray Highlights but first, we need to import brushes. Select a Brush Tool(B) and right-click on the background. Now click on the gear icon and Import Brushes (Select a downloaded brush).
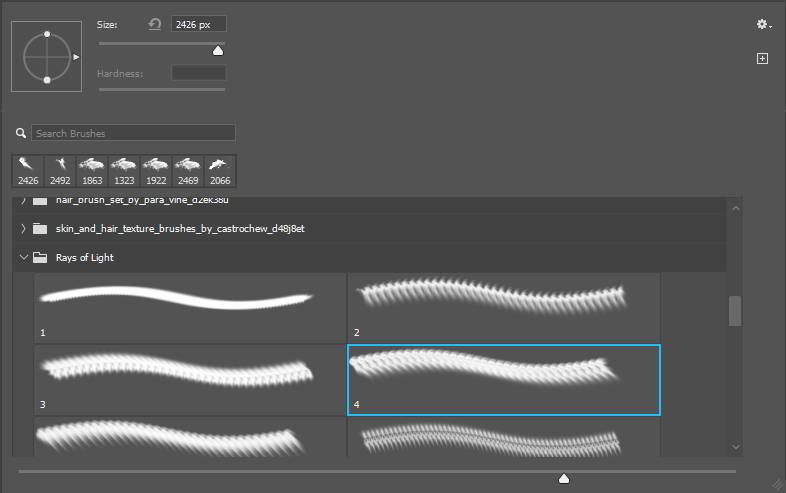

Convert the layer to Smart Object and go to Filter > Blur > Gaussian Blur and set the radius to 75px. Opacity of layer set to 50%.

Leave a Reply