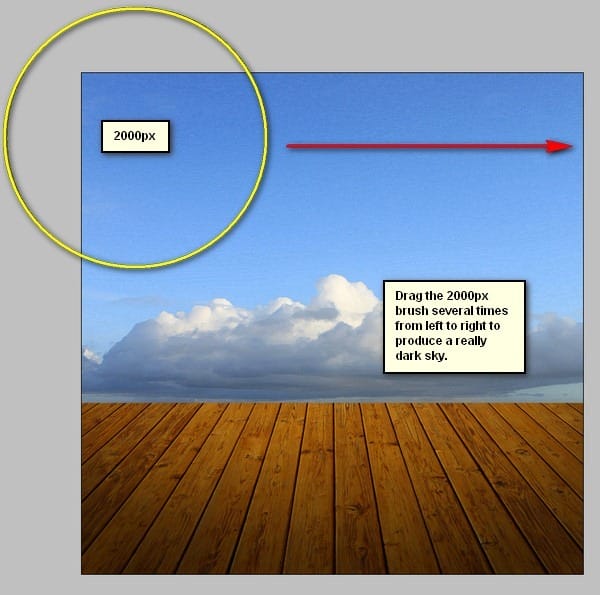
And the result of that should be similar to this:
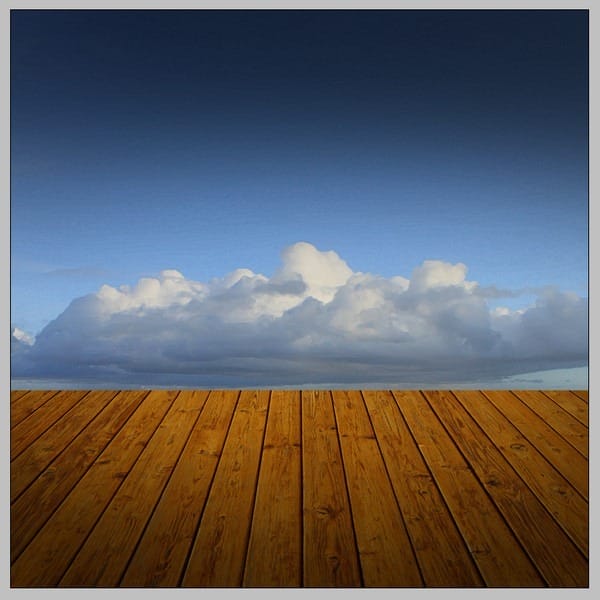
Step 13: Create the Wallpaper Border
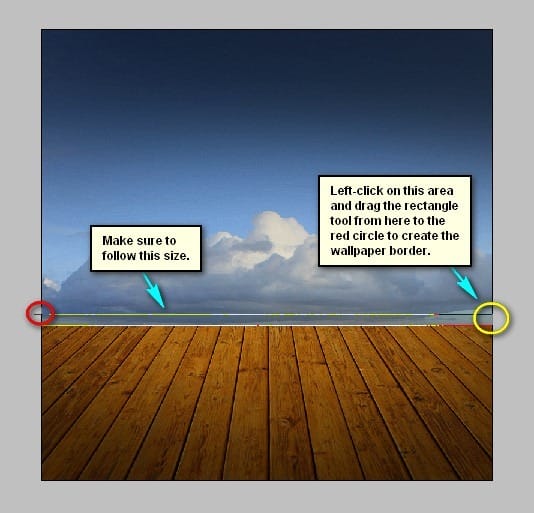
Now, we will be creating the wallpaper border. To start, activate the Rectangle Tool. See image below:

Step 14
Before creating the rectangle, first let’s set the color. To do that, make sure that the Rectangle Tool is active and then click on the box shown below:
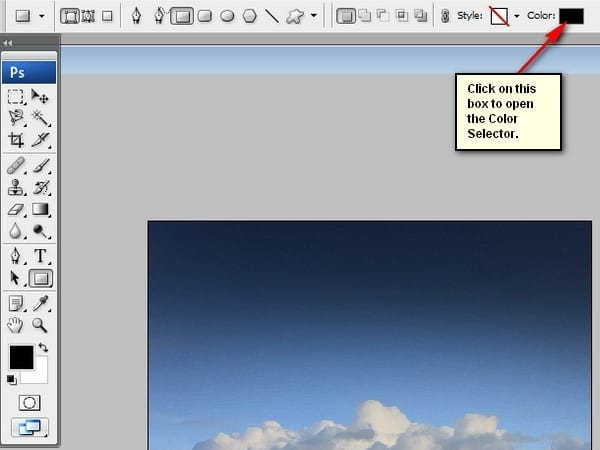
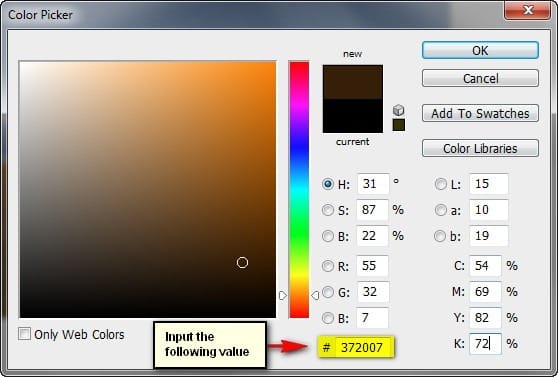
Clicking that button will open the tab below; input the following on the # space.
Step 15
Now, let’s start making the wallpaper border.
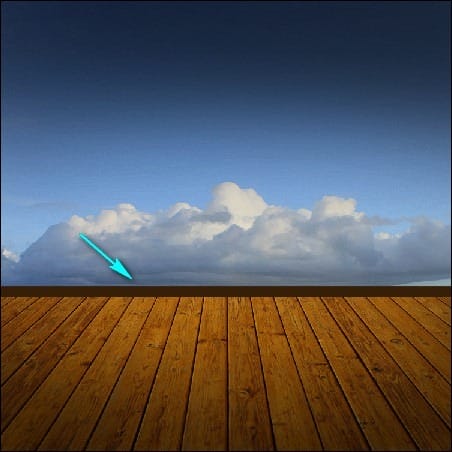
The result of that should be similar to this:
Step 16
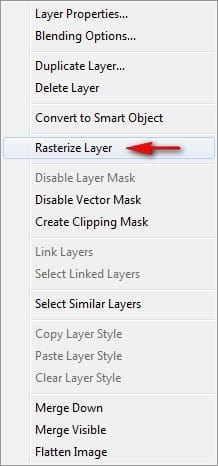
Finally, right click on the Shape 1 layer and then left-click on Rasterize Layer.
STEP 17: Create the Curtain
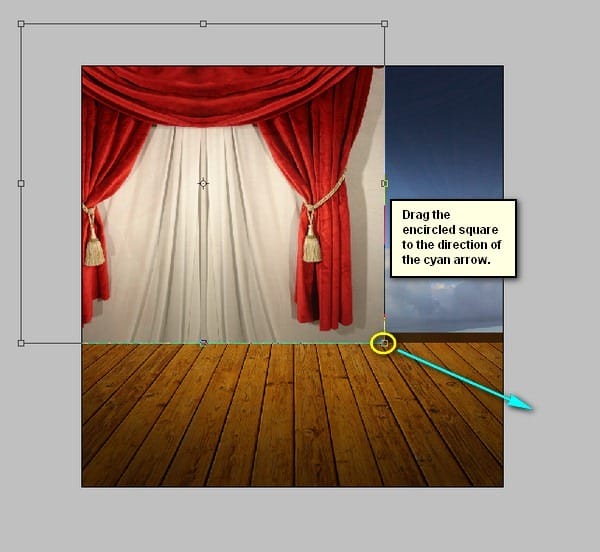
Now, we will be creating the red magical looking curtain of this eerie room. To start, open the stock image “Curtain 04” by LunaNYXstock. Next, activate the Move tool (V) and drag the curtain to our 3000x3000px canvas. Position it as shown below:
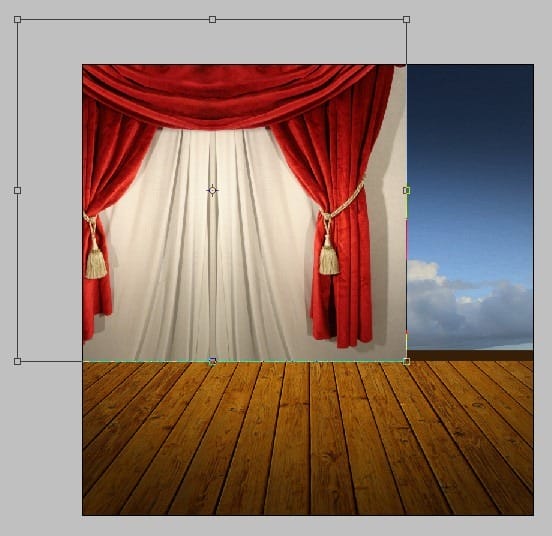
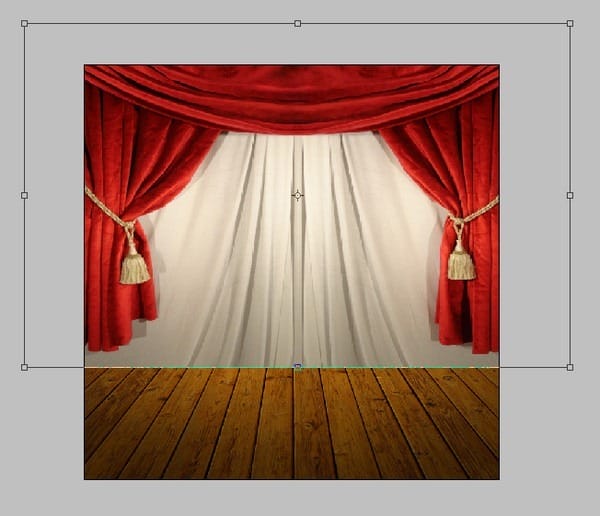
Next, activate the Transform tool (Ctrl/Cmd + T) and resize it as shown below:
The result of that should be similar to this:
Step 18
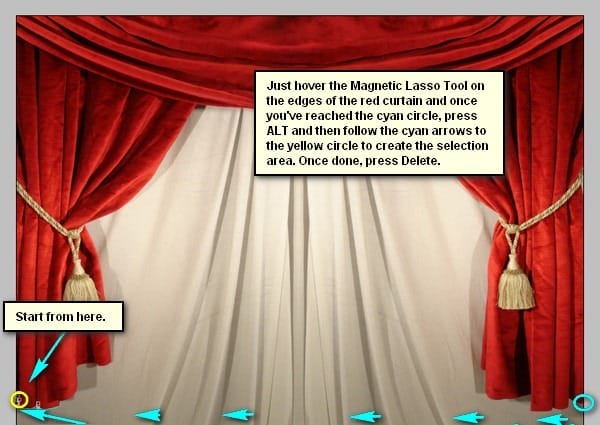
Now, that we’ve transformed the curtain to its proper size and positioned it on its proper location, it is time to remove the white curtain from it. To do that, we would need to use the Magnetic Lasso Tool (L) which easily sticks to the red curtain.

Now, let’s remove the white curtain background.
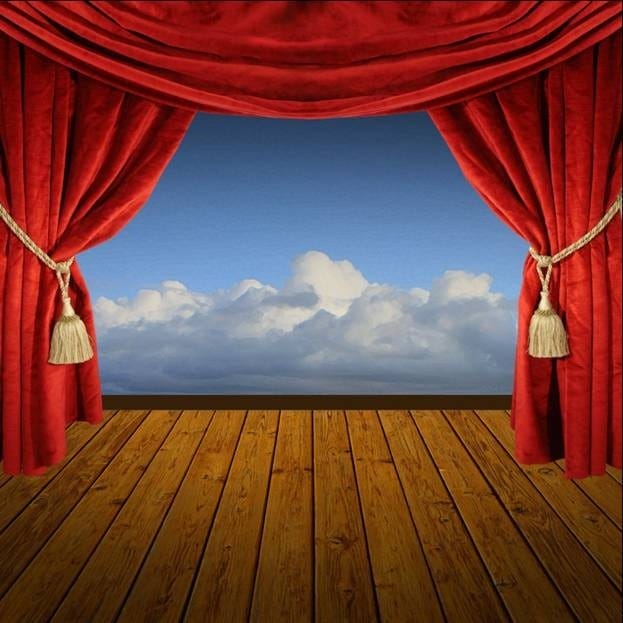
After pressing Delete, the result of that should be similar to this:
Step 19
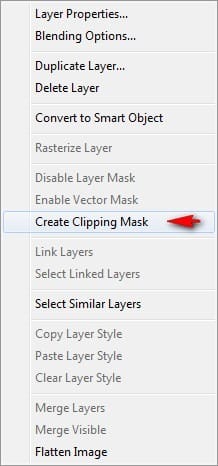
Now, let’s adjust the lighting on the curtain. Create a new layer (Ctrl/Cmd + Shift + N) and put it above the curtain’s layer and then name it to “Darken Curtain”. Right click on Darken Curtain to activate the contextual menu and once open, click on Create Clipping Mask.
The Clipping Mask allows all the actions to be done only on the layer it is clipped on to.
Now, activate the Brush tool (B) and input the following:
- Brush size: 1400px
- Hardness: 0%
- Opacity: 15%
- Flow: 100%
- #: 000000
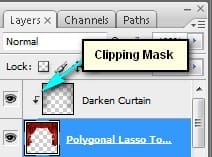
The Layer window should be looking like this now:
Step 20
Now, let’s paint on the Darken Curtain layer:
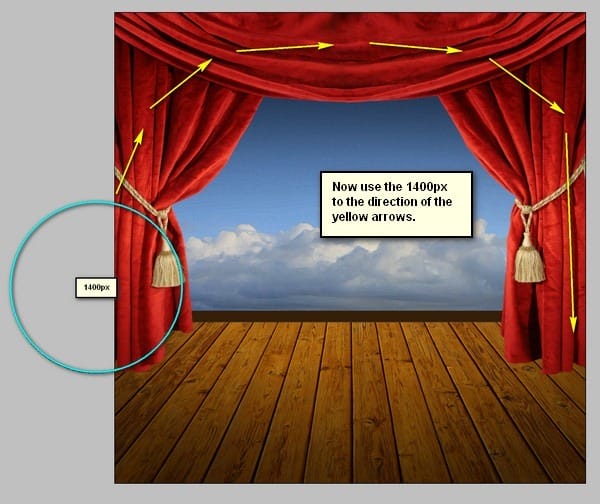
Note: To achieve the effect below, concentrate on the areas where the light wouldn’t pass through like the top portion, and the left and right sides.
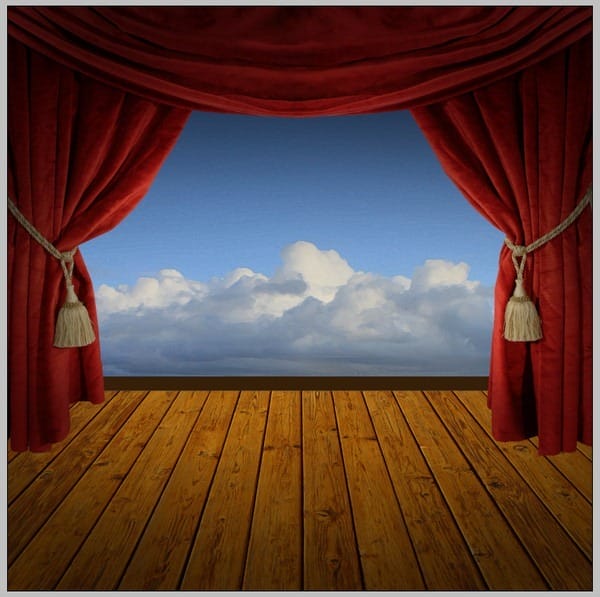
The result should be similar to this:
Step 21
Next, let’s create the shadows under the curtain. Doing this will make the curtain look more realistic. To do that, let’s first create a new layer (Ctrl/Cmd+ Shift + N) and then name it “Shadow of Curtain”. Once the layer is created, drag this layer and pull it down the curtain layer.
25 responses to “Create a Romantic Cutlery Artwork Inspired by Salvador Dali”
-
the cutlery’s link is error . please fix !! :(
-
Thanks for the tutorial. I followed your guidelines closely, and although I had to substitute images for the floor and cutlery (the original images were no longer available), I was able to replicate your original fairly well. I am using the completed image for an assignment in a college class. Thanks so much
-
o
-
k
-
Wow expertinspiration I like all!?
-
please fix the psd link
-
Link seems to be working for us. Here’s the direct link: https://www.photoshoptutorials.ws/downloads/psd/Theater%20of%20Life.zip
-
-
Thank u Mike excellent tutorial
-
(>^o^)> I AM COMMENT <(^o^<)
-
Awesome work and tutorial, Michael! Congrats!
Let me add a correction: at step 36 the gradient map regulation level must be added with the LUMINOSTY blend mode…you must have forgotten to write it down :) -
change blend mode on Gradient Map (step 35) plox .
-
what the hell happened at Step 35 ??? :-/
-
very very nice!!
-
Awesome tutorial….. Really helpful for a beginner like me :-)….
-
Been looking at your tutorials and portfolio … thanks a lot for sharing. Beautiful stuff. I really appreciate it.
-
Great tutorial; thank you!
FYI: The “Download the PSD” link points to the ‘Big Fish’ PSD rather than the file for this tutorial.-
Thanks Mike! PSD link has been fixed
-
-
Very nice!
-
Really nice tuto, helpful, well explained. thx
-
Thanks a lot for the nice tut – good job!!!
-
“AWESOME”
-
Gracias por el tutorial aprendi mucho
mira como me fue http://www.facebook.com/photo.php?fbid=4785628130887&set=a.4638641296308.2170398.1601304038&type=1&theater¬if_t=like exelente -
This was very well done. Teaches a lot of things nicely. Thanks for the tutorial.
-
Beautiful!!!
-
love romance and love your way to work
nice step by step work!


Leave a Reply