Learn how to create this amazing photo manipulation with a variety of blending techniques, custom brushes, and more. This intermediate-advanced tutorial also comes with its own set of raw ink splatter scans so that you can practice creating your own Photoshop brushes. And of course, the full layered PSD is included as well.
Preview of Final Results


Tutorial Resources
Step 1
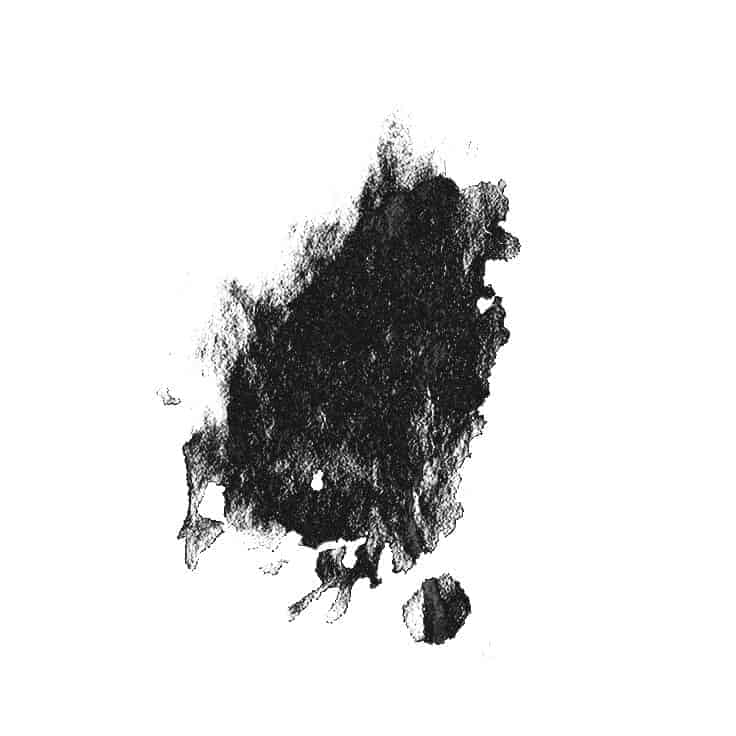
In this step I will show how to create custom brush. For this I used scan of splashes made with ink.

Use the Crop Tool (C) (by pressing shift key you will select square)

Add a Black & White Adjustment Layer by going to Layer > New Adjustment Layer > Black & White. Set to “High Contrast Red Filter”


Go to Channels panel and duplicate Red Channel. Right click on Red channel and chose Duplicate channel.

Go to Image/Adjustments/Levels. Move the sliders so that the splatter was dark and the background white.
Settings


Load selection
Press Ctrl then click Red channel.
Invert selection
Select/Inverse (Shift+Ctrl+I). Before you come back to Layers panel don’t forget select RGB channel.


Go to Layers panel select splash layer then press Ctrl+J you will cut your selection.


Try to use different ways for selection like Color range or even Magic Wand Tool.
Color range (example)

Now clean up parts which you don’t like. For this you can use Eraser tool (E) Also if you like change splash position.

Create brush.
I use 2500x2500px 300dpi canvas for my brushes. Go to Edit/Define Brush Preset.
Please see my brush settings.


Step 2
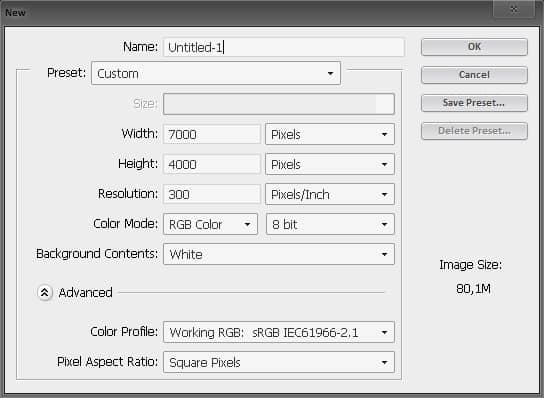
Create new document (File > New or Ctrl/Cmd+N)

Add Horse photo.
Folder: Resources/Horse.psd

Add a black to white gradient map by going to Layer > New Adjustment Layer > Gradient Map.


Right click on your layer and choose “Convert to Smart Object”. Now we are ready to add some Shadow/Highlights (Image > Adjustments > Shadow/Highlights).
Settings:


Click on the “Add layer mask” icon on the bottom of your Layers palette.

Select the Brush tool (B) then paint with black # 000000 on your layer mask. Usually, I just use the first default brush. Brush opacity 50%.
21 responses to “How to Create a Breathtakingly Artistic Winter Horse Illustration in Photoshop”
-
so, for those who don’t get the line-
“Apply a Roots photo layer to the Horse layer
To do this, press and hold Ctrl/Cmd and point your cursor above the red line. You will see an icon – click on it.”
I’m using CS6 and for rest of you guys are not using this version no problem the method I’ve used compatible with all versions.
1)take lasso tool(i took polygonal lasso)
2)selection around the horse pic because we want enter the root image into the horse image.
3)take the root image file>open
4)CTRL/CMD +A to select the whole root image then CTRL/CMD+C to copy
5)edit option>paste special>paste into
6)the root image will be entered into the horse image as based on your selection -
Excellent tutorial
-
????
-
Great tutorial, really inspired me very much. Thanks a lot for sharing a nice photo manipulation tutorial with us.
-
Beautiful, creative and acutely enjoy able!
-
I don’t get this step:
“Apply a Roots photo layer to the Horse layer
To do this, press and hold Ctrl/Cmd and point your cursor above the red line. You will see an icon – click on it.”I don’t see an icon show up and I am using CS6, as shown in the tutorial. If the short cut method does not work, what is the manual process .
-
Same problem I can’t see any red line there:’)
-
-
Please tell me how you applied a root photo to the horse layer
-
Heres my attempt: http://i.imgur.com/OYcYedL.jpg
Excellent tutorial! Tanks :D
-
-
I like your results more great work!
-
-
Nice tutorial man. Cheers from Atlanta
-
thanks
-
Realy very nice. Can you pls make video for this tutorial.
-
Impressive bud
-
Thank you guys!
Follow me on facebook, new tutorials soon! :)https://www.facebook.com/markiw.design
http://www.behance.net/MarkiwDang Hien
Just paint with sharpen tool set to luminosity, use soft brush. -
Help me plz, i don’t know how the horse was maked like 2 last pics.
-
Excellent tutorial sr, inspired..
-
I agree! haven’t seen these type for a while! But I am happy to see different artists sharing their techniques and knowledge, its becoming more and more open! I appreciate every bit of it! thanks to pstutorials for grabbing this one! cheers to Markiw!
-
Hey, Do u know the link of photoshop CC? please Reply!
-
-
Great writeup – hadn’t seen this type of tutorial for awhile


Leave a Reply to Maidul IslamCancel reply