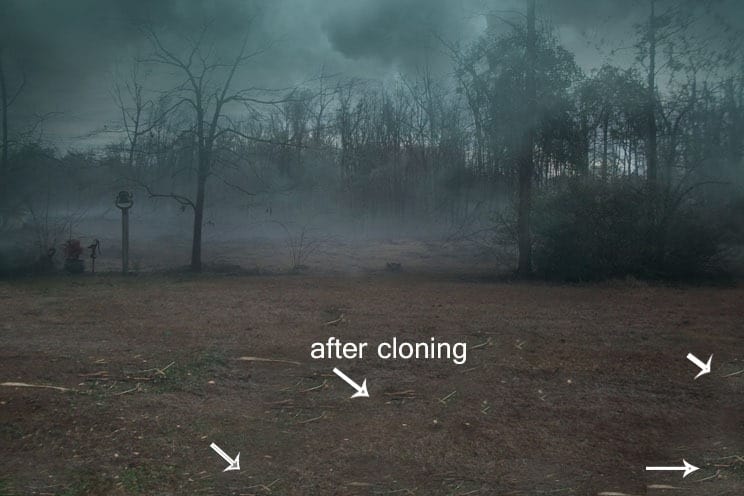
Step 8
Now apply Gradient map adjustment layer and choose color for shadow #20425a, for highlight #ff8809.set the blend mode to hard light and opacity to 63%.

Result should be like this

Step 9
Now I applied a gradient fill adjustment layer by click on third button in layer panel. Select the second preset foreground to transparent.choose color#272f43 and change the blend mode to color. Take the brush tool by pressing (B), set the opacity to 50% flow as well and start painting on layer mask of the gradient fill adjustment layer as shown in the image.

result on layer mask.

Step 10
Then I applied two more adjustment layer to image.First Select the selective color adjustment to enhance the image color and set the adjustment as shown below,then set the blend mode to soft light and opacity to 41%.I also select the blue in selective color adjustment and only set the cyan to -10%.

Result after applying Selective Color Adjustment

Step 11
Select curves adjustment set it as shown below and then change the blend mode to soft light and opacity to 34%.

Result should be similar to this.

Step 12
Now let’s create the moon. To do this create a new layer and name it moon then select soft brush with hardness to 0% and opacity to 100% as well as flow.Now change your foreground color to #ffb400 and size 800pixels then paint top center of the image. Then change the color closer to first one #ffd776 with brush size to 500 pixels and paint it. Then again change the color to #ffeec5 with size to 250 pixels. After that change the layer blend mode to Linear Dodge and opacity to 80% result should be like this.

I added a curves adjustment to moon layer.Create clipping mask for this adjustment by right clicking on it and choose create clipping mask.Set is as shown below. Now we have created our background scene. Create a group by clicking the fourth button in the layer Panel or shortcut Ctrl+G above all the layer then select top layer and by holding shift key select bottom layer then put them into the group, named that group BACKGROUND

Results:
10 responses to “Create a Fantasy Moonlight Emotional Manipulation In Photoshop”
-
Thanks i enjoyed creating this on Photoshop.
-
Thank you!
-
This tutorial is perfect for making book covers. I’ll have to try it out! Thanks!
-
Nice
-
Thank you
-
nice work thanks.
-
awesome tone!thank you :D
-
wow! your working process is so nice……thanks for sharing………………
-
Bad link Foggy Night.zip
-
really very nice…..i am also using photoshop and it is very usefull to me ..


Leave a Reply