Step 40
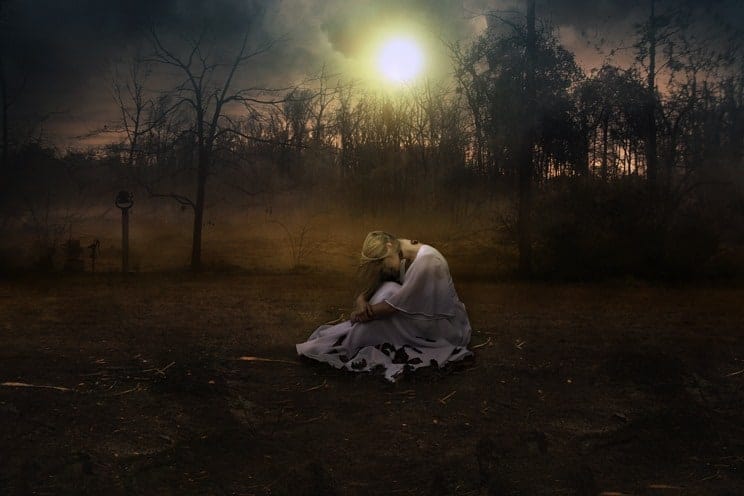
Now activate the model selection by selecting model and Hold down the ctrl key and click on the layer mask of the model. Then invert the selection by pressing Alt+Shift+I paint on channel mixer adjustment layer mask as shown below with soft round brush with 100% opacity and flow. Then again activate the selection of model. Click on the layer mask of Channel Mixer adjustment hide some effect of channel mixer on model by selecting soft round brush and opacity to 30% as well as flow.

Step 41
Here is the result after applying Channel Mixer adjustment layer.

Step 42
Next I added a Gradient Map for warm look for the image. Choose the color #3e270c and #01040a. Set the blend mode to color dodge and reduce the opacity to 83%.

Here is the result:.

Step 43
Next I added adjustment Hue/saturation adjustment layer. set the Hue to +230, saturation to +27 and lightness to -14.click on the layer mask of this layer,Then pick the soft brush with the setting 30% opacity and flow then paint it on model dress as shown in the image below.

Results.

Step 44
I added brightness/contrast adjustment layer.Set the contrast to +2 and brightness to +32

Results:

Step 45
Now will add two more final adjustment layers.Select the color lookup adjustment layer and choose Horror blue lookup.Then change the blend mode soft light and opacity to 30%.Pick the soft round brush with setting step 43 and paint on the layer mask of this layer as shown in the image

Results:

Step 46
Now add the final adjustment. Select curves adjustment layer set it as shown below then reduce the opacity to 40%. Pick the soft round brush and paint with same setting we did in previous step like shown below.

Result should be similar to this:

Step 47
Now Put all final adjustment layer into a group and name it final adjustments. Now, It’s time to create the stars in the sky by applying filters.Create a new layer on the top then convert it smart object by Right clicking on the layer then choose convert to smart object and fill it with black, go to edit>fill.

Step 48
The go to filter Noise> add noise > set the noise 80% also check on the monochromatic.Then got to filter>filter gallery>texture>Grain set the intensity to 0,contrast to 54 and grain type to contrasty should have similar result
10 responses to “Create a Fantasy Moonlight Emotional Manipulation In Photoshop”
-
Thanks i enjoyed creating this on Photoshop.
-
Thank you!
-
This tutorial is perfect for making book covers. I’ll have to try it out! Thanks!
-
Nice
-
Thank you
-
nice work thanks.
-
awesome tone!thank you :D
-
wow! your working process is so nice……thanks for sharing………………
-
Bad link Foggy Night.zip
-
really very nice…..i am also using photoshop and it is very usefull to me ..


Leave a Reply