Make your artwork look like they're from an alternate universe. These Cyberpunk presets work with Photoshop (via the Camera Raw filter) and Lightroom. Download all 788 presets for 90% off.
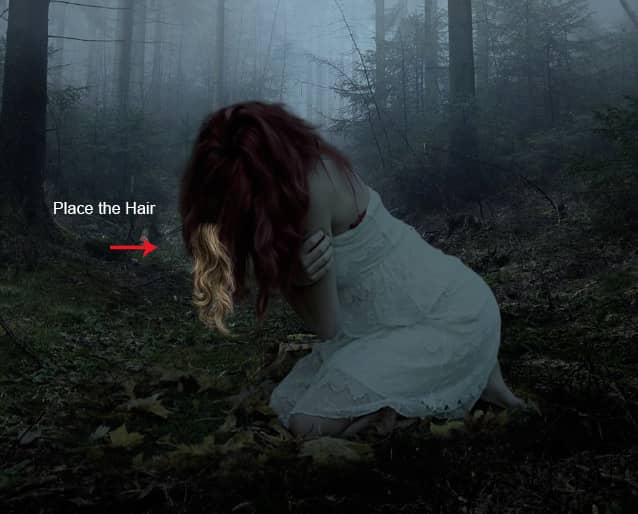
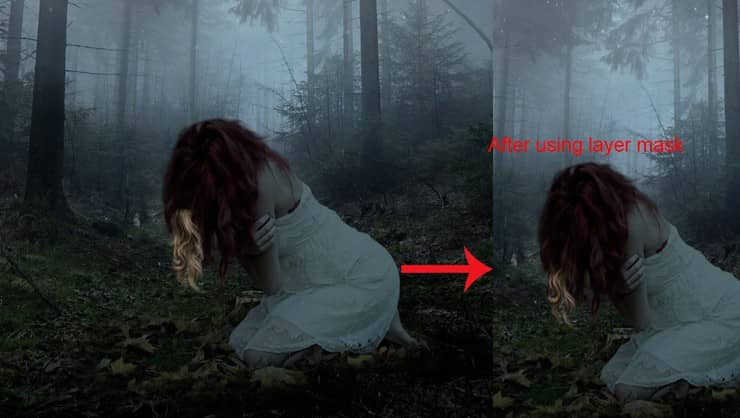
Step 20
I added a Gaussian blur filter to the hair. To do this, right-click on the hair layer and choose convert to smart object. Then go to Filter > Blur > Gaussian Blur. Set the radius to 0.5 and here are the results.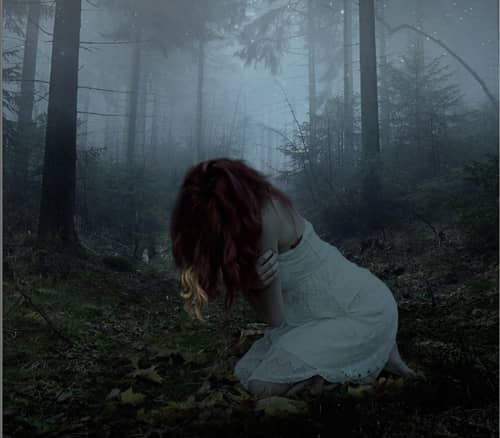
Step 21
Now add a Brightness/Contrast and Hue/Saturation adjustment layer to the hair. Set the setting as shown in the image below.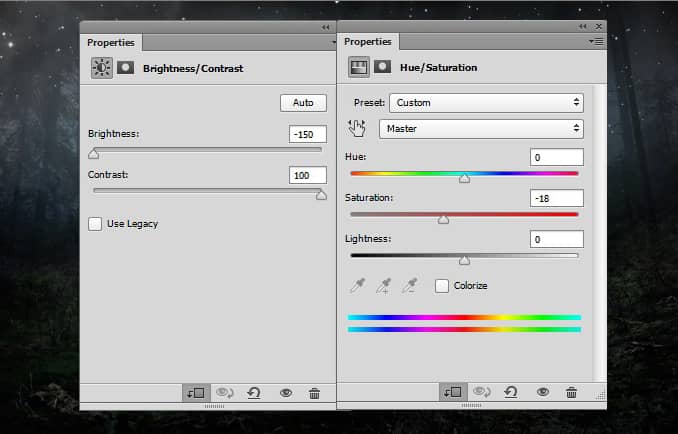
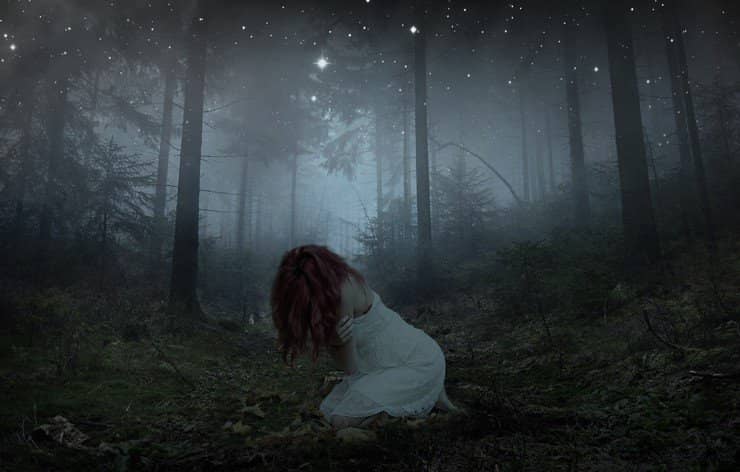
Step 22
Now, place the brown (Top) hair to the model and then use a layer mask to blend it to model hair as we have done in previous steps. I have also used the Gaussian Blur filter about 0.5 for this Hair. Here are the results.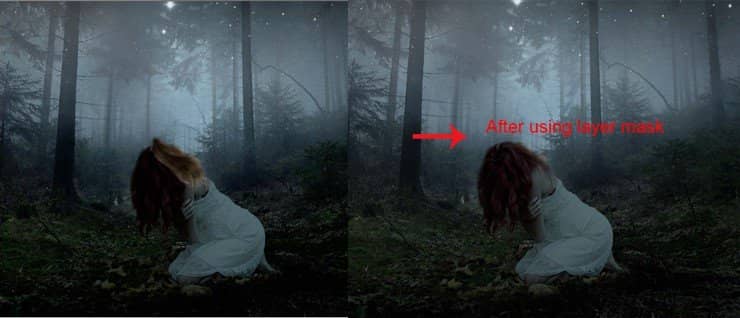
Step 23
Add a Color Balance Adjustment layer to the hair. Here are the values. Reduce the opacity of Color Balance to 75%.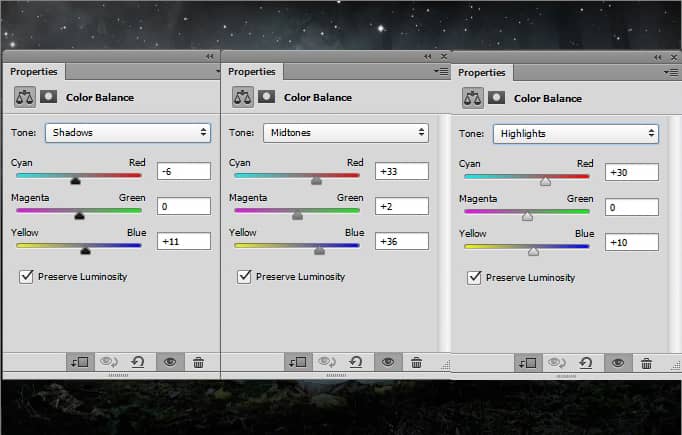
Step 24
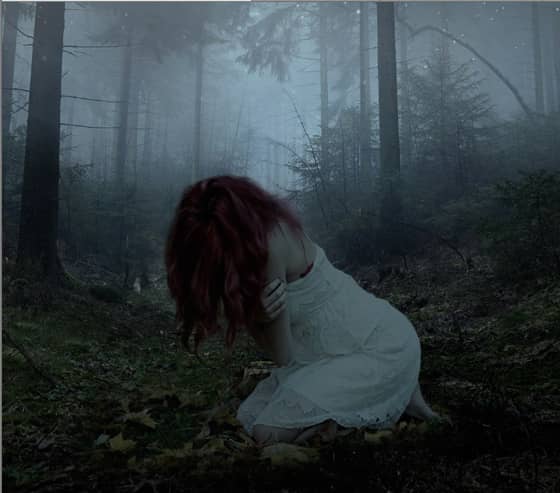
Now, duplicate the brown layer and move it to the left then blend it using a layer mask. Here are the results.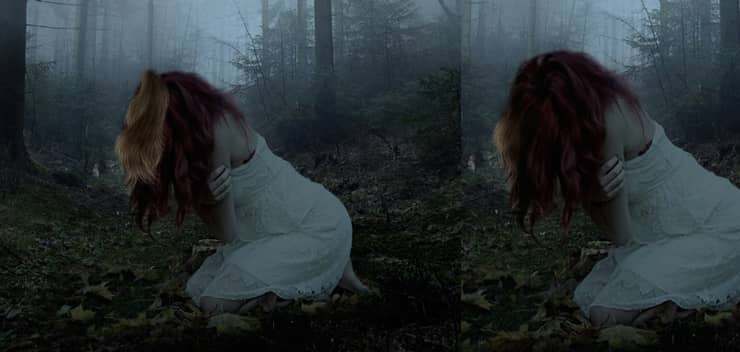
Step 25
Now add a Brightness/Contrast and Color Balance Adjustment layer to the hair. Set the values as shown in the image below. I have also selected the shadow tone in Color Balance and only changed the cyan/red tone to +7. Reduce the opacity of Color Balance to 60%.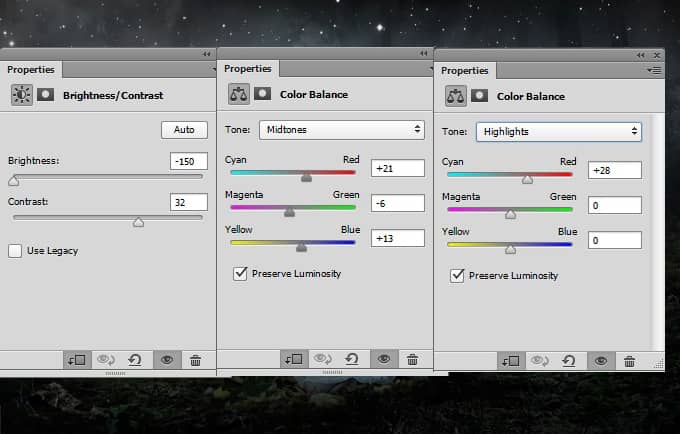
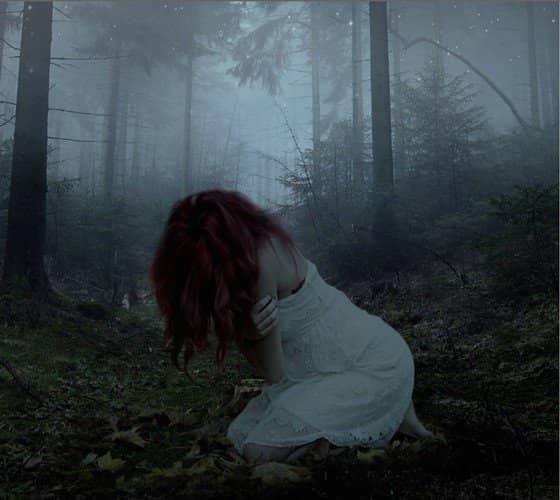
Step 26
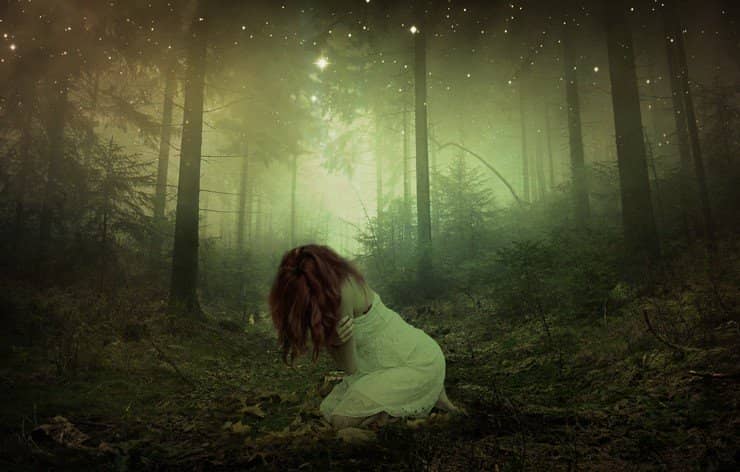
Now, place the nebula 1 image to the main document. Use the free transform tool by pressing (Ctrl + T or Edit > Transform > Free Transform) to resize the image as shown in the image below so it can cover the entire scene.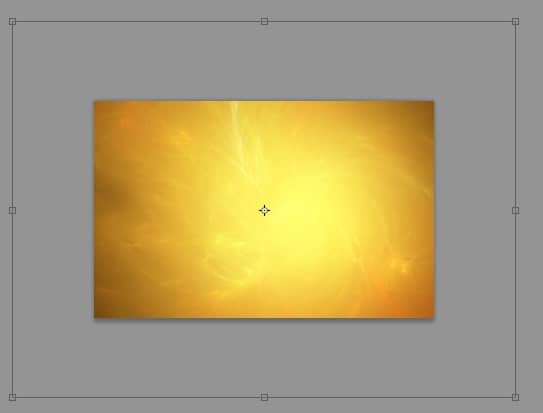
Step 27
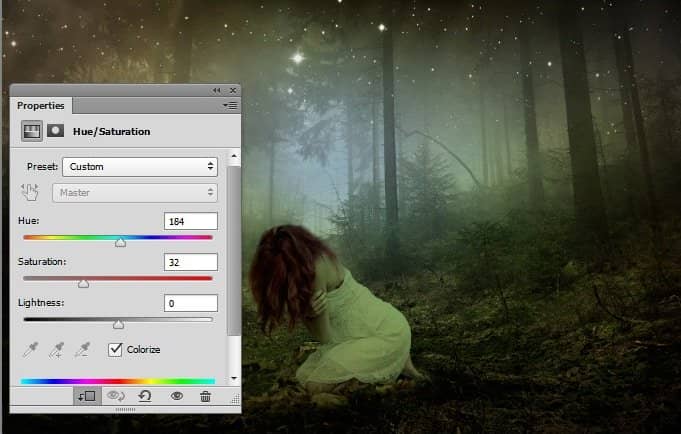
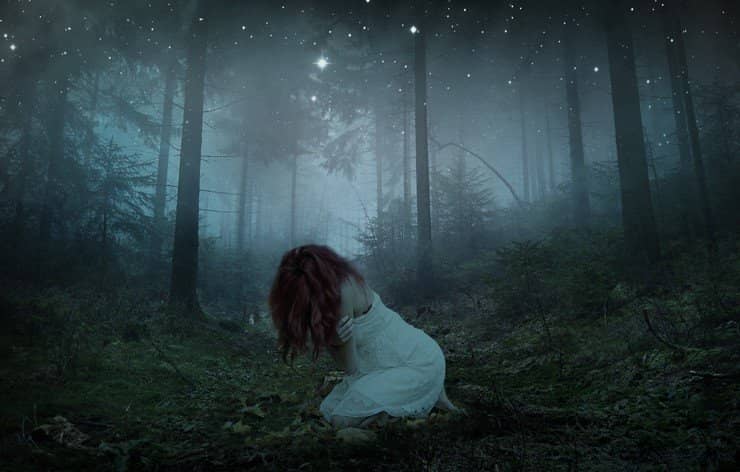
Add a layer mask to the nebula 1 and hide the selected center part. You can also see the result below.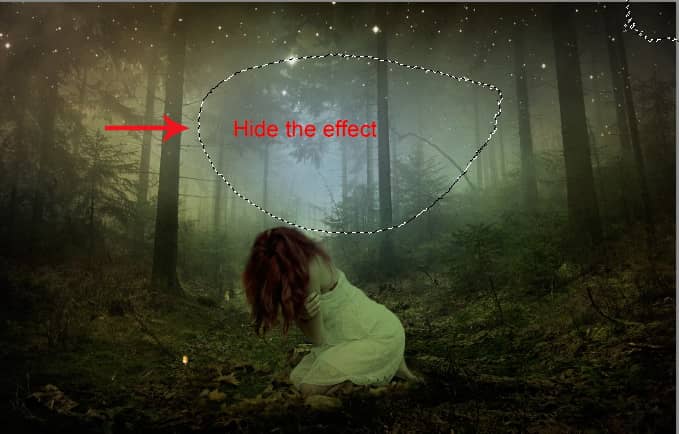
Step 28
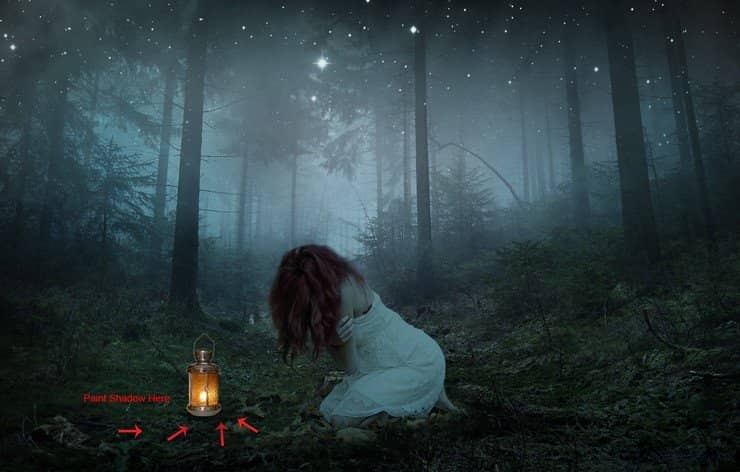
Extract the Lamp using your favorite selection tool and place it on the canvas.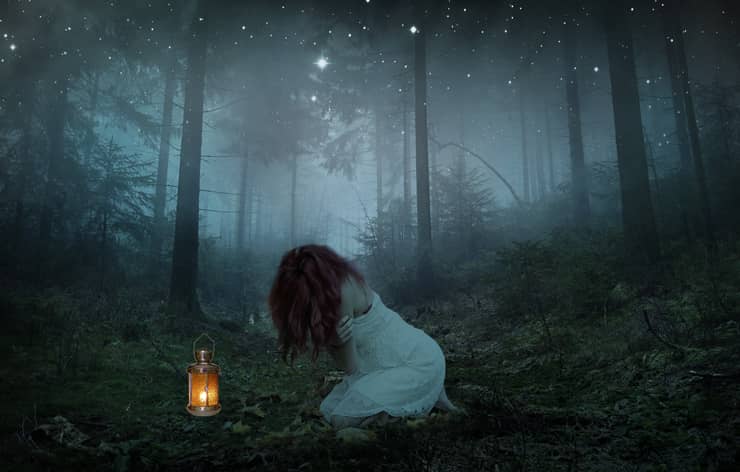
Step 29
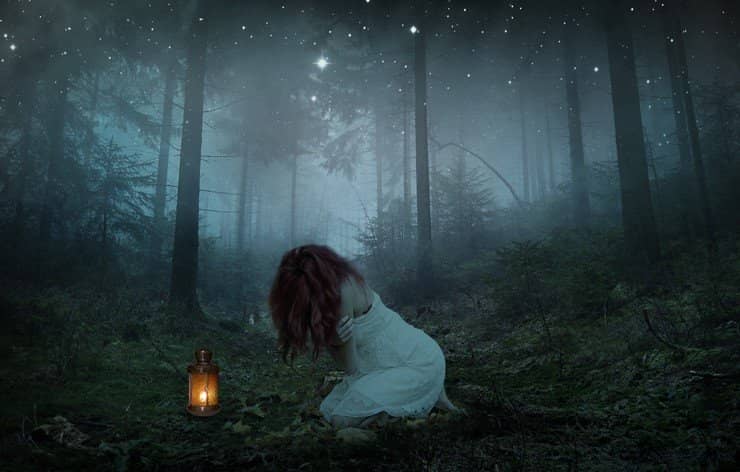
Add a Brightness/Contrast and Photo Filter adjustment layer to the lamp. Set the values as shown in the image below.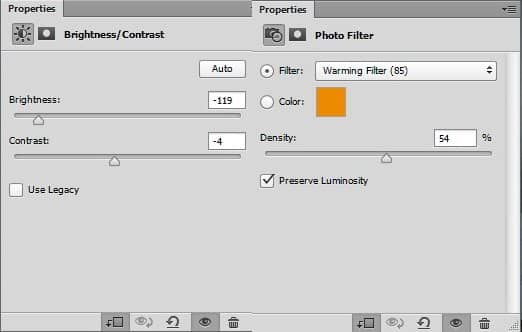 Here are the results.
Step 30
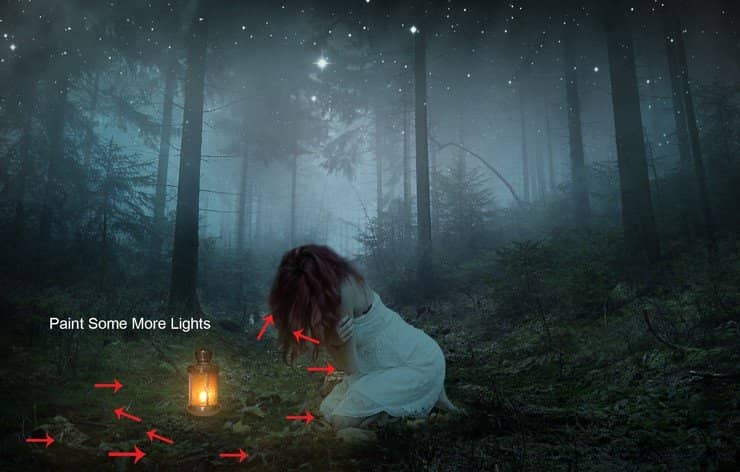
Let's make a glow on the lamp. Create a new layer and choose the soft round brush tool with opacity and flow to 30% then change your foreground color to #583f1f and size to 300 pixels. Make a stroke on the lamp and then change the blend mode to Linear Dodge. Here are the results.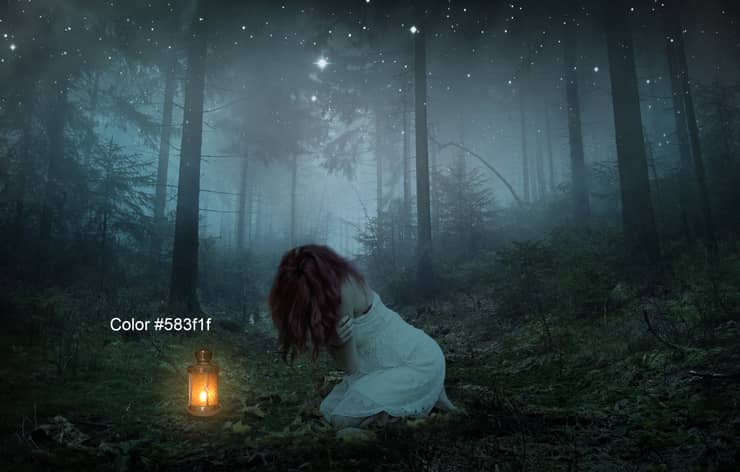

14 comments on “Create a Magical and Emotional Forest Scene of a Lost Girl in Photoshop”
Can't find the hair PSD?
How to hidden effect at step 7 ,thank's iam use photoshops cs 6
layer mask my friend. You can see the adjustment on the bottom right
красивый урок!!!!!!!!!!!!!! спасибо.
Sorry about that. All of the images should be fixed.
there are images missing
I tried to watch it but it can't_ i just dnt knw y_ any1 have some tutorials_ plz send 2me plz via ma whatspp:0721066349
Some images are not loading, please work at them.
thanks for the great tutorials :)
Rafael Soares ó uma pegada que te falei que ia fazer
Awesome tutorial
me encanto gracias
amizing
Hey Denny
Some of the step images not loading