Luminar AI lets you turn your ideas into reality with powerful, intelligent AI. Download the photo editor and see how you can completely transform your photos in a few clicks.
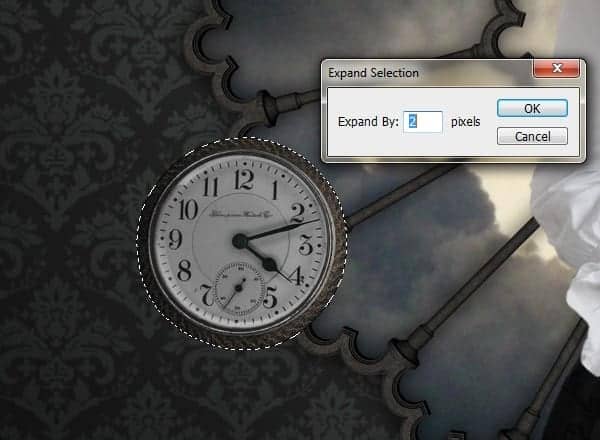
No white borders!
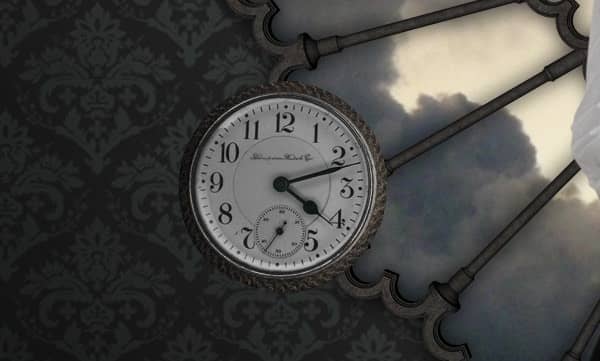
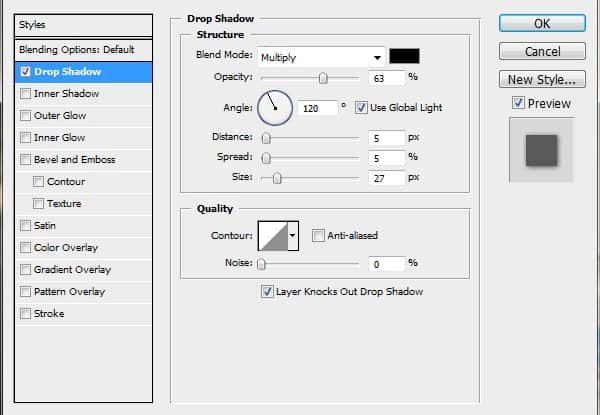
Add drop shadow to the clock to make it blend in better.
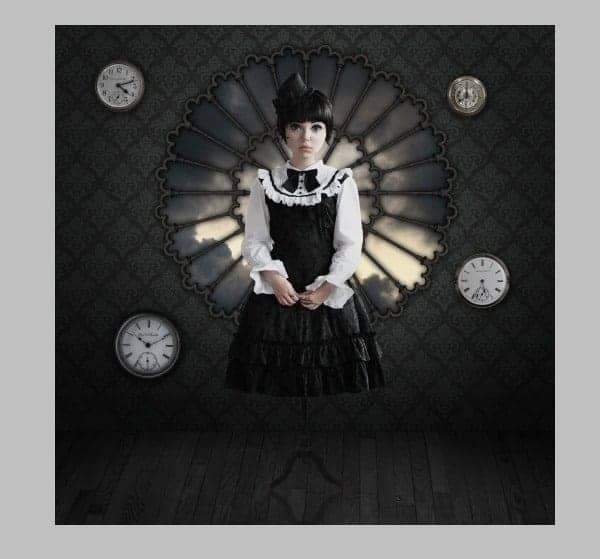
Do the same with other clocks.
Step 44
Go back to the wallpaper layer and select this area with the Marquee Tool.
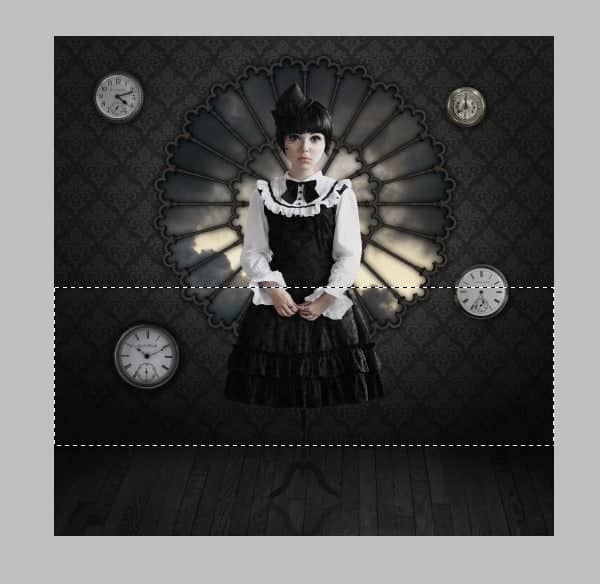
Right-click and choose "Layer via Copy", then flip vertically (just like with the legs).
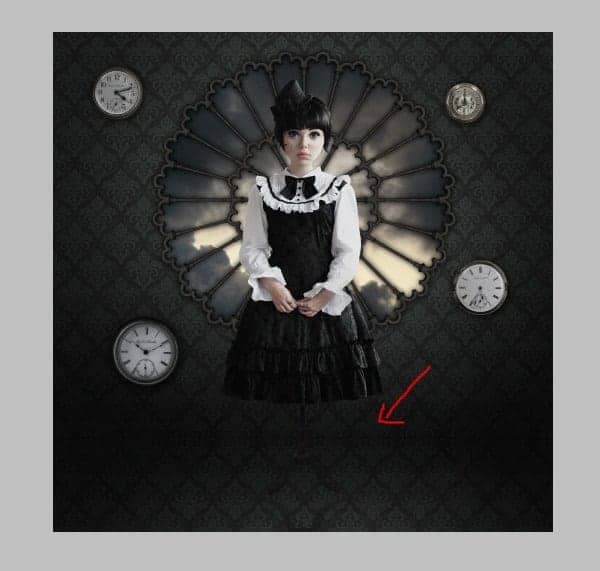
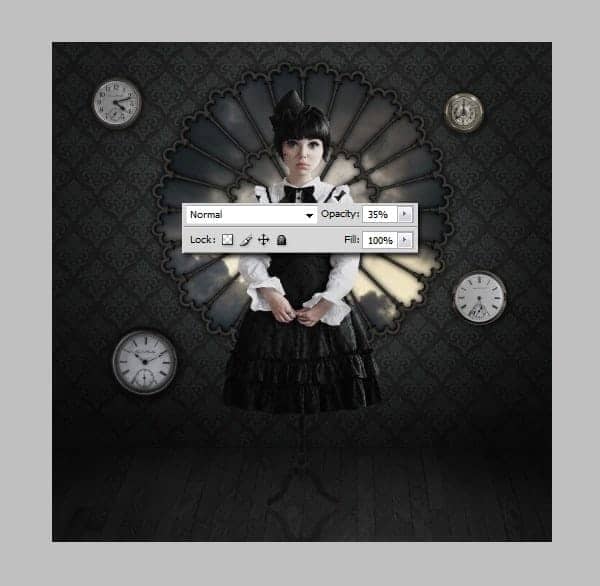
Set layer opacity to 35% for a slight reflection.
Step 45
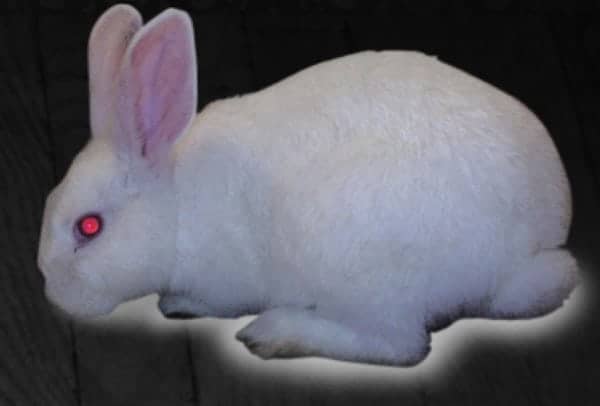
Paste the rabbit on a new separate layer and resize if needed to keep realistic proportions.
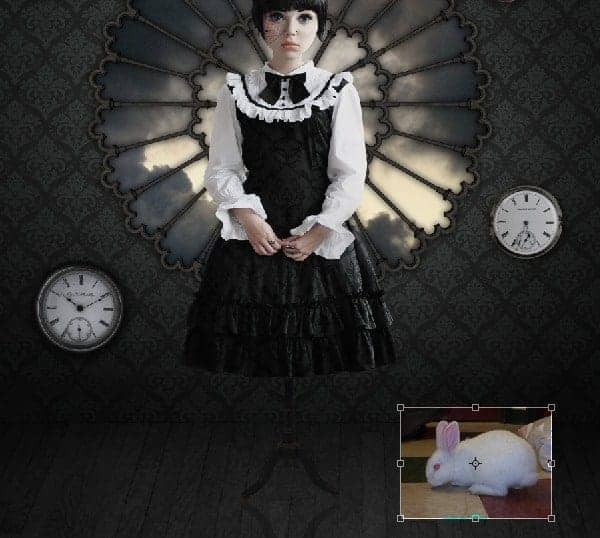
Cut the rabbit out with the Pen Tool.
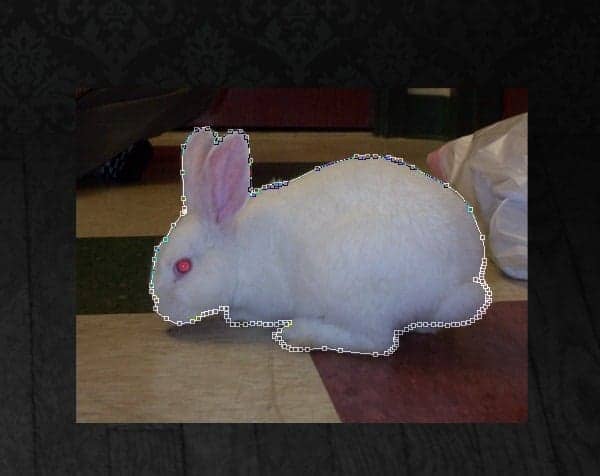
This how it looks with the rabbit... time to blend it in.
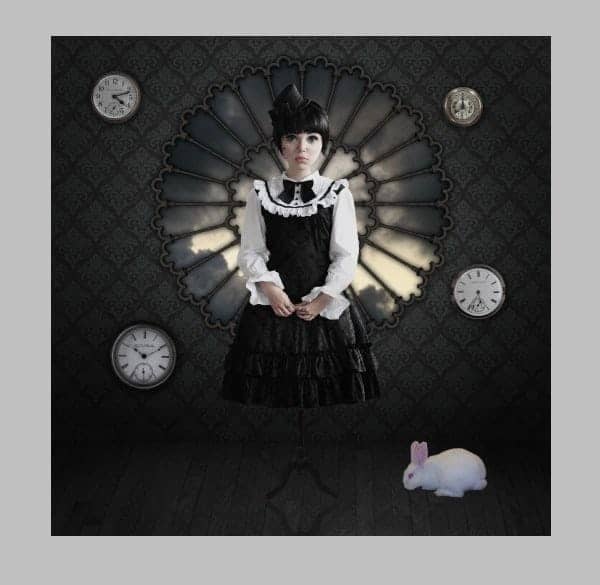
Step 46
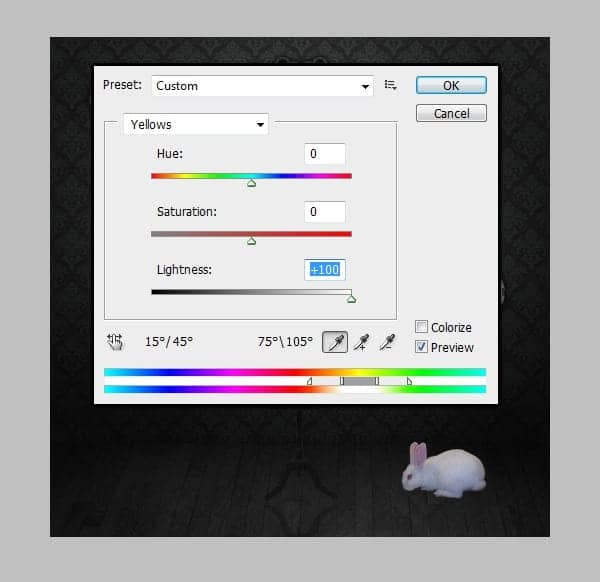
Go to Hue/Saturation and make the yellow tones lighter by +100.
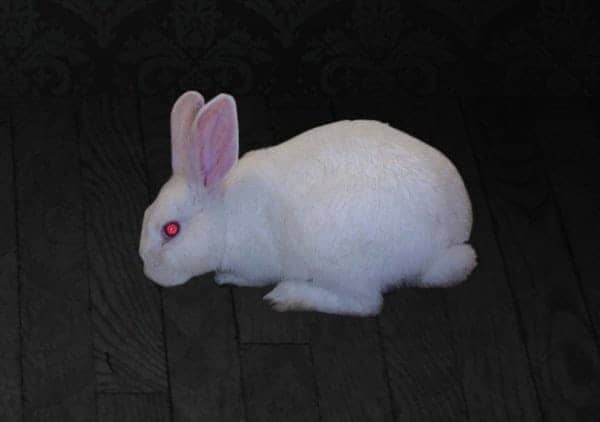
Take the Burn Tool, but this time set the range to "Shadows" and click a few times around the eye to make it pop. Then take the Sponge Tool and choose "Saturate" from its drop-down menu. Click a few times on the eye.
For the shadow, create a new layer under the rabbit and using a soft round brush with black colour, draw this shape. The larger your brush is, the smoother the edges of the shadow will be.
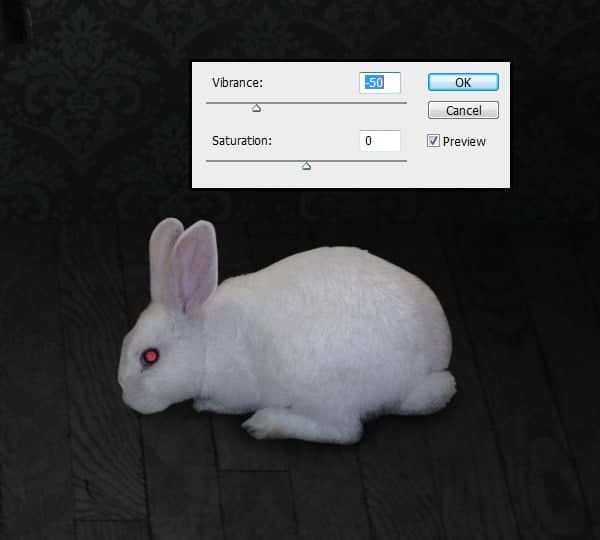
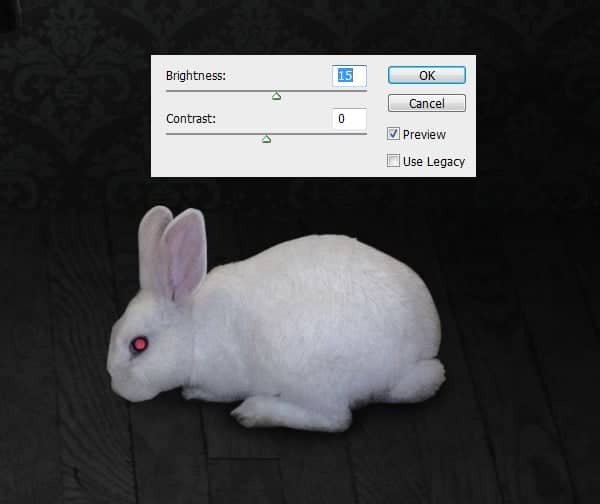
Go back to bunny's layer and reduce Vibrance by -50. Also add some Brightness (+15).
Step 47
Now the reflection. It has to be very subtle. Go to Layer > Duplicate Layer and make a copy of the bunny. Flip it vertically and place it under the white fluffy creature so that the noses touch.
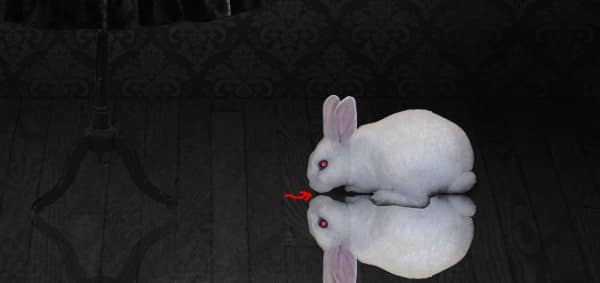
Go to Edit > Free Transform and then click the little arch that appears to enter the warping mode. Warp the reflection until the paws touch as well.
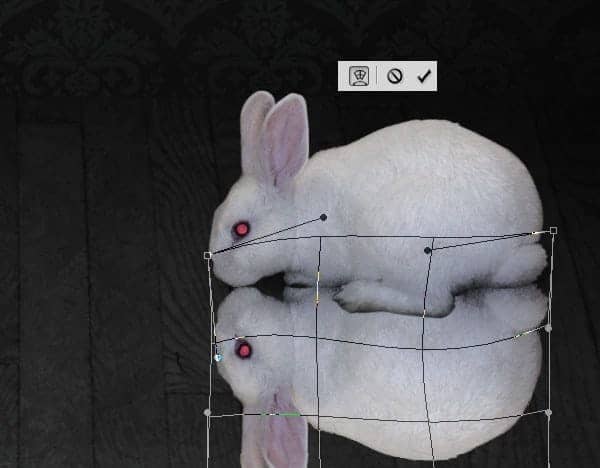
Go back to the bunny layer and select the paw. Right-click and "Layer via Copy".
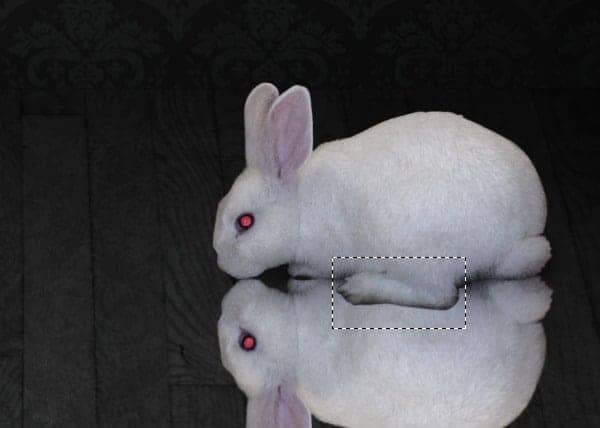
Flip it vertically and warp a little bit so that the paw on the reflection is flat. Then take a soft round eraser and blend the paw in.
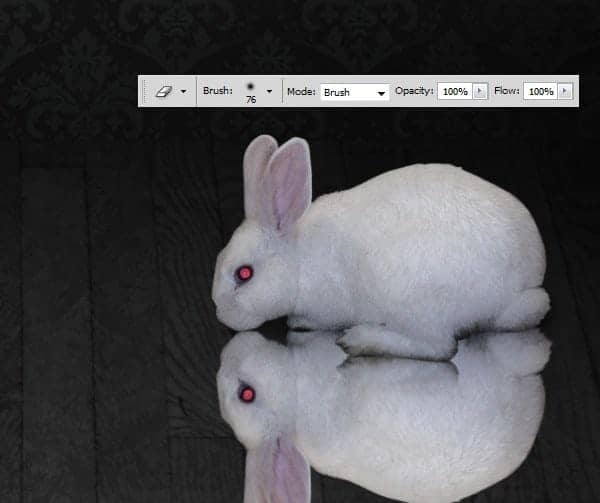
Darken the reflection's stomach with the Burn Tool.
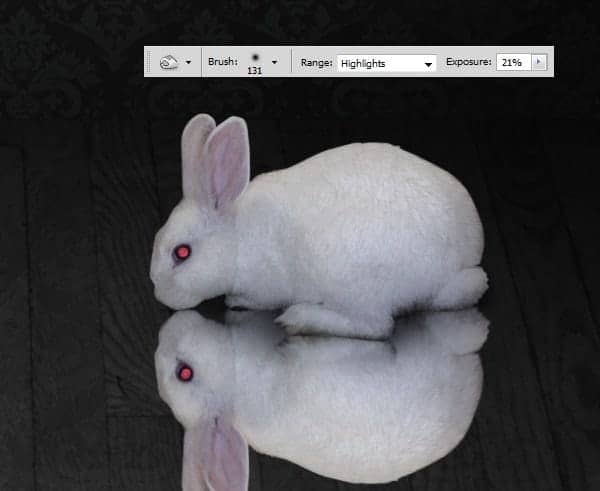
Lower the reflection layer's opacity to subtle 25%.
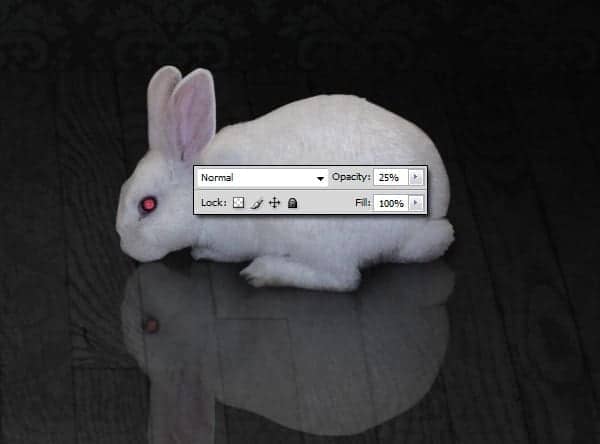
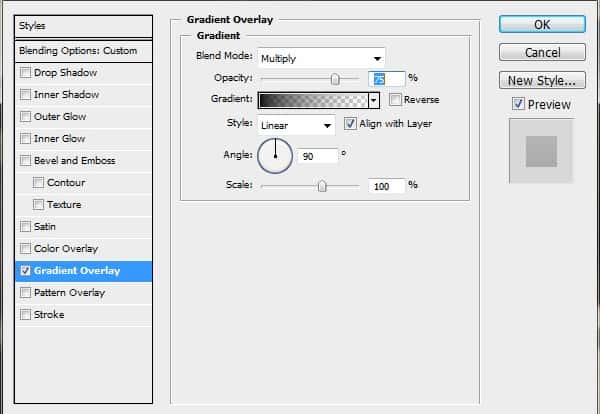
Finally, add this Gradient Overlay.
Step 48
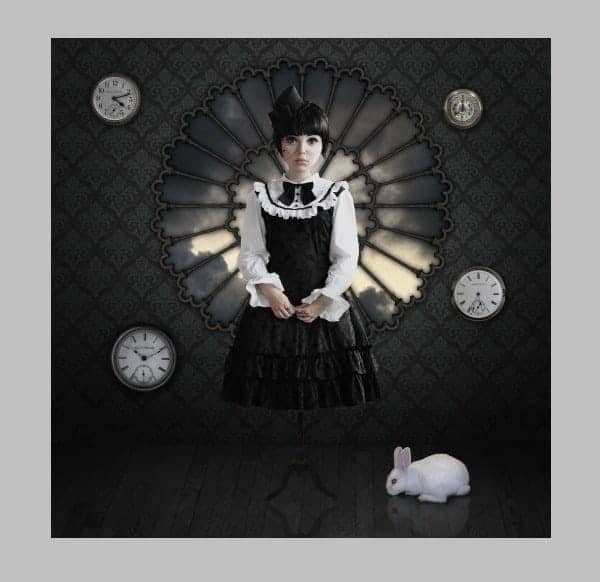
With bunny!
Step 49
Paste the wall texture on a separate layer right above the wallpaper layer. Resize it so that it fits the area.
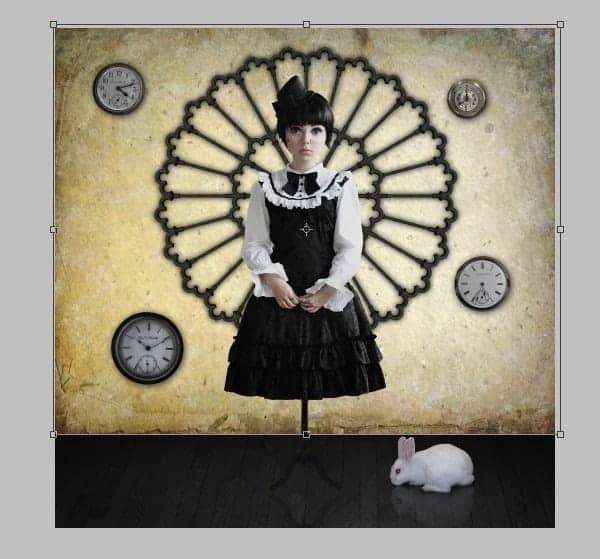
Texture is now set on Soft Light. I also desaturated it and set the Lightness to -15.
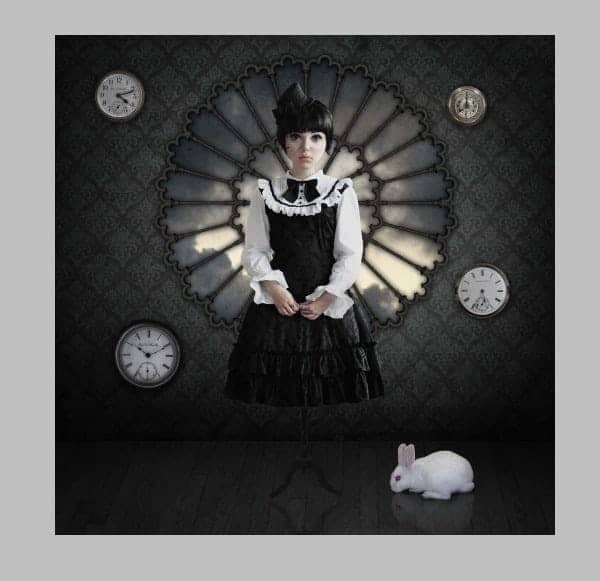
With a slight reflection.
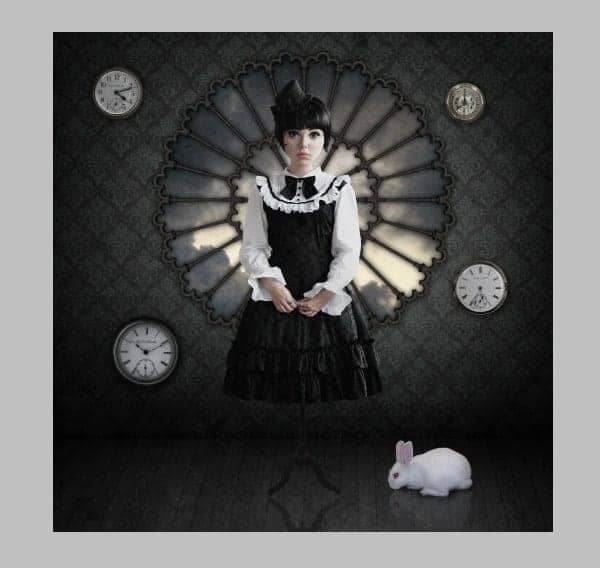
Step 50
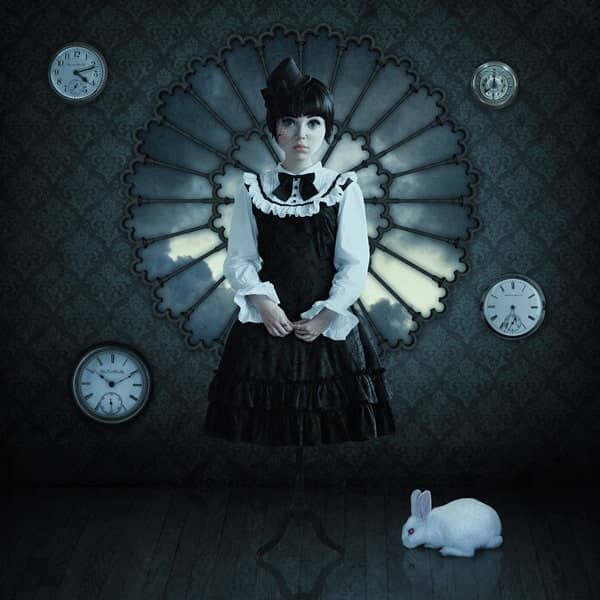
Finally, colours! This is the fun part. Use settings provided and you should have a nice blue-toned image.

30 comments on “How to Create a Surreal Gothic Artwork in Photoshop”
Siiri your artwork is beautiful
Great tutorial but the problem is i cannot find the texture source :/ the link is dead
Thanks a lot , its amazing tut
Thanks For Tutorial :D
nice .........
Incredible work man!go on.
hello
thank you so much for the tutorial :)
Nice tutorial, had fun with this one. Here's my version.
http://deathbykuvasz.deviantart.com/art/Playing-with-Dolls-410491205
I try it.Good work but something missing.Thanx you
http://r1310.hizliresim.com/1g/k/tp153.jpg
Where do I get the wallpaper tile from?
thanks for tutorial
Thanks for tutorial:D!
Nice tuto very useful and well detailled. Thanks a lot. Hope you 'll post a new one to enhance our skill !!
Most links weren't there for me to barely get started.
really like it!!
Thank you for the tutorial !!!! I love it !!!
Complicated stuff man
thanks for tutorial
It's brand new tutorial...where is stock images. 3 of them has been deleted.
Click on the alternative link.
But please stop using deviantart and unrepeatable websites for stock. I especially hate deviantart because of the outlandish rules some providers set.
Hi
little unsure on how to achieve final step 50, I'm not sure if it is because i am using CS5 or anything??? what should i be doing to change the colour to the blue ?? where can i find it ? it was the part i was looking forward to doing :( awesome tutorial tho :)
Hi, Go to Image / Adjustments / Selective colour :-)
Good!!'
Bonjour ;Merci beaucoup pour votre tutoriel qui me plait
Mes un peu difficile pour moi.Je compte prendre toute ou une parti du tutoriel pour me faire la main et surtout pour mon inspiration !! Un grand MERCI pour votre Aide.
Je vous souhaite une bonne journée .
Dan
Thx for tutorials
Muy interesante, me gusta. Gracias por compartir
Thanx for share
Amazing tutorial Siiri! Thanks for he share. Oh and link to dress for is dead any alternative for that?
Google image search "coat rack"
Congratulations! :D
It's not so complicated effect, but so interesting and useful!