Make your artwork look like they're from an alternate universe. These Cyberpunk presets work with Photoshop (via the Camera Raw filter) and Lightroom. Download all 788 presets for 90% off.
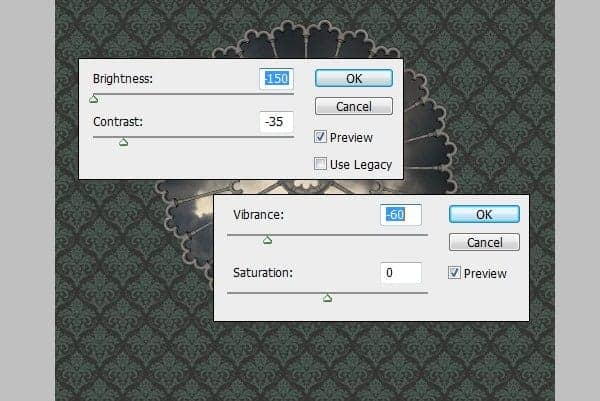
Step 12
Now take the Burn Tool with settings provided and burn the areas marked with red.
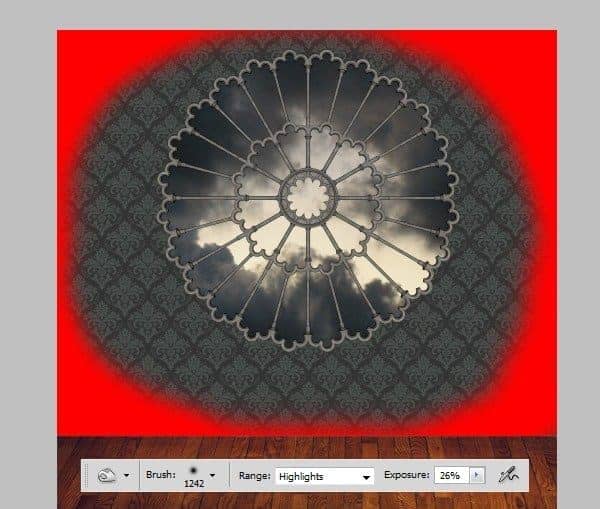
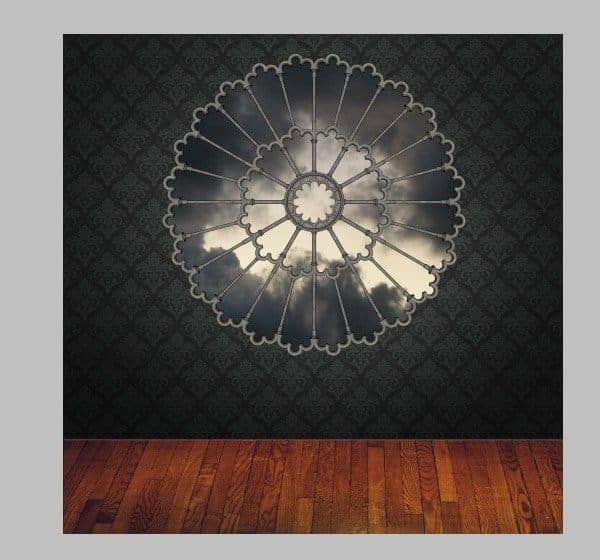
Your wall should look like this now.
Step 13
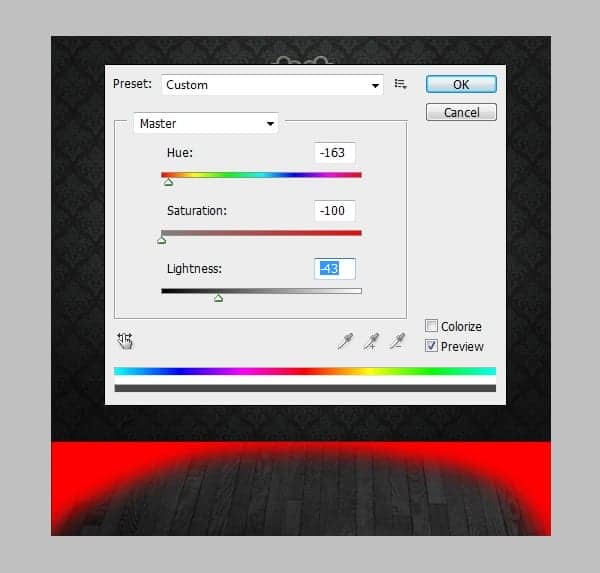
Now to the floor layer. To get the colours match, go to Image > Adjustments > Hue/Saturation and take Hue to -163, Saturation to -100 and Lightness to -43. Burn the red areas with previous Burn Tool settings.
Step 14
Your floor should look like this now - with an annoying white gap.
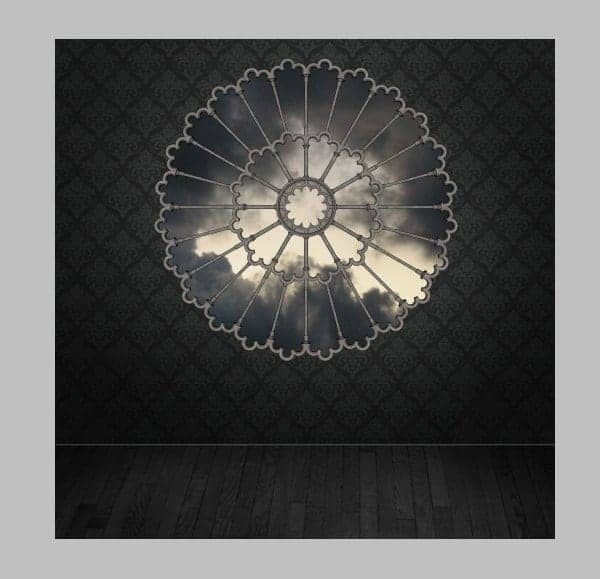
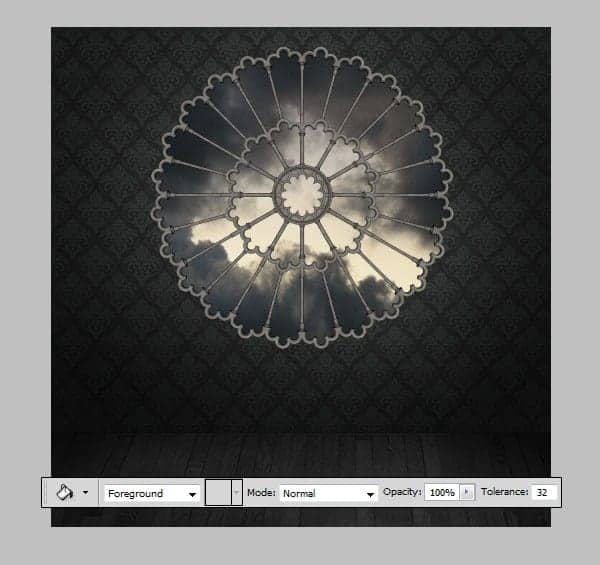
Go to the background layer, hit D on your keyboard to get black as your main colour and take the Paint Bucket tool (G) and paint the background black with one simple click.
Step 15
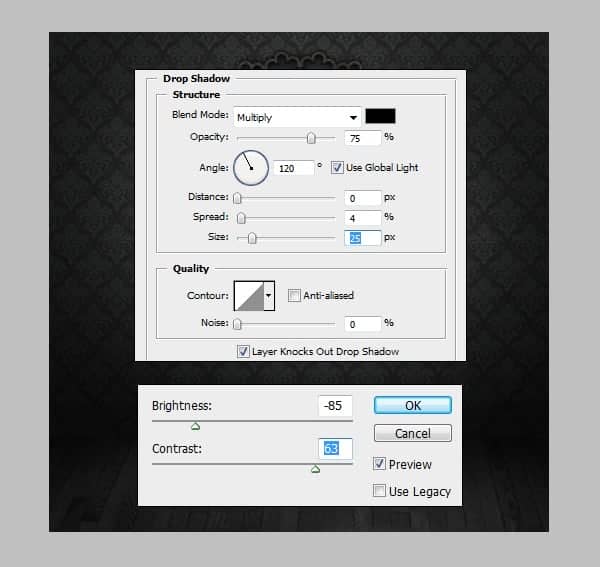
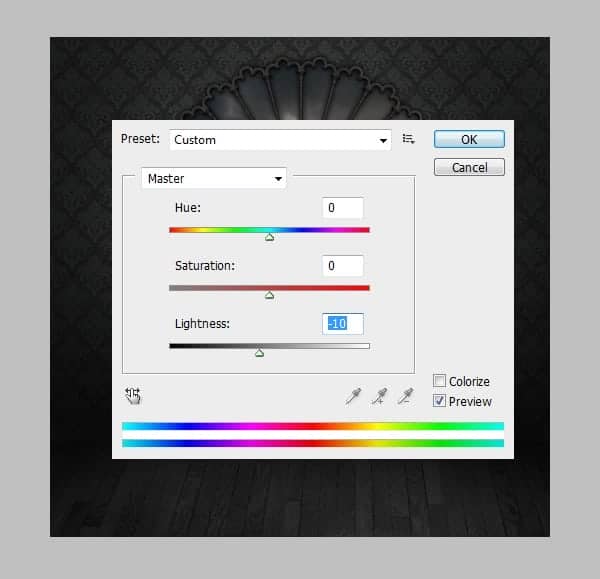
Go to Wall Crest layer and add a Drop Shadow layer style for the "window effect". Then choose -85 and -63 as its Brightness and Contrast (Image > Adjustments > Brightness/Contrast).
Your room should look like this now.
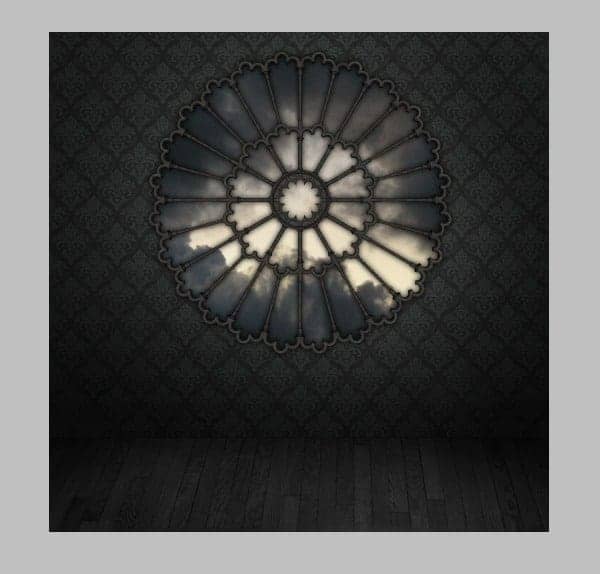
I darkened the sky very little bit.
Step 16
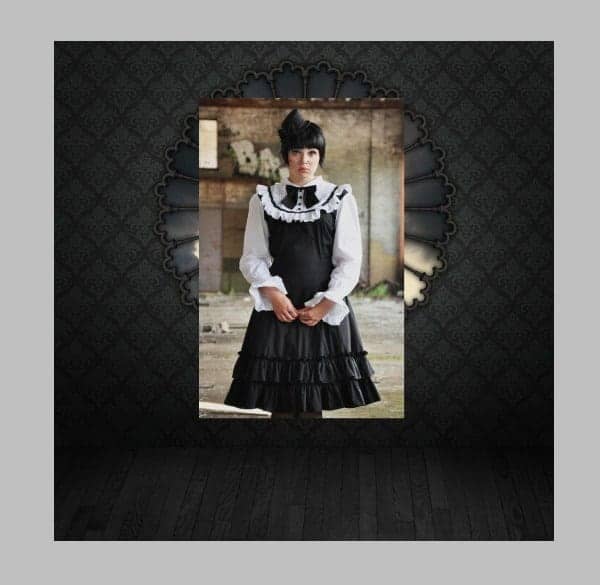
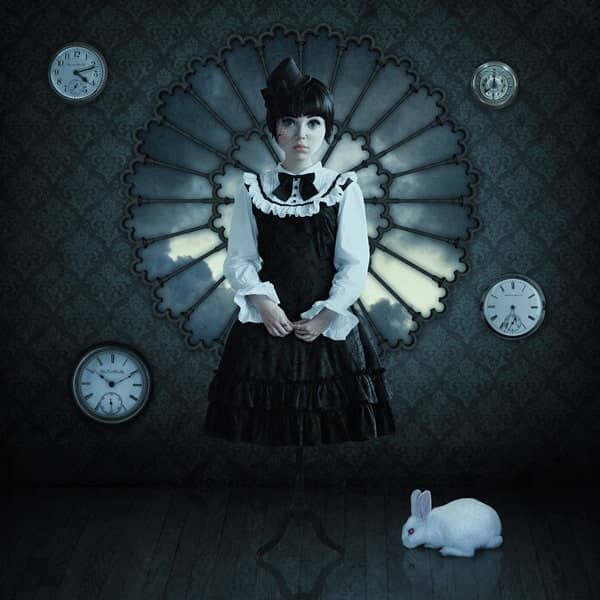
Open the model image and select her with the marquee tool. Press Ctrl + C to copy. Don't select the legs as she is going to be a creepy doll and people without legs intensify the "freaky" feeling. Paste the model on top of all the other layers (Ctrl + V). Fun fact: the model is my best friend Birgitta, wearing my graduation dress in an abandoned machine factory.
Step 17
Grab the Pen Tool (P) and make sure these settings are used. Carefully go over the outlines of the model. I prefer the Pen Tool because it gives you effortless and fast selecting - and if you misclick, you can just press Ctrl + Z and continue (unlike the Lasso Tool).
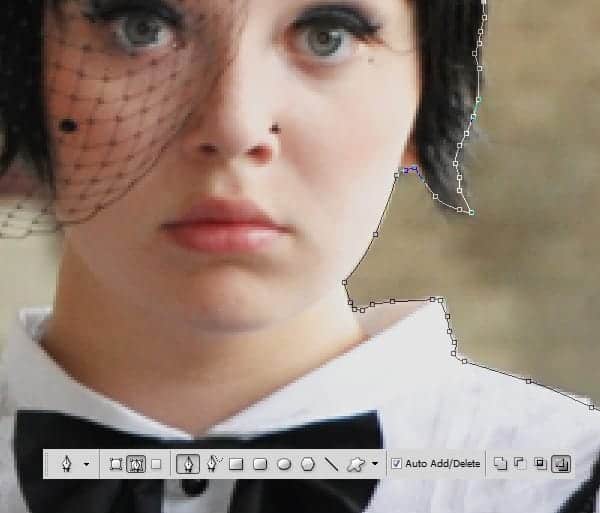
Leave the veil as is, it's almost humanly impossible to cut it out (and it's not the point of this tutorial either).
Step 18
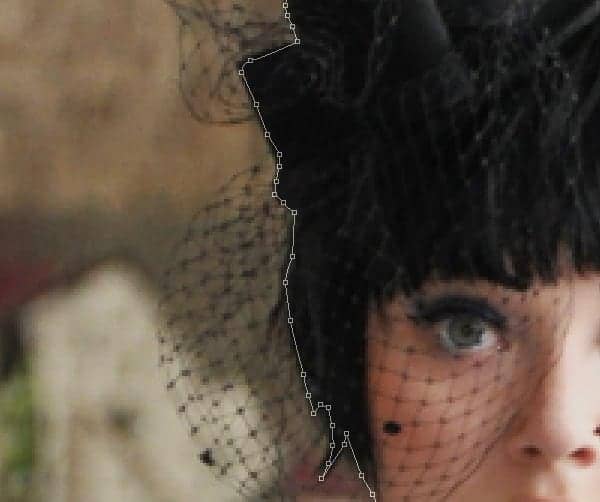
Here the ends meet - click on the first point to complete the path.
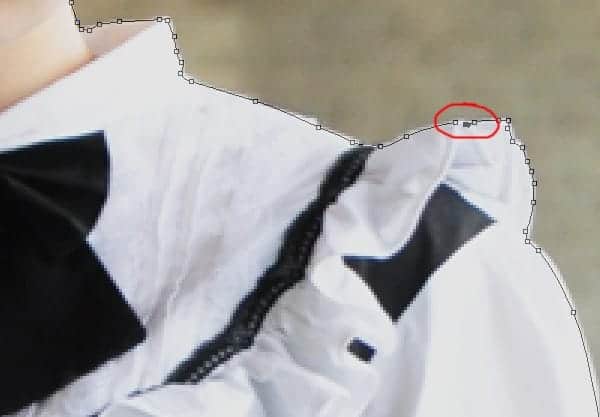
You will have a nice line that indicates your path is closed. Now right click anywhere on the image and choose "Make Selection" from the drop-down menu. Make sure you use the settings shown for the feather radius.
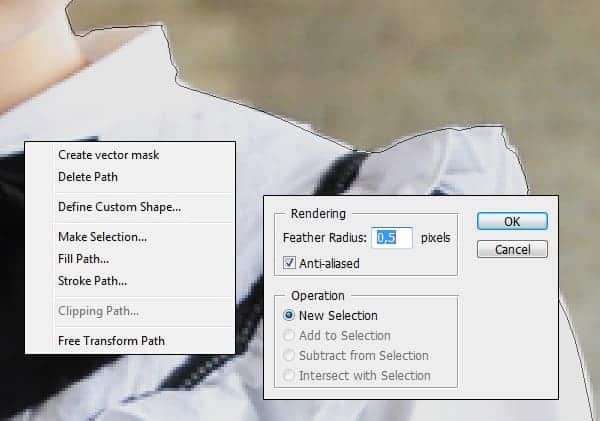
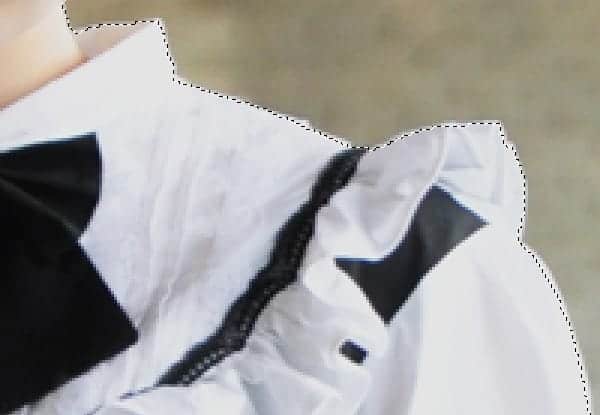
This is your selection now; hit Ctrl + Shift + I and then Delete. I usually press Delete twice.
Step 19
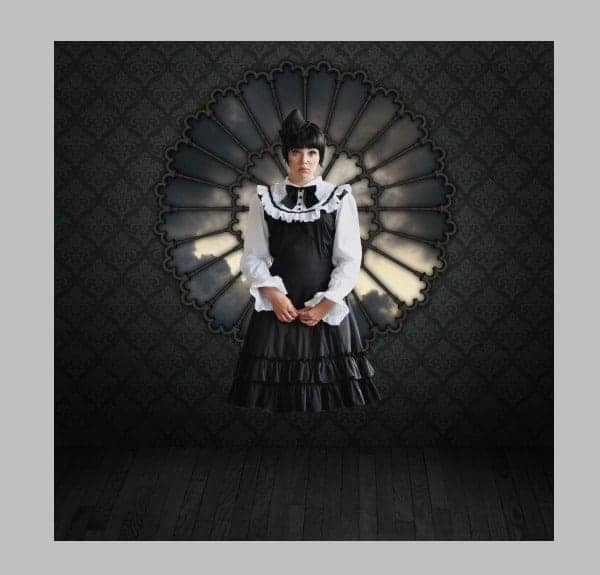
This is how it looks when cut out.
Step 20
Take the dress form and place it on a new layer under the model.

30 comments on “How to Create a Surreal Gothic Artwork in Photoshop”
Siiri your artwork is beautiful
Great tutorial but the problem is i cannot find the texture source :/ the link is dead
Thanks a lot , its amazing tut
Thanks For Tutorial :D
nice .........
Incredible work man!go on.
hello
thank you so much for the tutorial :)
Nice tutorial, had fun with this one. Here's my version.
http://deathbykuvasz.deviantart.com/art/Playing-with-Dolls-410491205
I try it.Good work but something missing.Thanx you
http://r1310.hizliresim.com/1g/k/tp153.jpg
Where do I get the wallpaper tile from?
thanks for tutorial
Thanks for tutorial:D!
Nice tuto very useful and well detailled. Thanks a lot. Hope you 'll post a new one to enhance our skill !!
Most links weren't there for me to barely get started.
really like it!!
Thank you for the tutorial !!!! I love it !!!
Complicated stuff man
thanks for tutorial
It's brand new tutorial...where is stock images. 3 of them has been deleted.
Click on the alternative link.
But please stop using deviantart and unrepeatable websites for stock. I especially hate deviantart because of the outlandish rules some providers set.
Hi
little unsure on how to achieve final step 50, I'm not sure if it is because i am using CS5 or anything??? what should i be doing to change the colour to the blue ?? where can i find it ? it was the part i was looking forward to doing :( awesome tutorial tho :)
Hi, Go to Image / Adjustments / Selective colour :-)
Good!!'
Bonjour ;Merci beaucoup pour votre tutoriel qui me plait
Mes un peu difficile pour moi.Je compte prendre toute ou une parti du tutoriel pour me faire la main et surtout pour mon inspiration !! Un grand MERCI pour votre Aide.
Je vous souhaite une bonne journée .
Dan
Thx for tutorials
Muy interesante, me gusta. Gracias por compartir
Thanx for share
Amazing tutorial Siiri! Thanks for he share. Oh and link to dress for is dead any alternative for that?
Google image search "coat rack"
Congratulations! :D
It's not so complicated effect, but so interesting and useful!