
“Night poured over the desert. It came suddenly, in purple. In the clear air, the stars drilled down out of the sky, reminding any thoughtful watcher that it is in the deserts and high places that religions are generated. When men see nothing but bottomless infinity over their heads they have always had a driving and desperate urge to find someone to put in the way.” In this Photoshop tutorial, we will learn how to create a scene of a city in the desert. First added city and desert, next remove the man with the clone stamp tool. Then blended it together with adjustment layers. Next added balloons, mist, and texture. Also for the final touch added some Gradient maps and apply Camera Raw Filter.
Preview of Final Image

Tutorial Resources
Step 1
Now, let’s start by creating a new image file, go to the Menu bar and click File > New, and then input the following values on their respective fields
- Preset: Custom
- Width: 3080px
- Height: 3080px
- Resolution: 300px
- Color Mode: RGB Color 8 bit
- Background Contents: Transparent

Step 2
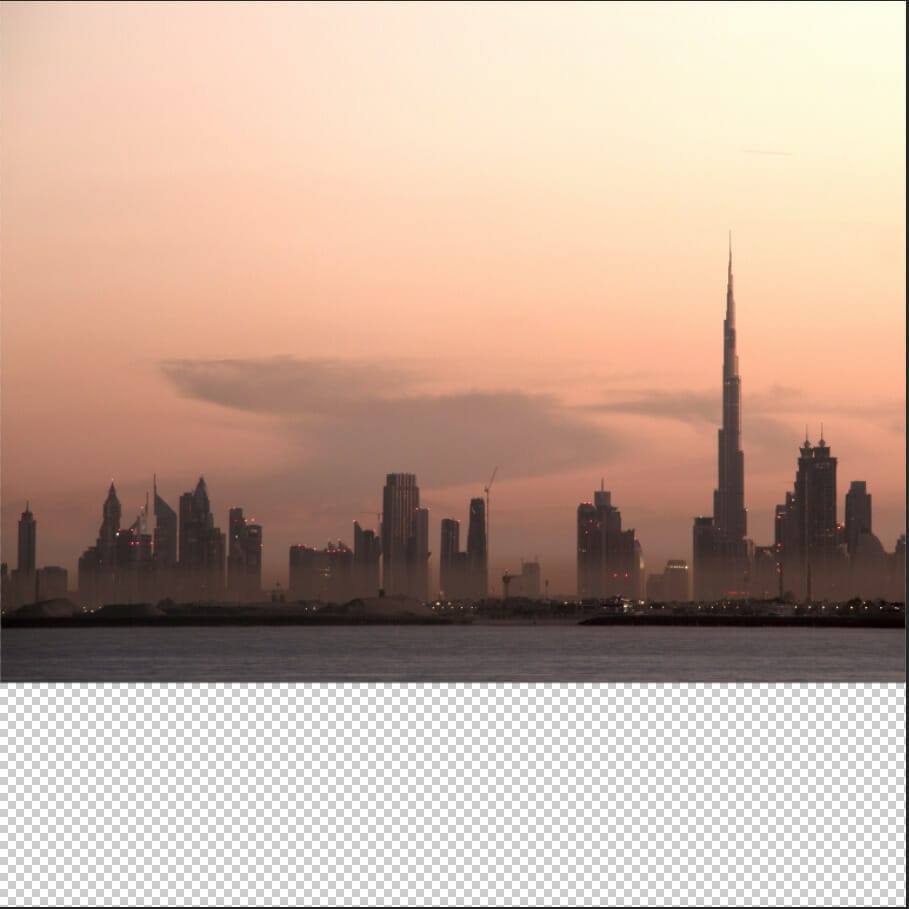
Now, place Background Go to File > Place and select background, then place it to our work canvas and position the image with the transform tool (Ctrl / Cmd + T). Hold Alt + Shift and rasterize like the image below. In Photoshop CC only hold Alt to rasterize all sides together.

Step 3
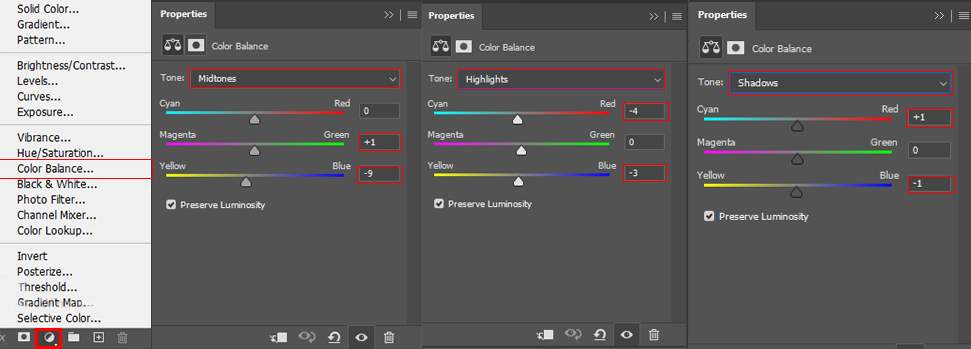
Add Adjustment Layer “Color Balance”
Step 4
Create a new layer and make a light source. Select brush tool (B) Soft Round with foreground color white and paint a light. Blend mode change to Overlay with Opacity 50%, then place light to the right corner.

Step 5
Next, we will open the desert photo, Go to File > Place, and select desert. Then place it to our work canvas and position the image with the transform tool (Ctrl / Cmd + T). Hold Alt + Shift and rasterize like the image below. In Photoshop CC only hold Alt to rasterize all sides together. Now use the Rectangular Marquee tool and select the only sky, when we select go to create a layer mask.


Step 6
Now in this step, we will use Clone Stamp Tool(S) to remove man and shadow. First, select Clone Stamp Tool(S) and create a new layer.
Use an empty layer for the Clone Stamp retouching
With the Clone Stamp tool, you can use an empty layer to keep your retouching separate from the main image.
One response to “Create a Desert City Photo Manipulation”
-

The original desert photo’s lines on the road make the image look funny. I would have lessened the intensity of the right yellow line and the white middle lines to make a more complete photo. Also the person is tiny compared to the road and there’s no sand/dust in the foreground making the image look more fake. I understand the image has to be as raw as possible for the article but if you put a polished final with the little details people would appreciate that more. Because that’s the artistic touch that kind of needs to be taught. What separates a B+ and an A+.
Leave a Reply to FieryRangaKingCancel reply