Make your artwork look like they're from an alternate universe. These Cyberpunk presets work with Photoshop (via the Camera Raw filter) and Lightroom. Download all 788 presets for 90% off.
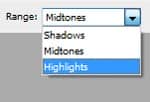

Once we have all of the coins shaded in, let’s move on to the remainder of her accessories. Same techniques apply—shade and dodge. I decided to add some purple gemstones to our subject’s accessories, as well as chains of beads. Color them in, making extra sure to add a bright sparkle and glow to the gems.

Our subject is complete!

Part 3 – Background
First, let’s merge all of the layers used for creating our subject so they don’t get confused with the layers we will use to create our background. I created a new file to finish off our image so I can keep a file with all of the subject’s layers as well. Because the plan for the background is to be a landscape, let’s make the new image horizontal. We’ll paste the subject in, and then create three layers, one for sand, one for ocean, and one for sky. Then, we’ll fill them in with color.

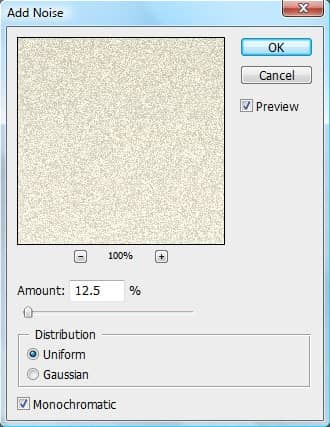
I chose to color the sky as well as the ocean as a darker color fading into a lighter color, such as the ocean looks darker when deep and becomes lighter when washing ashore. Alright, let’s begin with the sand. We went to give it a gritty texture. Go to Filter -> Noise -> Add Noise. Make sure you click the Monochromatic box or else you’ll end up with a load of multicoloured specks.
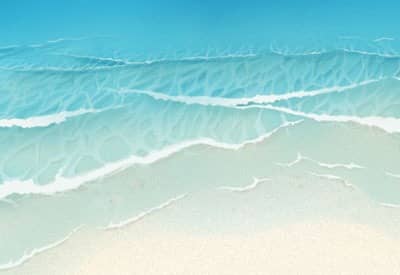
And now we have believable sand. Let’s move on and draw in the waves. Bring the tablet back, chose a small, hard brush, and draw in the foam that is created by waves rolling ashore. Also, use a larger brush at a low opacity and draw in a lighter, see-through blue underneath the rolling waves to give the effect of water so shallow you can see the bottom.
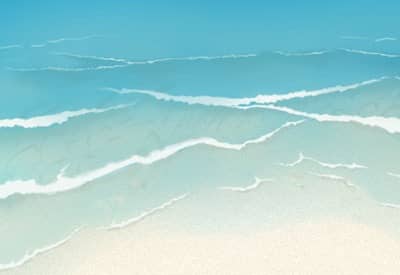
Using the same brush, add ripples into the shallow waves and set this layer to a lower opacity to make the ripples more believable.
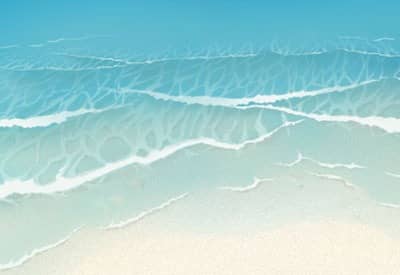
Then, choose a dark tan color and fill in the shadows created by the foam and the ripples below them on the sand layer. Remember how earlier I noted that the shallow water should be see-through? This way, you will be able to see the shadows underneath the water.
Now, let’s not dare to try to draw in the pattern of the waves deeper in the ocean by hand. Let’s cheat a bit instead. Go online and randomly search up an image of ocean water that is large and high-quality. All we are looking for is texture to add on top of our color. I’ve pulled up an image like this.

